Current version: 100.15.4 - January 24, 2024. Release notes.
Welcome to ArcGIS Runtime API for Android. This guide describes how to use the latest version of ArcGIS Runtime for Android to build mobile apps that incorporate capabilities such as mapping, geocoding, routing, geoprocessing, and other spatial analytics.
Where to start
-
If you are new to ArcGIS, start with the mapping APIs and location services guide.
-
Review the key features of ArcGIS Runtime API for Android.
-
Follow the get started instructions to get the API and start developing.
Tutorials
Follow step-by-step instructions to build apps that incorporate ArcGIS Runtime functionality.


Sample code
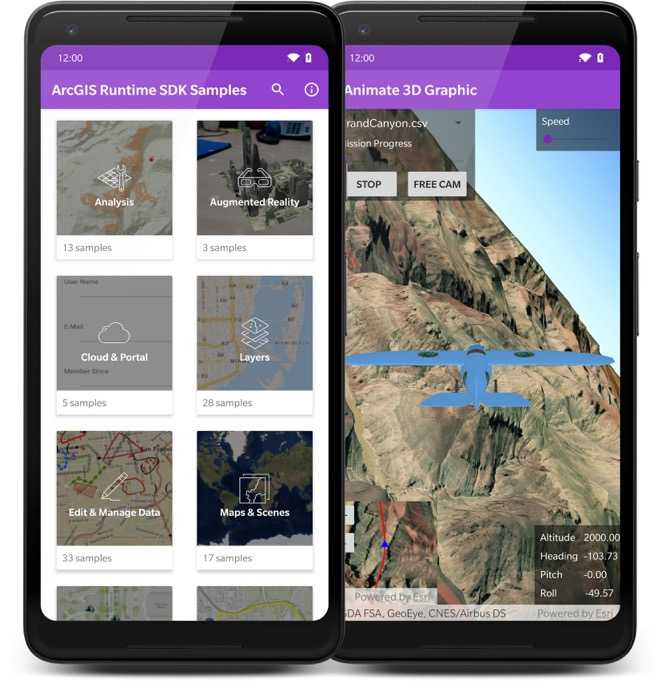
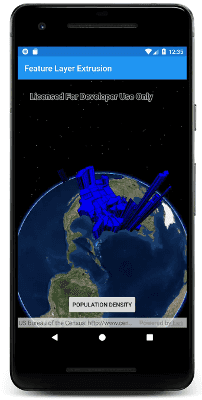
Browse the comprehensive list of samples in the documentation or download sample code from the GitHub repository.
Interact with live samples using the sample viewer app. Download an .apk version of the sample viewer app from ArcGIS Online or install it from the Google Play Store.
Open source toolkit
The open source ArcGIS Runtime Toolkit for Android contains UI components that help simplify your Android app development.
Success stories
Get inspiration for your own mapping projects by seeing how others use ArcGIS Runtime API for Android.


Fish Washington
Washington Department of Fish & Wildlife uses this app to make fishing regulations easier to understand.


GoTime
Massachusetts Department of Transportation uses this app to complement roadside travel time signs on highways in Massachusetts.


Conserve EveryDrop of Water
California has been battling water shortages for years. The primary intervention strategy is reducing water consumption and waste. EveryDrop is a water conservation app that engages citizens by reporting water waste and conservation education.