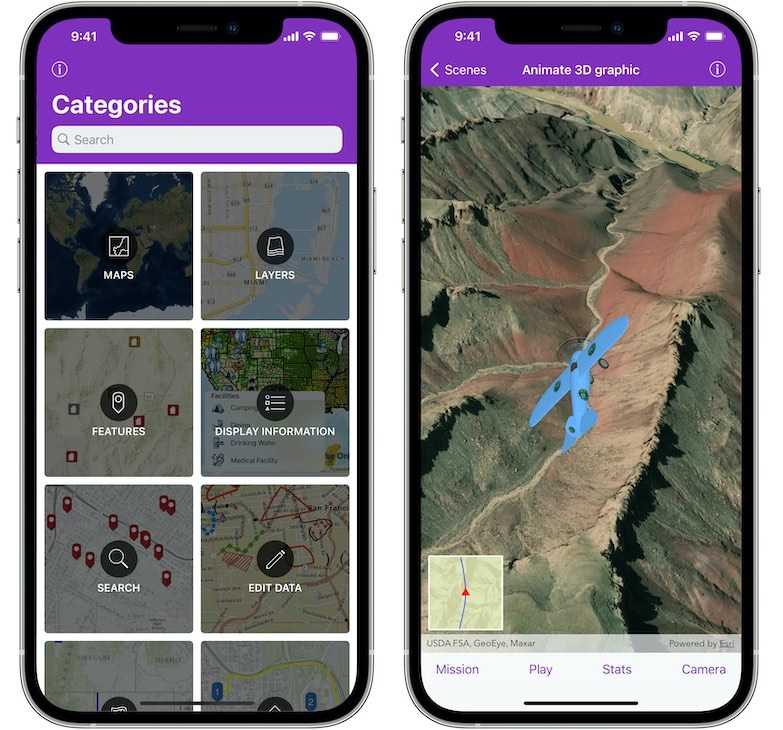
You will learn: how to build an app that displays feature layers in a 3D scene.
With ArcGIS Runtime SDK for iOS, it's easy to create a mapping app that displays a basemap and one or more layers. ArcGIS Online hosts several tile and vector tile basemaps that you can use in your map (2D) or scene (3D), including streets, satellite, streets-vector, and streets-navigation-vector. You can also add your own datasets by adding feature layers. These layers are hosted by ArcGIS Online or by other ArcGIS servers. By default, feature layers will draw with pre-set symbols to fill the extent of map, but you can provide your own styles with a renderer. The feature layer data can also be controlled by defining a SQL expression to limit the data retrieved. Another common customization is to configure the popup to show specific information about the layer when you click on features in the map.
In this tutorial you will create a simple 3D scene with a satellite basemap, add a feature layer that represents trails near Los Angeles.
Make sure you have installed the latest version of Xcode.
If you have completed the Create a starter app tutorial, then copy the project into a new empty folder. Otherwise, download and unzip the project solution. Open the .xcodeproj
file in Xcode. Run and verify the map displays in the device simulator.
Open Main.storyboard
in the Project Navigator. Drill down the View Controller Scene tree hierarchy in the Outline View until you reach Map View. Click on the Map View node to select it, and then click on it again to rename it to Scene View
.
With the Scene View node selected, switch to the Identity inspector tab in the Inspectors panel. Change the class from AGSMapView
to AGSSceneView
.
Open ViewController.swift
in the Project Navigator. Change the map view outlet property declaration to scene view.
/*** Change this ***/
@IBOutlet weak var mapView: AGSMapView!
/*** To this ***/
@IBOutlet weak var sceneView: AGSSceneView!
Switch back to Main.storyboard
and right click on the yellow View Controller node in the Outline View. Disconnect the mapView outlet, and drag the sceneView outlet connector to the Scene View node to connect it.
Open ViewController.swift
in the Project Navigator. Remove the setupMap
function completely and replace it with a new function named setupScene
. Use this function to setup and configure your 3D scene. Create a new scene with the imagery basemap and assign it to the scene view.
private func setupScene() {
let scene = AGSScene(basemapType: .imageryWithLabels)
sceneView.scene = scene
}
Create an AGSServiceFeatureTable
to access the trails data and an AGSFeatureLayer
to view it. Add the layer to the scene's operationalLayers
.
let trailsTable = AGSServiceFeatureTable(url: URL(string: "https://services3.arcgis.com/GVgbJbqm8hXASVYi/arcgis/rest/services/Trails/FeatureServer/0")!)
let trailsLayer = AGSFeatureLayer(featureTable: trailsTable)
scene.operationalLayers.add(trailsLayer)
Set the initial display area (Viewpoint
) of the map to the extent of features in the trails layer. Use the Camera
to provide a specific perspective.
let camera = AGSCamera(latitude: 33.950896, longitude: -118.525341, altitude: 16000.0, heading: 0, pitch: 50, roll: 0)
sceneView.setViewpointCamera(camera)
Use an elevation service provided by Esri and add it to the scene.
let surface = AGSSurface()
let elevationSource = AGSArcGISTiledElevationSource(url: URL(string: "https://elevation3d.arcgis.com/arcgis/rest/services/WorldElevation3D/Terrain3D/ImageServer")!)
surface.elevationSources.append(elevationSource)
scene.baseSurface = surface
Press Command-R to run the app in the iOS Simulator. When the app opens, you should see imagery of Los Angeles appear with trails displayed on top of the map with elevation in 3D. (Note, the simulator does not provide good performance for interacting with the 3D scene. For best experience, run the app on a physical device.)
The app should run and show trails displayed on top of a satellite basemap rendered in 3D. Compare your solution with our completed solution project.
Visit the iOS SDK documentation to learn more about the different types of basemaps available. Try some different basemap types such as .lightGrayCanvas
, .topographic
or .nationalGeographic
and pick your favorite basemap.
Try to add a few more park datasets into the scene. Here are a few suggestions:
https://services3.arcgis.com/GVgbJbqm8hXASVYi/arcgis/rest/services/Trailheads/FeatureServer
https://services3.arcgis.com/GVgbJbqm8hXASVYi/arcgis/rest/services/Parks_and_Open_Space/FeatureServer
Sometimes you want your layer to show a subset of the data from a service. A definition expression lets you define attribute criteria using a SQL expression that restricts the features for a layer. Consult the service info for the Trails data source and construct an expression that limits the display to trails with an elevation gain of 250 meters or less.
let trailsTable = AGSServiceFeatureTable(url: URL(string: "https://services3.arcgis.com/GVgbJbqm8hXASVYi/arcgis/rest/services/Trails/FeatureServer/0")!)
let trailsLayer = AGSFeatureLayer(featureTable: trailsTable)
trailsLayer.definitionExpression = "ELEV_GAIN < 250"
map.operationalLayers.add(trailsLayer)
By default, an AGSServiceFeatureTable
stores retrieved features using On Interaction Cache
mode. See here and here for more details.
Depending on the nature of your data and your app, you might choose to use Interaction No Cache
(to get data that changes often) or Manual Cache
(to get small amounts of data regardless of the map view extent).
See here for how to populate the data in the case of Manual Cache
.