Current version: 200.4 - April 11, 2024. Release notes.
Welcome to ArcGIS Maps SDK for .NET. This guide describes how to use the latest version of ArcGIS Maps SDK for .NET to build native desktop and mobile apps that incorporate capabilities such as 2D and 3D data visualization, geocoding, routing, and geoprocessing, for deployment on Windows, Android or iOS devices.
Where to start
-
Discover key features of the SDK.
-
Install and setup the SDK.
-
Explore the tutorials and sample code.
Tutorials
Follow step-by-step instructions to build apps that incorporate key features of ArcGIS Maps SDK for .NET.


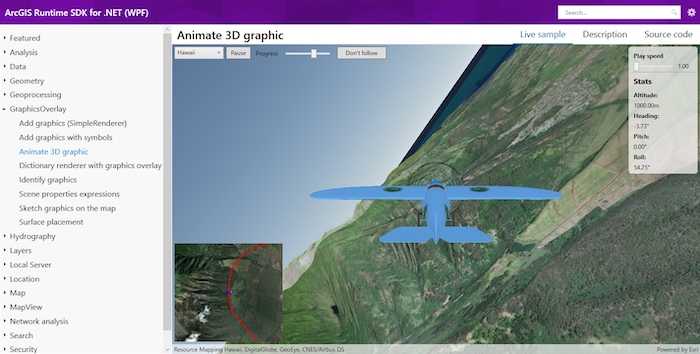
Sample code
Review sample code in our complete sample directory, or download all the code from our GitHub repository. Interact with live samples using the sample viewer app.
Open source toolkit
The open source ArcGIS Maps SDK for .NET Toolkit contains UI components and utilities that will help simplify your .NET app development.
Success stories


Navigation and Logistics
A mobile app providing turn-by-turn navigation of a worksite for staff and visitors. The app enables employees, visitors, and truck drivers to safely reach their destination at the plant using the optimal route and taking into account daily road closures.


CommandX
Command center application to maintain concentration on the core task, managing tactical units, and make decisions. CommandX is a modern and intuitive electronic command system based on ArcGIS.


Exotic Plant Inspections
The mission of Kittitas County Noxious Weed Control Board is to protect and preserve the agricultural lands and natural resources of the county from degrading effects of exotic and invasive noxious weeds.