User authentication (formerly ArcGIS identity) generates a short-lived access token, authorizing your application to access location services, content, and resources on behalf of a logged in ArcGIS user.
The temporary token from user authentication is created using the OAuth 2.0 protocol. It authorizes your application to act on the user's behalf without revealing their secure password to your application. If your application will access your users' secure content in ArcGIS or if you plan to distribute your application through ArcGIS Marketplace, you must use user authentication.
This tutorial demonstrates using the OAuth2.0 serverless web application workflow to implement the ArcGISIdentity class in ArcGIS REST JS and create an identity for a browser application.
Prerequisites
-
You need an account to register a new OAuth 2.0 application. If you do not have an ArcGIS account you can sign up for a free ArcGIS Developer account.
-
Create and register a new OAuth 2.0 application and obtain its Client ID.
-
Update your registered application to specify the Redirect URLs to use for authentication, in the format
"https:or//<server> [:port]" http:. For example, if you are running your application on//my-arcgis-app: /auth https:add//localhost: 8080 https:, to the list of redirect URLs. You will create the//localhost: 8080/authenticate.html authenticate.htmlpage later in this tutorial.
To learn more, visit the Register your application tutorial.
Steps
Scaffold HTML
Begin by creating a basic HTML page containing a button directing the user to the authorization page or pop-up. This will be the primary application page.
-
Create an
HTMLfile to be used for your application and add references to the ArcGIS RestJS library.index.htmlUse dark colors for code blocks <html lang="en"> <head> <meta charset="utf-8" /> <title>ArcGIS REST JS Browser OAuth2</title> <script type="module"> import { ArcGISIdentityManager } from 'https://cdn.skypack.dev/@esri/arcgis-rest-request@4.0.0'; </script> </body> </html> -
Import the Bootstrap CSS framework and add
Sign inandSign Outbuttons, as well as asessionarea to place user information.Info index.htmlUse dark colors for code blocks <html lang="en"> <head> <meta charset="utf-8" /> <title>ArcGIS REST JS Browser OAuth2</title> <link rel="stylesheet" href="https://maxcdn.bootstrapcdn.com/bootstrap/3.3.7/css/bootstrap.min.css" integrity="sha384-BVYiiSIFeK1dGmJRAkycuHAHRg32OmUcww7on3RYdg4Va+PmSTsz/K68vbdEjh4u" crossorigin="anonymous" /> <style> body { font-family: monospace; color: black; font-size: 20px; } pre { overflow: auto; padding: 1rem; } .col-xs-12 { margin-top: 10%; } #withPopupButton, #signOutButton { font-size: 20px; } </style> </head> <body> <div id="app-wrapper"> <div class="container"> <div class="row"> <div class="col-xs-12"> <!-- Event listeners planned to be added to these buttons. --> <button class="btn btn-primary btn-block" id="withPopupButton">Sign In</button> </div> </div> <div class="row"> <div class="col-xs-12 text-center"> <p id="sessionInfo" class="info-panel"> <!-- Information will be injected here. --> </p> </div> </div> <div class="row"> <div class="col-xs-12 text-center"> <!-- Event listeners will be added to these buttons. --> <button class="btn btn-primary btn-block btn-warning" id="signOutButton">Sign Out</button> </div> </div> </div> </div> <script type="module"> import { ArcGISIdentityManager } from 'https://cdn.skypack.dev/@esri/arcgis-rest-request@4.0.0'; </script> </body> </html>
Define authentication variables
-
Go to the ArcGIS Developer dashboard > OAuth2.0 tab and copy your application's Client ID.
-
Create
sessionandclientelements. Set theI d clientwith the Client ID copied from the dashboard.I d -
Set the
redirect_to the redirect URI you configured for your application.uri index.htmlUse dark colors for code blocks <script type="module"> import { ArcGISIdentityManager } from 'https://cdn.skypack.dev/@esri/arcgis-rest-request@4.0.0'; let session = null; const clientId = "CLIENT_ID"; const redirectUri = window.location.origin + "/authenticate.html"; </script>
Create a callback page
Once the user is authorized, the access token must be retrieved and passed from the pop-up to the main application page the ArcGISIdentity method will automatically handle this.
-
Open an editor and create an
authenticate.htmlfile with references to the ArcGIS REST JS library.authenticate.htmlUse dark colors for code blocks <!DOCTYPE html> <html lang="en"> <head> <meta charset="utf-8" /> <title>ArcGIS Rest JS OAuth redirect</title> </head> <body> <script type="module"> import { ArcGISIdentityManager } from 'https://cdn.skypack.dev/@esri/arcgis-rest-request@4.0.0'; </script> </body> </html> -
Set the same
clientandI d redirectparameters that you used in the define authentication variables step.Uri authenticate.htmlUse dark colors for code blocks <script type="module"> import { ArcGISIdentityManager } from 'https://cdn.skypack.dev/@esri/arcgis-rest-request@4.0.0'; const clientId = "CLIENT_ID"; const redirectUri = window.location.origin + "/authenticate.html"; </script> -
Call the
ArcGISIdentitymethod. This will get the access token, pass it back to the main application page and close the popup window.Manager.complete OAuth2 authenticate.htmlUse dark colors for code blocks const clientId = "CLIENT_ID"; const redirectUri = window.location.origin + "/authenticate.html"; ArcGISIdentityManager.completeOAuth2({ clientId, redirectUri })
Add event listeners
With the primary application page and callback page configured, you can implement the basic sign-in process by adding event listeners to the buttons.
-
Save
authenticate.htmland return to your first HTML file. -
Add an event listener:
- When the user clicks the Sign in button, call the
beginmethod.OAuth2 - Set the
clientandI d redirectoptions.Uri - Update the session once the user successfully logs in.
index.htmlUse dark colors for code blocks let session = null; const clientId = "CLIENT_ID"; const redirectUri = window.location.origin + "/authenticate.html"; document.getElementById("withPopupButton").addEventListener("click", (event) => { // Begin an OAuth2 login using a popup. ArcGISIdentityManager.beginOAuth2({ clientId: clientId, redirectUri: redirectUri, popup: true }) .then((newSession) => { // Upon a successful login, update the session with the new session. session = newSession; console.log(session); updateSessionInfo(session); }) .catch((error) => { console.log(error); }); event.preventDefault(); }); - When the user clicks the Sign in button, call the
-
Add an event listener to clear the
sessionwhen the user signs out.index.htmlUse dark colors for code blocks document.getElementById("withPopupButton").addEventListener("click", (event) => { // Begin an OAuth2 login using a popup. ArcGISIdentityManager.beginOAuth2({ clientId: clientId, redirectUri: redirectUri, popup: true }) .then((newSession) => { // Upon a successful login, update the session with the new session. session = newSession; console.log(session); updateSessionInfo(session); }) .catch((error) => { console.log(error); }); event.preventDefault(); }); document.getElementById("signOutButton").addEventListener("click", (event) => { event.preventDefault(); // call the signOut method to invalidate the token. session.signOut().then(()=>{ session = null; // Clear the session from memory. localStorage.removeItem("__ARCGIS_REST_USER_SESSION__"); updateSessionInfo(); }); });
Create a session from local storage
ArcGIS REST JS does not include tools for persisting a session after retrieving session information. You must decide how to implement persisting the session and specify where the user goes after they authorize your application.
-
Create a
serializedfunction that checks if there is a session in local storage. You can use theSession ArcGISIdentitymethod to parse theManager.deserialize serializeddata.Session index.htmlUse dark colors for code blocks let session = null; const clientId = "CLIENT_ID"; const redirectUri = window.location.origin + "/authenticate.html"; const serializedSession = localStorage.getItem("__ARCGIS_REST_USER_SESSION__"); // Check to see if there is a serialized session in local storage. if (serializedSession !== null && serializedSession !== "undefined") { session = ArcGISIdentityManager.deserialize(serializedSession); }
Update session info
-
Create an
updatefunction that adds the username toSession Info sessionif the user is signed in. If not, ask the user to log in with their credentials.Info index.htmlUse dark colors for code blocks const serializedSession = localStorage.getItem("__ARCGIS_REST_USER_SESSION__"); // Check to see if there is a serialized session in local storage. if (serializedSession !== null && serializedSession !== "undefined") { session = ArcGISIdentityManager.deserialize(serializedSession); } function updateSessionInfo(session) { let sessionInfo = document.getElementById("sessionInfo"); if (session) { sessionInfo.classList.remove("bg-info"); sessionInfo.classList.add("bg-success"); sessionInfo.innerHTML = "Logged in as " + session.username; localStorage.setItem("__ARCGIS_REST_USER_SESSION__", session.serialize()); } else { sessionInfo.classList.remove("bg-success"); sessionInfo.classList.add("bg-info"); sessionInfo.innerHTML = "Log in to start a session."; } } updateSessionInfo(session);
Run the app
Run the application and navigate to your localhost, for example: https:. You will see the sign in page:
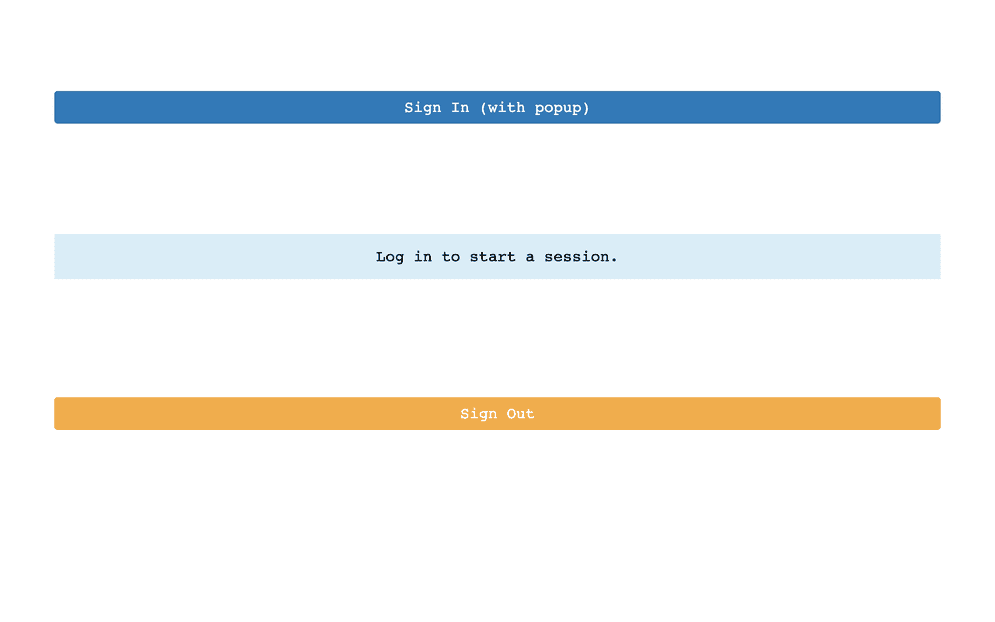
When you click Sign in, a pop-up prompts you to enter your credentials. Upon successful authorization, you are redirected to the home page where your username is displayed.
What's next
Learn how to use additional ArcGIS location services in these tutorials: