This sample demonstrates fine-grained, per-user access control for a hosted feature service. The interceptor identifies the requesting user and returns only the features assigned to that user. The sample uses a U.S. states dataset, with usernames hard-coded for demonstration. For example, the user james12 can access only the “California” and “Oregon” features when querying the Hosted/States feature service.
Supported ArcGIS Enterprise SDK Versions
- 12.0 Windows/Linux
Configure the hosted feature service for this sample
Follow the steps below to create a hosted feature service using Portal for ArcGIS.
- Download the sample dataset from here.
- In Portal for ArcGIS, go to Content > My Content and click the New item.
- Drag or upload
States.gdb(zipped) to the New item window.
- Under File type, select
File geodatabase. Under How would you like to add this file? selectAdd States.gdb.zip and create a hosted feature layer. Click the Next.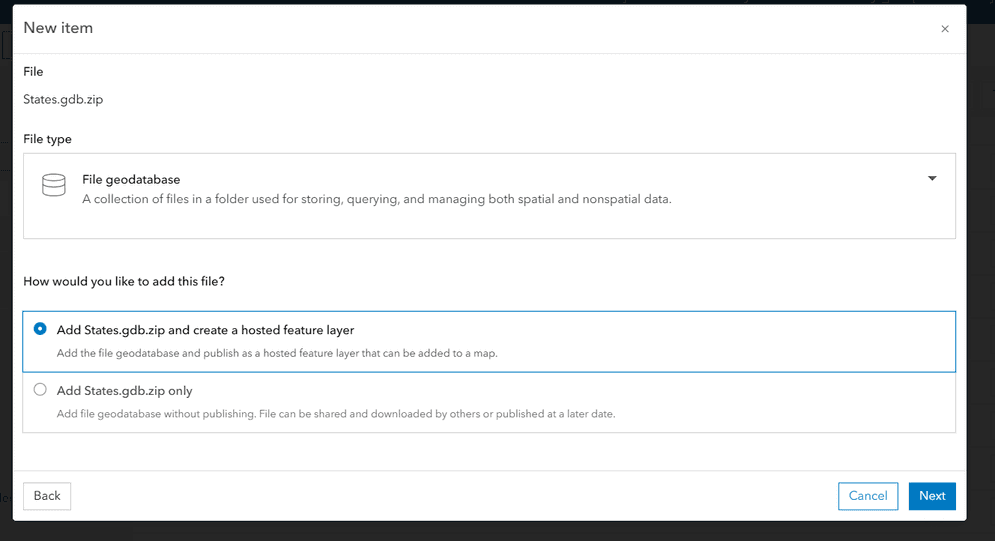
- Ensure the Title for the hosted feature service is
Statesand click the Save.
- Navigate to Content > My Content and ensure that the States hosted feature layer item is available.
Alternatively, You can also publish the hosted feature service from ArcGIS Pro.
Set up testing environment
Create new users
-
Go to the Portal for ArcGIS and sign in with administrator account.
-
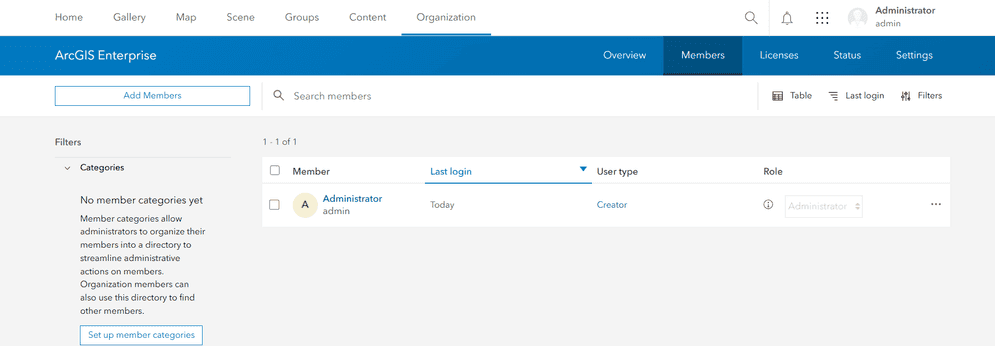
At the top of the page, click Organization, and click Members → Add Members.
-
Click New member and click Next to proceed.
-
Create the user
james12based on the information in the table below and click Next.Field Value First name James Last name Smith (example — adjust as needed) Username james12 Email address james12@example.com (replace if needed) Role Viewer Password Secure password (per org policy) -
Ensure that the user information matches that in the given table and proceed through the user creation workflow keeping all member properties as default.
-
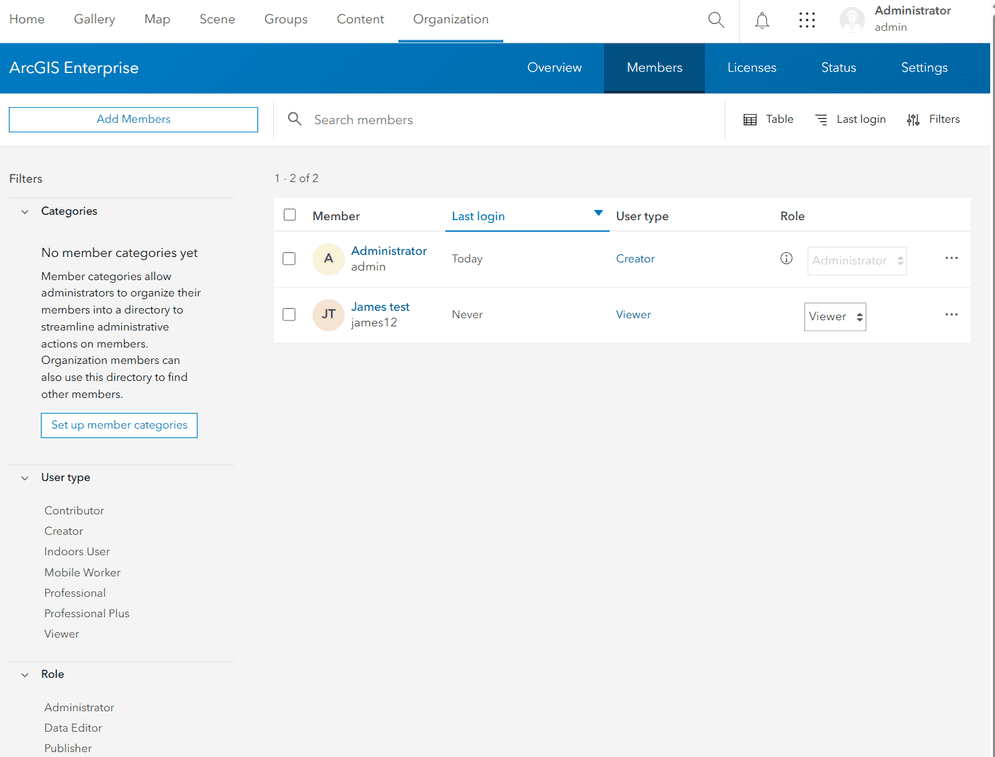
If there are no missing fields, click Add member and the user james12 is now created.
-
Follow the same steps from above to create members for the remaining users as given in the below tables:
sam259:Field Value First name Sam Last name Johnson (example — adjust as needed) Username sam259 Email address sam259@example.com Role Viewer Password Secure password tony64:Field Value First name Tony Last name Brown (example — adjust as needed) Username tony64 Email address tony64@example.com Role Viewer Password Secure password
Create a Group
- Sign in to the Portal for ArcGIS. On the Groups page, click + Create group.
- Assign
Viewas the group Name and keep all other fields as default and click Save.Map Group 
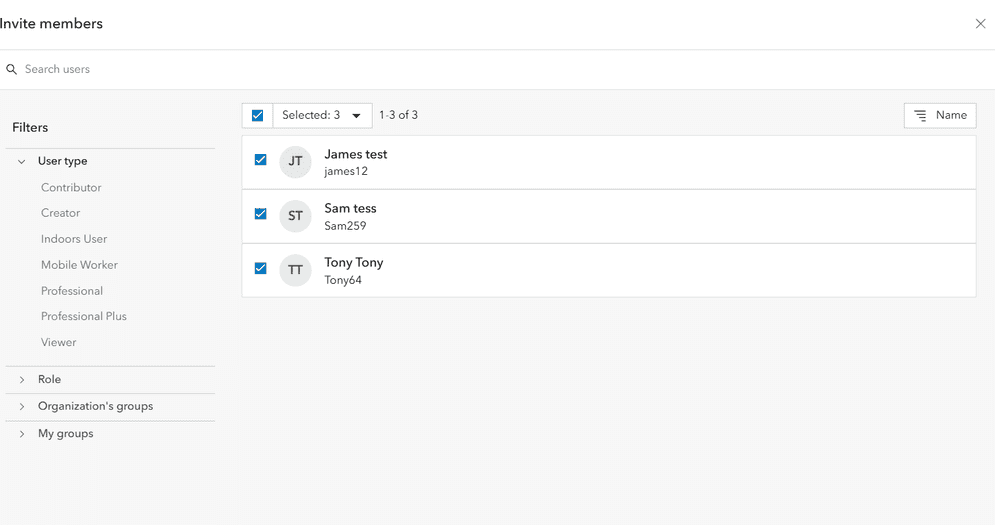
- Once the is group created, click the Invite members to add the three newly created users.

- Click Add items to group, select the States hosted feature layer, and then click Add items.

- Please confirm all users and items have been added to the
Viewgroup.Map Group
Download the sample code
The pre-built access control interceptor sample is available here: Access Control Interceptor
Deploy the Interceptor
Deploying the interceptor is done in two parts: upload and register.
Upload and Register
After downloading the interceptor sample, follow the steps below to deploy the interceptor.
- Unzip the access control interceptor sample into a directory of your choosing.
- Navigate to the ArcGIS Server Administrator Directory and sign in as an administrator.
- Click uploads > upload.
- On the Upload Item page, click the Choose File and select the
Accessfile located in theControl.interceptor Accessfolder in the directory where you unzipped the sample in Step 1 above.Control Interceptor/target - Click the Upload. Once the file is uploaded, you will be directed to the Uploaded Item page. Copy the Item ID.
- Navigate to Home > system > interceptors. The corresponding URL is:
<domain.>/ <server-web-adaptor >/admin/system/interceptors - Click register and paste the value of the Item ID obtained in Step 5 into the input field.
- Click the Register to complete the register.
Verify the result
Once the interceptor is registered, it is functioning immediately. To inspect the behavior of the access control interceptor, follow the steps below.
-
Login into Portal for ArcGIS with user
james12. -
Go to Group -> ViewMapGroup-> Content -> States(Hosted Feature) -> Open in Map Viewer.
-
Now you will see that only the states
CaliforniaandOregonare accessible to userjames12.
-
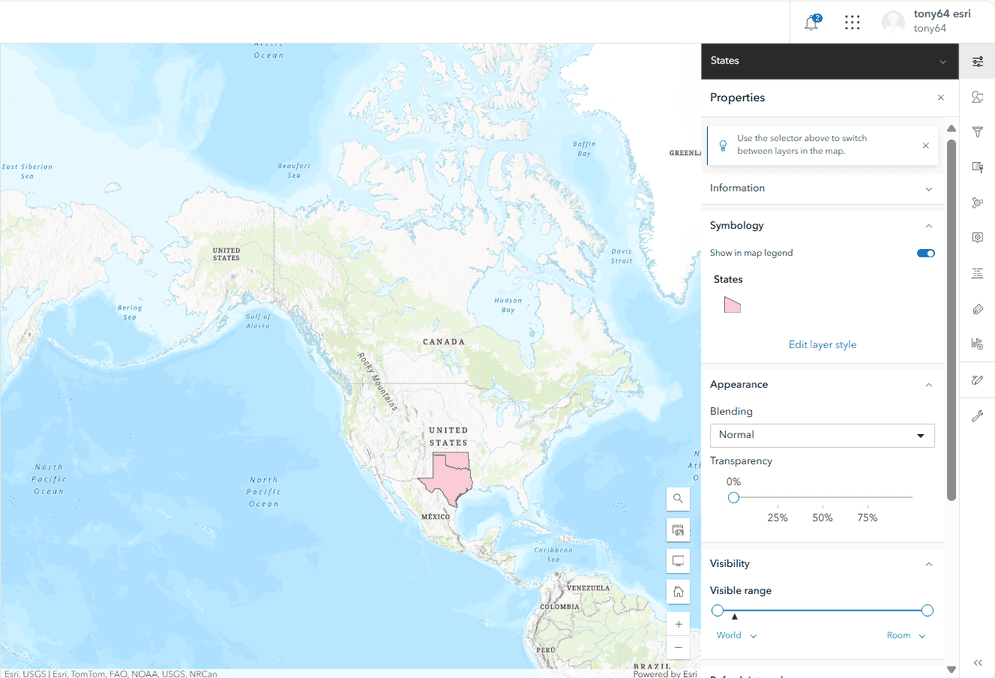
Repeat the same process for other two users to check that they can only access the assigned states listed below.
username access states james12 "California", "Oregon" sam259 "Washington", "New York" tony64 "Texas", "Oklahoma" 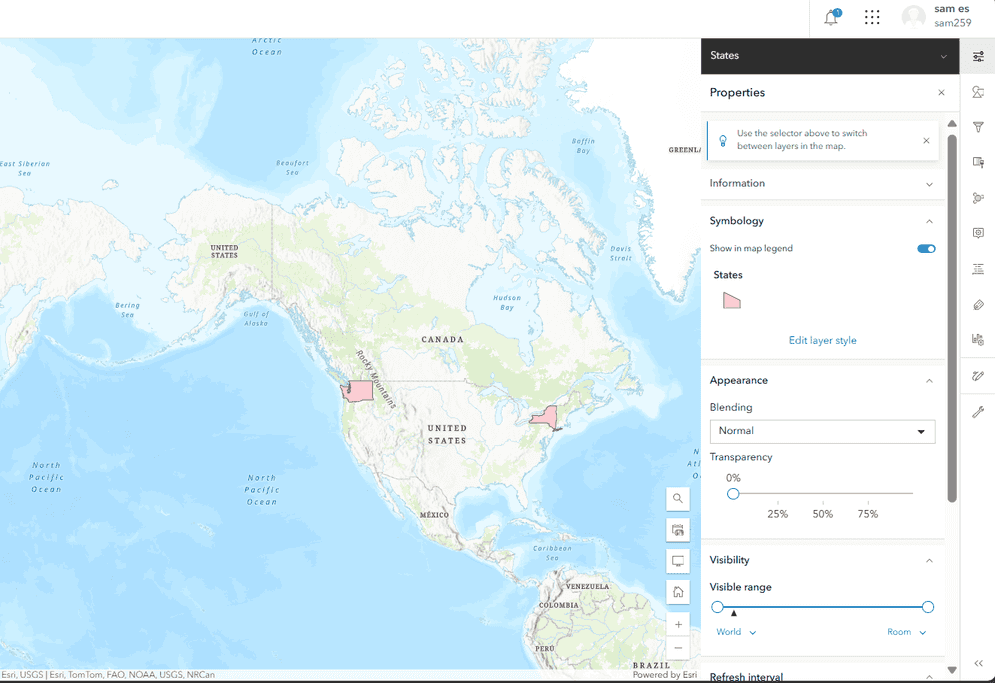
-
Now login with an administrator user or any other user who has access to the States feature service and does not have their username hardcoded in the interceptor code. After successful login, access the same feature service in Map Viewer. You will be able to view all states.
