Learn how to import data into ArcGIS Online using ArcGIS API for Python.

With an ArcGIS Online account or ArcGIS Developer account, you can upload geographic data to ArcGIS in several formats, including CSV, XLS, GPX, GeoJSON, or Shapefiles. Once imported, you can publish your data as a feature layer, and then call the underlying ArcGIS REST Feature Service to edit and make spatial queries on that layer.
Initially your feature layer is private, but you can change the sharing level in the developer dashboard or ArcGIS Online.
With the ArcGIS API for Python you can automate the process of importing and then publishing data as a web layer. The import process is a fast and easy way to turn static data into live web services that can be displayed, filtered, and edited within your applications.
In this tutorial, you will import different file types as items stored in ArcGIS.
Prerequisites
The ArcGIS API for Python tutorials use Jupyter Notebooks to execute Python code. If you are new to this environment, please see the guide to install the API and use notebooks locally.
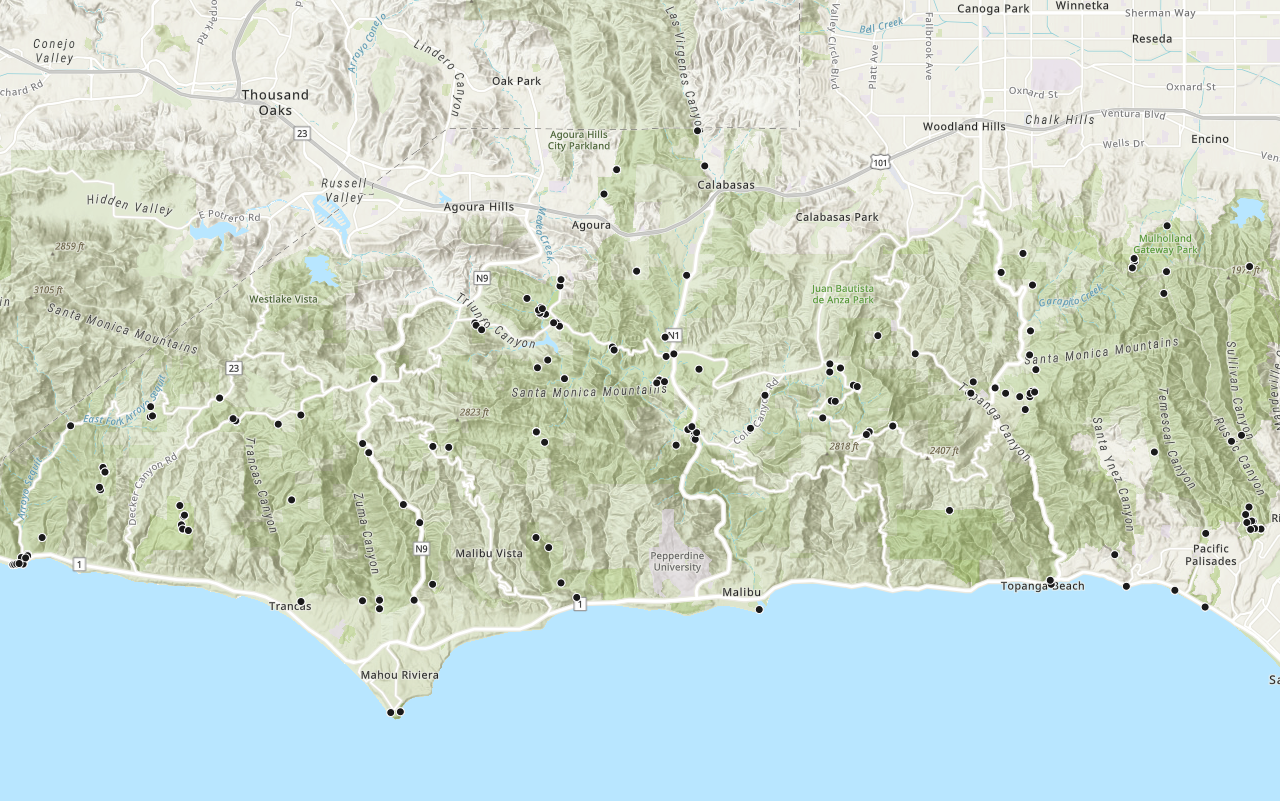
Be sure you have completed the Download data tutorial or have downloaded the LA_Hub_Datasets from ArcGIS Online.
Steps
Import modules and log in
-
Use the
GISclass to log in to ArcGIS using your ArcGIS Online account or ArcGIS Developer account.Use dark colors for code blocks from arcgis.gis import GIS import getpass gis = GIS( url="https://www.arcgis.com", username="username", password=getpass.getpass("Enter password:") )
Import the Trailheads CSV file
-
Create a dictionary object to store the metadata for the CSV file. Use the fields
title,description,tags.Use dark colors for code blocks gis = GIS( url="https://www.arcgis.com", username="username", password=getpass.getpass("Enter password:") ) trailhead_properties = { "title": "Trailheads", "description": "Trailheads imported from CSV file", "tags": "LA Trailheads" } -
Import the file as a data file item by calling the
addmethod. Pass in the local path of the file and the metadata object. This will return anItemobject.Use dark colors for code blocks trailhead_properties = { "title": "Trailheads", "description": "Trailheads imported from CSV file", "tags": "LA Trailheads" } csv_file = './data/LA_Hub_datasets/LA_Hub_datasets/Trailheads.csv' csv_item = gis.content.add(trailhead_properties, csv_file) -
Call the
publishmethod on the returnedcsvto publish the as a feature layer, which returns another_item Iteminstance for the feature layer.Use dark colors for code blocks trailhead_properties = { "title": "Trailheads", "description": "Trailheads imported from CSV file", "tags": "LA Trailheads" } csv_file = './data/LA_Hub_datasets/LA_Hub_datasets/Trailheads.csv' csv_item = gis.content.add(trailhead_properties, csv_file) trailhead_service = csv_item.publish() trailhead_service
Import the Trails GeoJSON file
-
Create a
dictionaryobject to store the metadata for the GeoJSON file with the fieldstitle,description,tags, andtype.Use dark colors for code blocks trailhead_service = csv_item.publish() trailhead_service trails_properties = { "title": "Trails", "description": "Trails imported from GeoJSON file", "tags": "LA Trails", "type": "GeoJson" } -
Import the file as a data file item by calling the
addmethod. Pass in the local path of the file and the metadata object. This will return anItemobject.Use dark colors for code blocks trails_properties = { "title": "Trails", "description": "Trails imported from GeoJSON file", "tags": "LA Trails", "type": "GeoJson" } geojson_file = './data/LA_Hub_datasets/LA_Hub_datasets/Trails.geojson' geojson_item = gis.content.add(trails_properties, geojson_file) -
Call the
publishmethod on the returnedcsvto publish the as a feature layer, which returns another_item Iteminstance for the feature layer.Use dark colors for code blocks trails_properties = { "title": "Trails", "description": "Trails imported from GeoJSON file", "tags": "LA Trails", "type": "GeoJson" } geojson_file = './data/LA_Hub_datasets/LA_Hub_datasets/Trails.geojson' geojson_item = gis.content.add(trails_properties, geojson_file) trails_service = geojson_item.publish() trails_service
Import the Parks and Open Spaces Shapefile
-
Add a
dictobject to store the metadata for the Shapefile with the fieldstitle,tags, andtype.Use dark colors for code blocks trails_service = geojson_item.publish() trails_service parks_properties = { 'title': 'Parks and Open space test', 'tags':'parks, open data, tutorials', 'type': 'Shapefile' } -
Load the Shapefile zip as a data file item with a
Contentby callingManager gis.content.addwhich returns anItemobject.Use dark colors for code blocks parks_properties = { 'title': 'Parks and Open space test', 'tags':'parks, open data, tutorials', 'type': 'Shapefile' } data_file_location = './data/Parks_and_Open_Space.zip' # relative path to notebook shp_item = gis.content.add(parks_properties, data=data_file_location) shp_item -
Call the
publishmethod on the returnedcsvto publish the as a feature layer, which returns another_item Iteminstance for the feature layer.Use dark colors for code blocks parks_properties = { 'title': 'Parks and Open space test', 'tags':'parks, open data, tutorials', 'type': 'Shapefile' } data_file_location = './data/Parks_and_Open_Space.zip' # relative path to notebook shp_item = gis.content.add(parks_properties, data=data_file_location) shp_item parks_feature_layer_item = shp_item.publish() parks_feature_layer_item
Identify the Item URLs
-
Use the
urlproperty of each of the feature layer objects to get the Service URL. Use this URL to gain access to your feature layer in other tutorials and projects.Use dark colors for code blocks print(f"Trailheads feature layer url (Points): {trailhead_service.url}") print(f"Trails feature layer url (Polylines): {trails_service.url}") print(f"Parks feature layer url (Polygons): {parks_feature_layer_item.url}")
What's next?
Learn how to use additional functionality in these tutorials:

Download data
Automate downloading data from the cloud using the ArcGIS API for Python.
Add a layer from a portal item
Learn how to use a portal item to access and display point features from a feature service.

Query a feature layer (SQL)
Learn how to execute a SQL query to access polygon features from feature services.