Load a point cloud scene layer and explore renderering and filtering workflows.
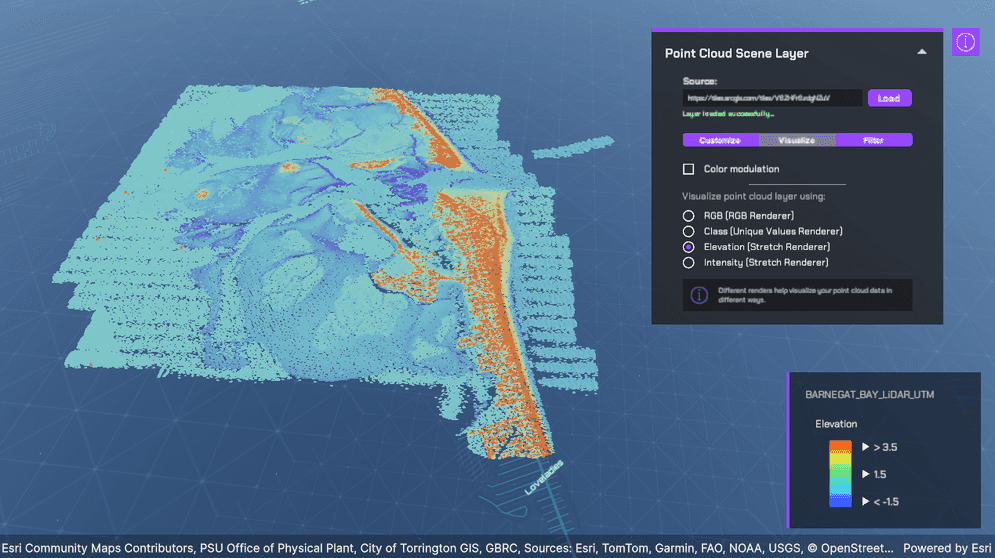
How to set up (Point Cloud Layer Scene)
- Open the PointCloudLayer scene.
- Click on the ArcGISMap GameObject in the hierarchy window.
- Set your API key under the Authentication section in the Inspector window.
- Click play.
How to set up (Sample Viewer)
- Click Play in Unity Editor.
- Input your API key under the API Key Drop down.
- Click the Sample Drop Down and select Point Cloud Layer.
How to use the sample
- The sample loads a default point cloud scene layer when the scene starts.
- To load another point cloud scene layer, enter its SceneServer URL and click Load.
- Use the Customize tab to adjust point size and point density.
- Use the Visualize tab to switch between RGB, class code, elevation, and intensity renderers.
- Use the Filter tab to filter points by class code or return type.
How it works
The PointCloudLayerDataLoader.cs script creates an ArcGISPointCloudLayer from the SceneServer URL, adds it to the map, waits for it to load, and zooms the camera to the layer extent.
The PointCloudCustomizeController.cs script updates the active point cloud renderer's point size and points-per-inch values.
The PointCloudVisualizeController.cs script creates point cloud renderers for RGB, class code unique values, elevation stretch, and intensity stretch display modes.
The PointCloudFilterController.cs script builds point cloud filters from the selected class code and return type options and applies them to the active layer.
About the data
This sample uses the Barnegat Bay LiDAR point cloud scene layer hosted by Esri.
Tags
point cloud, point scene layer, lidar, renderer, filter