Learn how to create a data filter in ArcGIS Dashboards using URL parameters.
ArcGIS Dashboards provides several options for filtering data that you can use to display specific data in a dashboard. Here's an overview of how you can use ArcGIS Dashboards to create your own filter using URL parameters:
-
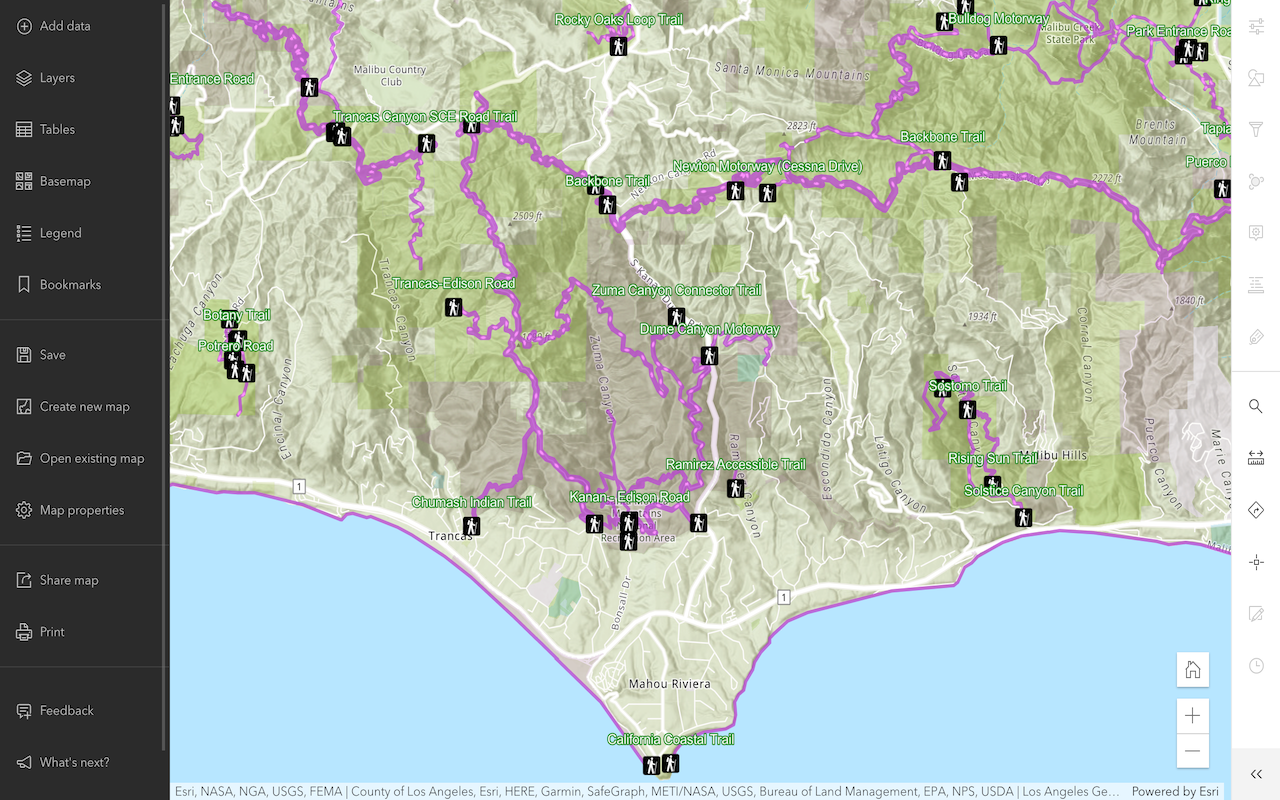
Load a web map using the Dashboards map element.
-
Create a category selector element to filter data.
-
Set actions in the category selector element to sync with the map.
Prerequisites
Steps
This tutorial builds upon the Filtering data in a dashboard tutorial. If you have completed the tutorial and have a dashboard you can work with, you can skip to the Configure URL parameter section.
Create a dashboard
Now that you have a web map, you can create a dashboard to load it.
-
In the Content tab of your organization, click Create app > Dashboards.
-
In the Create new dashboard window, name the app
Esri Regional Officesand add your desired tags. -
Click Create dashboard.
Load the web map
You can now load the web map into your dashboard.
-
In the left-panel, click Add element > Map to add a map element to your dashboard.
-
Click on Shared maps tab.
-
In the Search bar, type the following:
DS2023 - Regional Officespublished by mtorrey_devlabs and select it. -
Click Done in the DS2023 - Regional Offices configuration window.
-
In the left-panel, click Save > Save to save your work.
Create category selector
-
In the left-panel, click View.
-
Click Header > Done. This will give a title to your category selector window, which defaults to the dashboard title.
-
Click Add selector > Category selector.
-
In the Category selector settings window, click Features under the Categories from menu.
-
Select the
Esri Regional Offices USlayer. -
In the left-panel, click on the Selector tab and set the following:
-
Enable Dropdown in Presentation mode
-
Enable Single in Selection
-
Enable Compact in Maximum height
-
-
In the left-panel, click on the Actions tab and set the following:
-
Enable DS2023 - Regional Offices in Flash settings.
-
Enable DS2023 - Regional Offices in Show pop-up settings.
-
Enable DS2023 - Regional Offices in Pan settings.
-
Enable DS2023 - Regional Offices in Zoom settings.
-
-
Click Done.
-
In the left-panel, click Save > Save to save your work.
Configure URL parameter
You will configure a URL parameter that will allow users to query for an Esri regional office in the URL address of your dashboard.
-
In the left-panel, click View.
-
Click Settings tab. The Settings configuration window will then be displayed.
-
In the URL parameters option, click Edit.
-
Click Add URL parameter > Feature parameter.
-
Change Name to
office-name. -
Click Change and select the Esri Regional Offices US layer.
-
Select Office Name in the Unique ID field.
-
Click Done.
You can now query for an Esri regional office by adding #office-name=<value> to the end of the URL address of your dashboard. For example:
https://arcgis-devlabs.maps.arcgis.com/apps/dashboards/92f63c5fb5494f5f835b4dd128199695#office-name=esri denverShare the dashboard
-
In the left-panel window, click the menu icon.
-
Click Dashboard item details to view the item page of your dashboard.
-
Click the Share button on the dashboard item page.
-
Select the appropriate share level.
-
Click Save.


