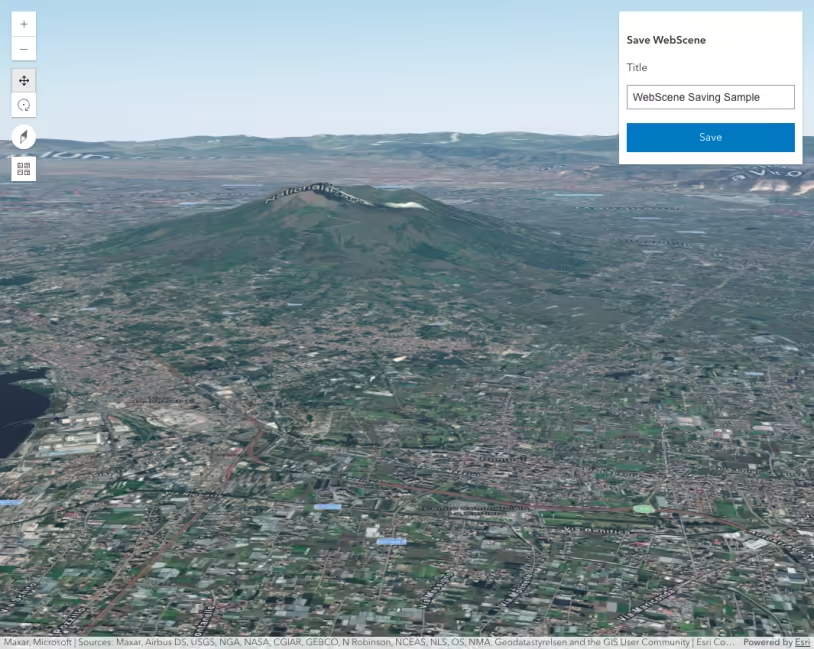
This sample demonstrates how to load a WebScene and work with its slides. Slides store a snapshot of a visualization state of the scene that can be reapplied to the scene at a later time. They contain properties for viewpoint, layer visibilities, basemap and environment (as well as a title and thumbnail). This WebScene contains a few pre-made slides, and clicking on any of them will navigate the viewpoint to the corresponding natural landmark with its saved environment settings. In addition, the sample shows how to create new slides given the current view, and store them in the WebScene. Using the Daylight and Weather components (on the left), you can set up different environmental conditions when creating new slides.
The WebScene instance (assigned to viewElement.map) contains a presentation property that manages the scene’s slides.
<!-- Reference a webscene in the Scene component --><arcgis-scene item-id="1c7a06421a314ac9b7d0fae22aa367fb"> <script type="module"> const viewElement = document.querySelector("arcgis-scene"); const slides = viewElement.map.presentation.slides; </script></arcgis-scene>To create a new slide containing a snapshot of the current view, use the Slide.createFrom static method. This method returns a Promise that resolves with a new Slide instance once the slide has been successfully created. You can also add the slide to the slides collection of the scene presentation so that if the scene is published back to the portal, the newly created slide is correctly persisted as part of the WebScene.
// Create a slide containing a snapshot of the current view and its properties Slide.createFrom(viewElement.view).then((slide) => { // Set the slide title using the text from the title input element slide.title.text = document.getElementById("createSlideTitleInput").value; // Add the slide to the slides collection of the scene presentation slides.add(slide); // Create an UI for the new slide using a custom function createSlideUI(slide); });The slide properties can be used to create DOM elements to represent each viewpoint. Below is an example of a UI created using Calcite components. Slides are displayed there in the form of a list, with each item represented by a thumbnail, title, and description using the information stored in the slides.
// Create a new element which will contain all the slide information const slideElement = document.createElement("calcite-list-item"); // Assign attributes of the slide to the element slideElement.id = slide.id; slideElement.label = slide.title.text; slideElement.scale = "s"; slideElement.setAttribute("closable", ""); // Assign the date and time (in UTC) representing the light state to the slide description slideElement.description = slide.environment.lighting.date.toLocaleString("en-GB", { timeZone: "UTC", }); // Create an element with a thumbnail using the slide's URL slideElement.innerHTML = `<calcite-content slot="content-start"> <img alt="" src="${slide.thumbnail.url}"> </calcite-content>`; slidesDiv.appendChild(slideElement);Once a new DOM element is created for each slide, you can set up a click event handler to apply the slide’s settings to the view. This is done with the slide’s applyTo() method, which allows the user to animate to the given slide’s viewpoint and set saved properties.
slideElement.addEventListener("calciteListItemSelect", () => { // Applies a slide's settings to the SceneView and configure the animation slide.applyTo(viewElement.view, { maxDuration: 3000, easing: "quad-in-out-coast", }); });