Learn how to use the ArcGIS Vector Tile Style Editor to create a custom basemap layer style.
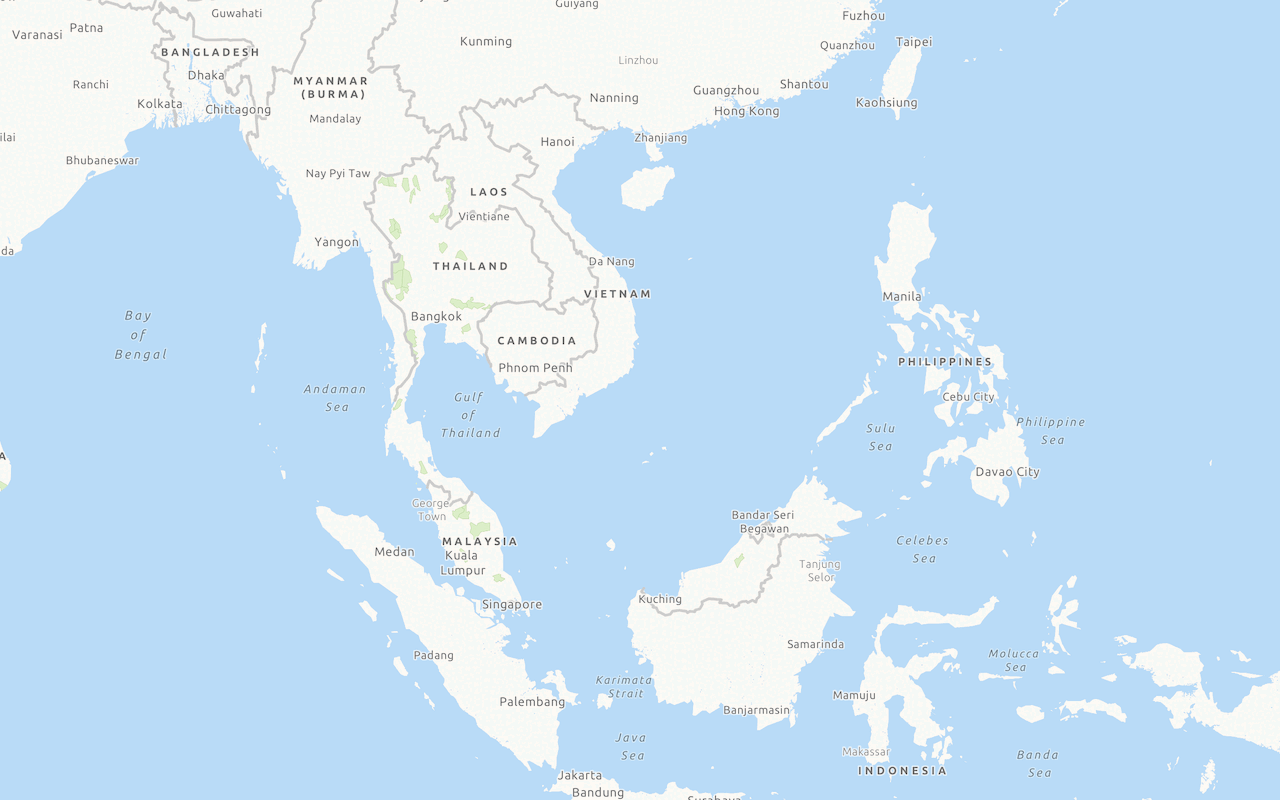
A basemap layer
In this tutorial, you use the Vector Tile Style Editor to customize colors, patterns, and labels in a basemap.
Prerequisites
You need an ArcGIS Location Platform, ArcGIS Online, or ArcGIS Enterprise account to create, manage and access hosted layers
Steps
Customize a basemap
To create a custom basemap style, you start by selecting an existing basemap layer
-
Go to the Vector Tile Style Editor.
-
Sign in with your ArcGIS account.
-
Click + New style.
-
In the Select a style to continue panel, click Popular > Light Gray Canvas.
-
In the left panel, click Quick Edit. Style the basemap using Colors, Font, Label Size, and Road Width. For example:
- Colors
- Land:
#fbf8f3 - Water:
#b9dbf7 - Roads:
#f0f1f0 - Boundaries:
#ffffff - Buildings:
#ebe7dc - Nature:
#d0e4bb
- Land:
You can also click Randomize to generate different color schemes for the basemap.
- Font
- Family:
Noto Sans Regular
- Family:
- Label Size
- Click Larger
- Road Width
- Click Narrower
- Colors
Style individual layers
To find an individual layer
-
In the search tool of the map, enter
Yosemite National Park. -
Click on any green area to open the Admin0 forest or park layer.
-
In the map, zoom out to level 6 so that the layer disappears.
-
In the Layer Editor > Visibility panel:
- Click on the Visible Zoom Range to reveal the available visible range.
- Set the first number of the Visible Zoom Range to 3 to make the layer visible.
-
In the map, zoom out to level 2 and level 3 to see the new zoom range.
-
In the Layer Editor > Appearance panel, set the fill and outline color properties to change at different zoom levels using either hex codes or the color selector. For example:
- Color > Settings icon > Set Value by Zoom level:
3#ddf0ca6#cbe5b1- Click Add Stop and enter:
10#bae291.
- Outline Color:
#bbd4a2 - Opacity:
60%
- Color > Settings icon > Set Value by Zoom level:
-
In the map, zoom to levels 2-11 to see the new color transitions at different zoom levels.
Style multiple layers
To style multiple layers
-
In the toolbar, click Edit Layer Styles > Water > Lake. Click Lake once more to ensure that all sub-layers are selected
-
In the editor, set the following for Colors:
- Water:
#c9def0 - Label Colors:
Pick Label Colors- Label Text:
#497aab - Label Halo:
e4e4e4
- Label Text:
- Water:
-
In the toolbar, click Ocean and set the same properties that you used for Lake.
-
In the map, zoom in to where you can see lakes and ocean to view style differences. You can also use the mini maps to explore all of the styles at different zoom levels.
-
In the toolbar click Save As to save your customized basemap. Enter a Title and Tags.
You should now have a custom basemap style that you can edit using the tools provided in the Vector Tile Style Editor. The style is added to your portal as an item
What's Next?
Learn how to use additional tools, APIs, and location services in these tutorials:
Display a custom basemap style
Add and display a styled vector tile basemap layer.