You can navigate sceneArcGISSceneView or ArcGISLocalSceneView) by:
- Using built-in navigation, such as panning, zooming, and changing pitch.
- By programmatically changing camera position.
Built-in navigation
Scene views have a number of built-in gestures that allow you to navigate a scene.
Basic navigation
Navigation for scene views is essentially the same as the navigation for a map view. Navigation in a scene view moves the position of a camera in 3D space and therefore has some subtle differences. The following table summarizes the built-in navigation capabilities of the ArcGISSceneView and ArcGISLocalSceneView widgets.
| Navigation | User Action |
|---|---|
| Zoom in | Two finger pinch open Single finger double-tap |
| Zoom out | Two finger pinch close Two finger single-tap |
| Continuous zoom in / out | Single finger double-tap, ending in a vertical up/down drag1 |
| Move/Pan | Single finger drag or flick |
| Rotate the scene | Two finger rotate |
| Camera look-around effect | Single finger double-tap and hold. The camera will pan (drag left/right) and pitch (drag up/down) at the current location2 |
ArcGISSceneView.
2 Applies only to
ArcGISLocalSceneView.
Advanced navigation
Scene views have additional navigation not found in a map view:
| Navigation | User Action |
|---|---|
| Tilt the scene | Two finger up/down drag |
Programmatically change camera position
Your applications can programmatically navigate a 3D scene by creating a new camera and setting it to the view you are working with. A camera defines the location from which you are viewing the scene.
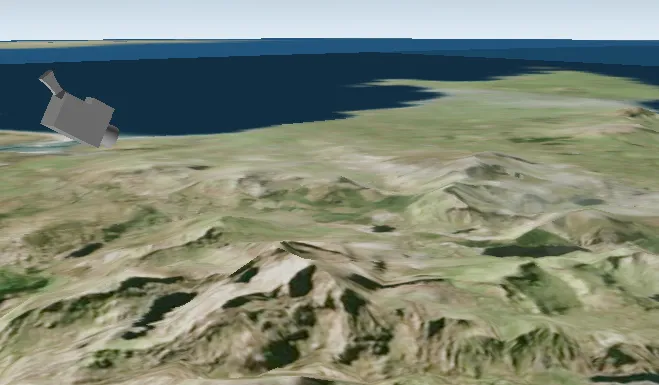
The camera is shown in this image for illustration purposes; when you set camera settings (location, pitch), think of the camera class as a real-life camera you’re adjusting the position of.
Set the camera
For example, to point the camera to toward the Snowdon mountainside, use these values:
- For 3D location, use 53.06 latitude, -4.04 longitude, 1289 meters above sea level
- For heading, use 295 degrees
- For pitch, use 71 degrees
- For roll, use 0 degrees
// Set the camera to point at the Snowdon mountainside.final snowdonCamera = Camera.withLatLong(latitude: 53.06, longitude: -4.04, altitude: 1289, heading: 295, pitch: 71, roll: 0);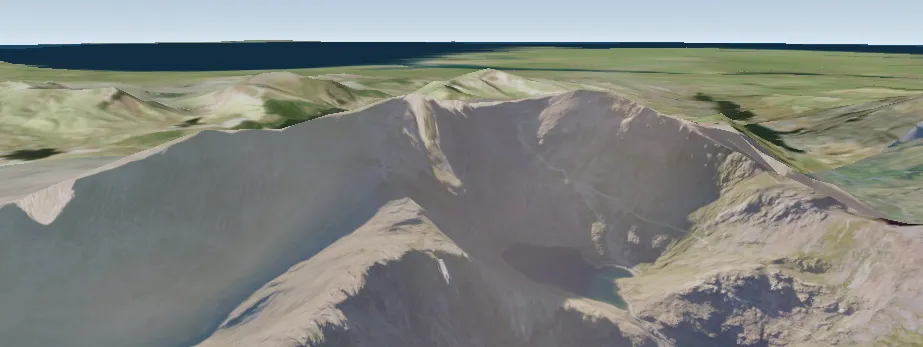
Apply the new camera to the scene view using ArcGISSceneViewController.setViewpointCamera(), or animate the transition to it with ArcGISSceneViewController.setViewpointCameraAnimated().
// Immediately change the display to the viewpoint specified by the// Snowdon camera.sceneViewController.setViewpointCamera(snowdonCamera);Move and adjust the camera
After you set a camera, you can update the scene view display by creating and applying a new camera. You can define the new camera with absolute values for location and orientation, or derive it from the current camera using relative values.
Use the ArcGISSceneViewController.getCurrentViewpointCamera() method to get the scene view’s current viewpoint camera. To adjust the viewpoint relative to the camera’s current position or orientation, use the current camera to create a new camera, then apply the new camera with ArcGISSceneViewController.setViewpointCamera().