Showcase a smooth, automated camera fly-through along a path of stop points. The path can be predefined or built at runtime from the current camera position, including mode switching (flythrough vs. free navigation), basic obstacle avoidance, and smooth position/rotation interpolation. The path can be saved to the disk for reuse.
How to use the sample
-
Open the
Flythroughlevel. -
Set your API Key.
-
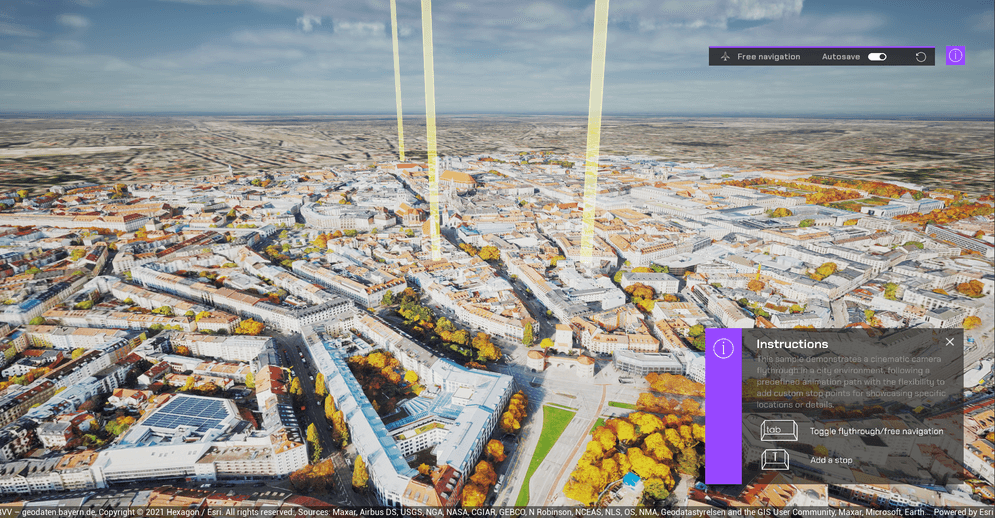
Wait for the map to fully render. The app starts with two stop points.
-
You can toggle between free navigation mode and flythrough mode by pressing
Tab. In the free navigation mode, you can pressTto add the current camera position as a stop point. (Tip: Click in the viewport to ensure it has input focus before pressing.) You can also open the blueprintFlythrough_BPto add stop points. After adding the stop points, you can switch back to the flythrough mode to fly through these points. Clear the stop points by clicking the clear button. -
Change the flythrough speed by changing the variable
speed. -
You can toggle autosave on and off. When autosave is on, the app saves the stop points you added to the disk so you can reload them next time.
How it works
Path authoring
You can load a predefined list of stop points or append new ones from the current camera position at runtime. The path is then consumed by the flythrough controller. This is done using unreal engine timeline. Alternatively, you can use the level sequencer. However, using timeline gives you more control freedom, letting you fine tune the route, manage stop points and change fly speed programmatically.
Smooth position & rotation interpolation
Camera location is calculated by vector interpolation between stop points for smooth movement. Camera orientation is computed with FindLookAtRotation, producing natural look-at behavior along the path.
Wait until map is loaded
Before starting, the sample queries the map’s draw status via ArcGISView.GetDrawStatus() to ensure the scene is fully rendered, preventing starts on partially loaded tiles.
Basic obstacle avoidance
When traveling between two stop points, the system does a raytracing to determine the obstacle on the flythrough path, then computes a midpoint above the obstacle, and traverses two arcs (start → mid, mid → end) to reduce chances of intersecting terrain/objects. Note: When start and end are very close but have a large height difference, this heuristic can fail.
Tags
cinamatic, camera, path, fly, view