Changes the appearance of the atmosphere in a scene.
Use case
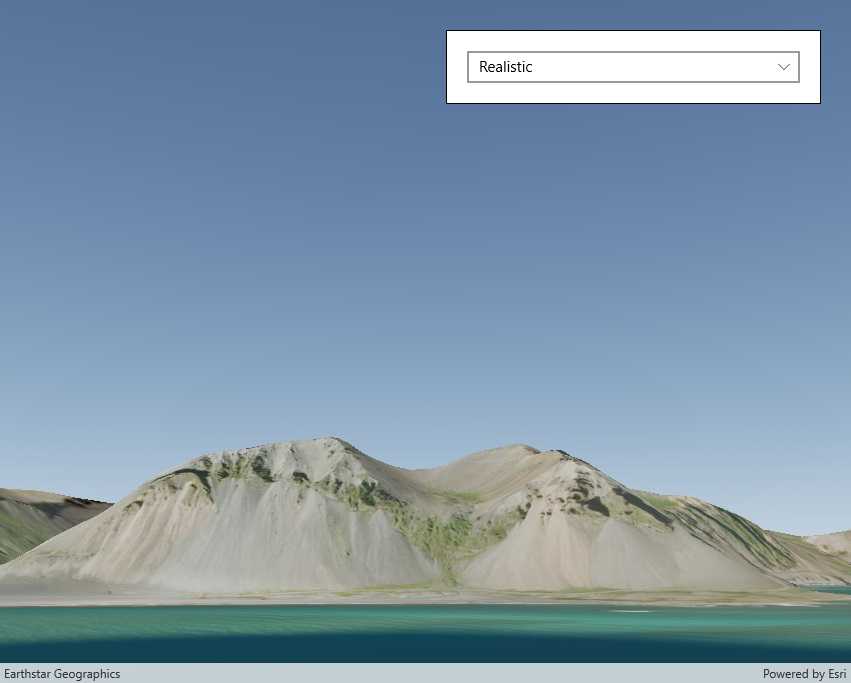
Atmospheric effect can be used to make the scene view look more realistic.
How to use the sample
Select one of the three available atmosphere effects. The sky will change to display the selected atmosphere effect.
How it works
- Create a scene and display it in a scene view.
- Change the atmosphere effect with the
SceneView.AtmosphereEffectproperty.
Relevant API
- SceneView
- SceneView.AtmosphereEffect
Additional information
There are three atmosphere effect options:
- Realistic - A realistic atmosphere effect is applied over the entire surface.
- Horizon only - Atmosphere effect applied to the sky (horizon) only.
- None - No atmosphere effect. The sky is rendered black with a starfield consisting of randomly placed white dots.
Tags
atmosphere, horizon, sky
Sample Code
<UserControl
x:Class="ArcGIS.UWP.Samples.ChangeAtmosphereEffect.ChangeAtmosphereEffect"
xmlns="http://schemas.microsoft.com/winfx/2006/xaml/presentation"
xmlns:x="http://schemas.microsoft.com/winfx/2006/xaml"
xmlns:esriUI="using:Esri.ArcGISRuntime.UI.Controls">
<Grid>
<esriUI:SceneView x:Name="MySceneView" />
<Border Style="{StaticResource BorderStyle}">
<ComboBox x:Name="AtmosphereEffectPicker" HorizontalAlignment="Stretch">
<ComboBoxItem>Realistic</ComboBoxItem>
<ComboBoxItem IsSelected="True">Horizon only</ComboBoxItem>
<ComboBoxItem>None</ComboBoxItem>
</ComboBox>
</Border>
</Grid>
</UserControl>