Set the terrain surface with elevation described by a raster file.
Use case
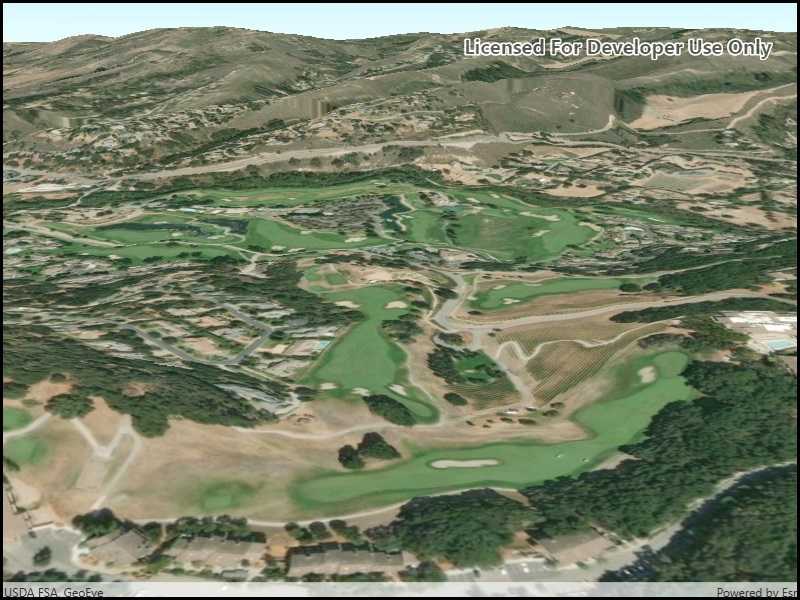
In a scene view, the terrain surface is what the basemap, operational layers, and graphics are draped onto. For example, when viewing a scene in a mountainous region, applying a terrain surface to the scene will help in recognizing the slopes, valleys, and elevated areas.
How to use the sample
When loaded, the sample will show a scene with a terrain surface applied. Pan and zoom to explore the scene and observe how the terrain surface allows visualizing elevation differences.
How it works
- Create a
Sceneand add it to aSceneView. - Create a
RasterElevationSourcewith a list of raster file paths. - Add this source to the scene's base surface:
Scene.BaseSurface.ElevationSources.Add(rasterElevationSource).
Relevant API
- RasterElevationSource
- Surface
Additional information
Supported raster formats include:
- ASRP/USRP
- CIB1, 5, 10
- DTED0, 1, 2
- GeoTIFF
- HFA
- HRE
- IMG
- JPEG
- JPEG 2000
- NITF
- PNG
- RPF
- SRTM1, 2
Tags
3D, elevation, raster, surface, terrain
Sample Code
<UserControl
x:Class="ArcGIS.UWP.Samples.CreateTerrainSurfaceRaster.CreateTerrainSurfaceRaster"
xmlns="http://schemas.microsoft.com/winfx/2006/xaml/presentation"
xmlns:x="http://schemas.microsoft.com/winfx/2006/xaml"
xmlns:esriUI="using:Esri.ArcGISRuntime.UI.Controls">
<Grid>
<esriUI:SceneView x:Name="MySceneView" />
</Grid>
</UserControl>