Create a feature collection layer from a portal item.
Use case
Feature collection layers are often used to hold features with mixed geometry or unstructured data. You can display feature collections stored in a Portal, which are often used for showing content from a CSV or map notes.
How to use the sample
The feature collection is loaded from the Portal item when the sample starts.
How it works
- Create a
Portal. - Create the
PortalItem, referring to the portal and an item ID. - Verify that the item represents a feature collection.
- Create a
FeatureCollectionfrom the item. - Create a
FeatureCollectionLayer, referring to the feature collection. - Add the feature collection layer to the map's
OperationalLayerscollection.
Relevant API
- FeatureCollection
- FeatureCollectionLayer
- Portal
- PortalItem
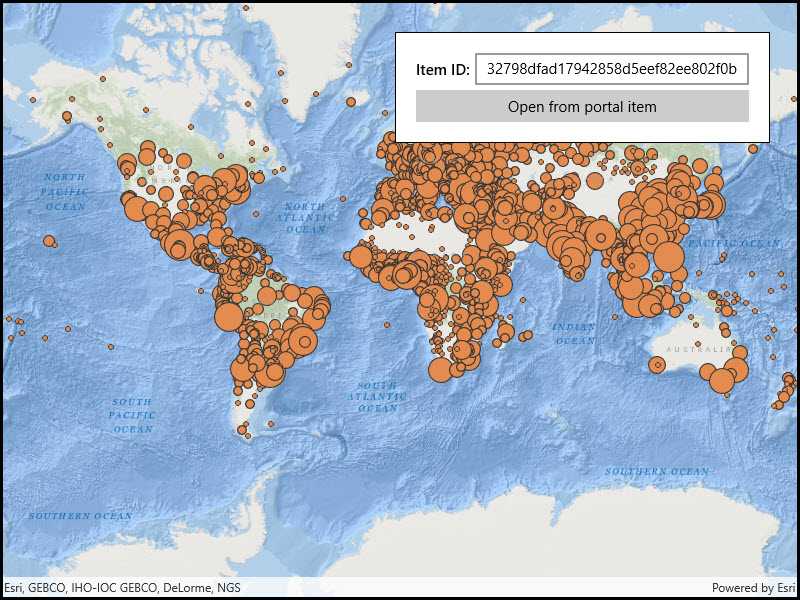
About the data
The sample uses a sample layer depicting world populations.
Tags
collection, feature collection, feature collection layer, id, item, map notes, portal
Sample Code
<UserControl x:Class="ArcGIS.UWP.Samples.FeatureCollectionLayerFromPortal.FeatureCollectionLayerFromPortal"
xmlns="http://schemas.microsoft.com/winfx/2006/xaml/presentation"
xmlns:x="http://schemas.microsoft.com/winfx/2006/xaml"
xmlns:esriUI="using:Esri.ArcGISRuntime.UI.Controls">
<Grid>
<esriUI:MapView x:Name="MyMapView" />
<Border Style="{StaticResource BorderStyle}">
<Grid>
<Grid.RowDefinitions>
<RowDefinition Height="Auto" />
<RowDefinition Height="Auto" />
</Grid.RowDefinitions>
<Grid.ColumnDefinitions>
<ColumnDefinition Width="Auto" />
<ColumnDefinition Width="*" />
</Grid.ColumnDefinitions>
<TextBlock Text="Item ID:"
Grid.Row="0" Grid.Column="0"
FontWeight="SemiBold"
VerticalAlignment="Center" />
<TextBox x:Name="CollectionItemIdTextBox"
Grid.Row="0" Grid.Column="1"
Margin="5,0,0,0"
HorizontalAlignment="Stretch" />
<Button Content="Open from portal item"
Grid.Row="1" Grid.Column="0" Grid.ColumnSpan="2"
Margin="0,5,0,0"
HorizontalAlignment="Stretch"
Click="Open_Click" />
</Grid>
</Border>
</Grid>
</UserControl>