Change the style of a Web Map Service (WMS) layer.
Use case
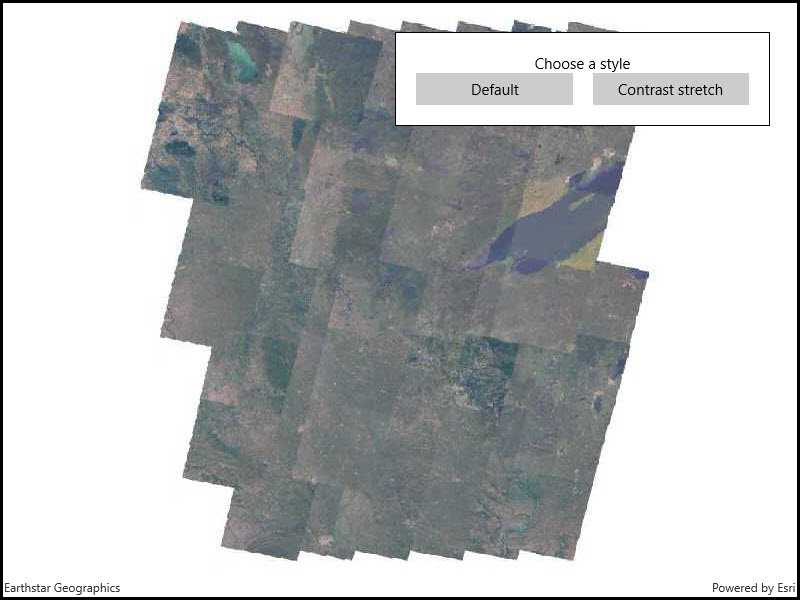
Layers hosted on WMS may have different pre-set styles available to apply to them. Swapping between these styles can help during visual examination of the data. For example, increasing the contrast of satellite images can help in identifying urban and agricultural areas within forested areas.
How to use the sample
Once the layer loads, the toggle button will be enabled. Click it to toggle between the first and second styles of the WMS layer.
How it works
- Create a
WmsLayerspecifying the URL of the service and the layer names you wantnew WmsLayer(url, names). - When the layer is done loading, get it's list of style strings using
wmsLayer.Sublayers[0].SublayerInfo.Styles. - Set one of the styles using the
wmsLayer.Sublayers[0].CurrentStyleproperty.
Relevant API
- WmsLayer
- WmsSublayer
- WmsSublayerInfo
About the data
This sample uses a public service managed by the State of Minnesota and provides composite imagery for the state and the surrounding areas.
Tags
imagery, styles, visualization, WMS
Sample Code
<UserControl
x:Class="ArcGIS.UWP.Samples.StyleWmsLayer.StyleWmsLayer"
xmlns="http://schemas.microsoft.com/winfx/2006/xaml/presentation"
xmlns:x="http://schemas.microsoft.com/winfx/2006/xaml"
xmlns:esriUI="using:Esri.ArcGISRuntime.UI.Controls">
<Grid>
<esriUI:MapView x:Name="MyMapView" />
<Border Style="{StaticResource BorderStyle}">
<Grid>
<Grid.RowDefinitions>
<RowDefinition Height="Auto"/>
<RowDefinition Height="Auto"/>
</Grid.RowDefinitions>
<Grid.ColumnDefinitions>
<ColumnDefinition Width="*"/>
<ColumnDefinition Width="*"/>
</Grid.ColumnDefinitions>
<TextBlock Text="Choose a style"
Grid.Row="0" Grid.Column="0" Grid.ColumnSpan="2"
HorizontalTextAlignment="Center" />
<Button x:Name="FirstStyleButton"
Grid.Row="1" Grid.Column="0"
Content="Default" IsEnabled="False"
HorizontalAlignment="Stretch" Margin="0,0,10,0"
Click="FirstStyleButton_Clicked"/>
<Button x:Name="SecondStyleButton"
Grid.Row="1" Grid.Column="1"
Content="Contrast stretch" IsEnabled="False"
HorizontalAlignment="Stretch" Margin="10,0,0,0"
Click="SecondStyleButton_Clicked"></Button>
</Grid>
</Border>
</Grid>
</UserControl>