Learn how to create, import, and enrich hosted feature layers for use in feature analysis.


To perform feature analysis, you need an input data source that contains feature data. The easiest format to use is data stored in ArcGIS as a hosted feature layer.
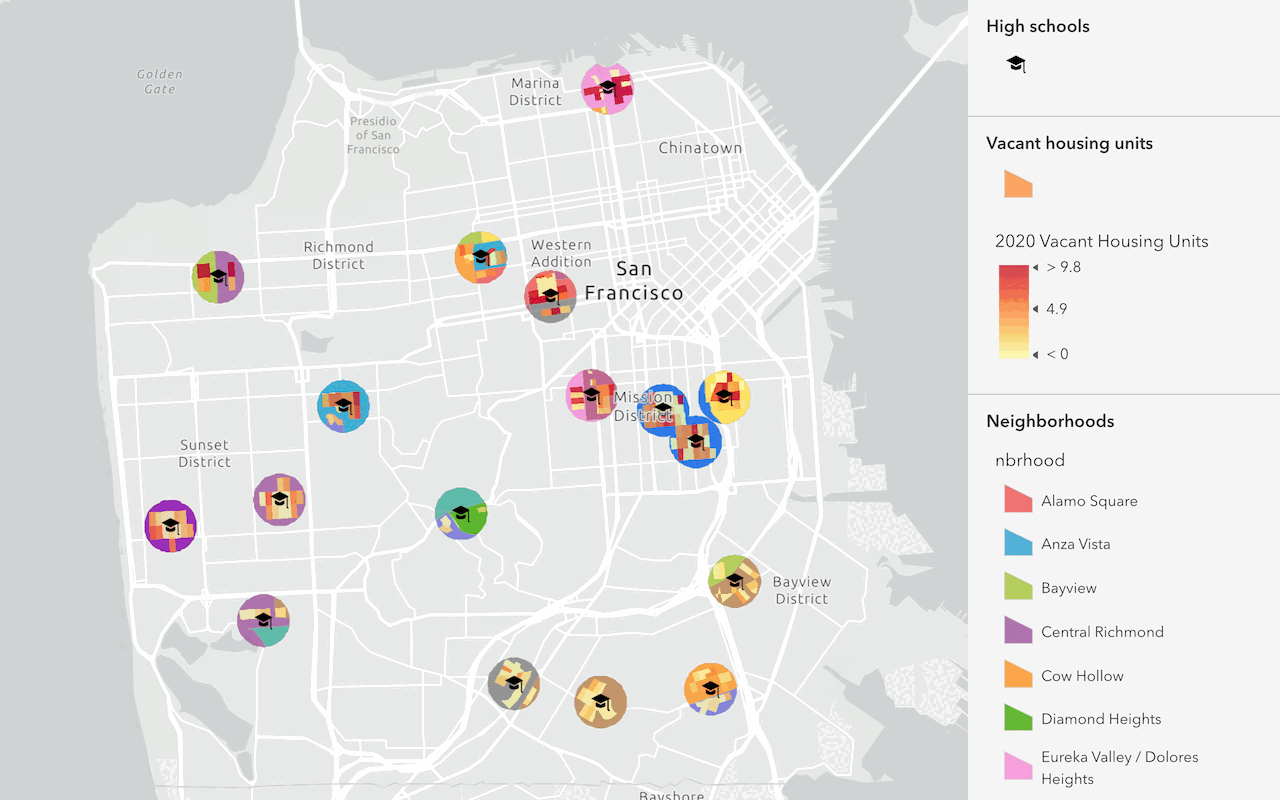
This tutorial shows you how to prepare data for feature analysis using ArcGIS Online, and ArcGIS Map Viewer. You can create a hosted feature layer by importing your own data, defining a new layer from scratch, or generating one programmatically. After creating a dataset, you can use Map Viewer to enrich it with information from the ArcGIS enrichment service.
Prerequisites
How to create data
There are different ways to create and enhance your data for use in feature analysis:
1. Import your data
You can convert existing data into a hosted feature layer by uploading it to your portal. This will allow you to use the data for spatial analysis and include it in your applications.
You can define the feature geometry of your data using either coordinate locations or street addresses. Supported file formats include CSV, GeoJSON, GPX, GeoDatabase, Shapefile, and Scene Layer Package.
The general steps to import your data are:
-
Format your data as CSV, GeoJSON, or one of the other supported formats.
-
Sign in to your portal:
- ArcGIS Location Platform: Go to https://location.arcgis.com > My portal.
- ArcGIS Online: Go to https://www.arcgis.com/home/signin.html.
- ArcGIS Enterprise: Learn more at ArcGIS Enterprise > Use > Get started > Access.
-
In the top navigation bar, click Content.
-
Click New Item and upload your data from your computer.
-
Select the Add file and create a hosted feature layer option to publish your file as a hosted feature layer.
-
Specify the data fields to include in the feature layer as well as the type of data they contain.
-
If necessary, identify the location information in your data by selecting fields containing coordinates or street addresses.
-
Provide a title, summary, and other properties for your new layer.
-
Click Save to create a new hosted feature layer.
-
Set the access permissions on the new item page by clicking Share.
-
Copy the layer URL from its item page to use the feature layer in a feature analysis.
See the examples below to learn how to import specific file types.
Import a store location CSV file
This example explains how to create a new hosted feature layer containing Atlanta store locations from a CSV file. It uses street addresses to provide location information, rather than spatial coordinates.
Steps
-
Download the Atlanta stores CSV file.
-
Sign in to your portal:
- ArcGIS Location Platform: Go to https://location.arcgis.com > My portal.
- ArcGIS Online: Go to https://www.arcgis.com/home/signin.html.
- ArcGIS Enterprise: Learn more at ArcGIS Enterprise > Use > Get started > Access.
-
In the top navigation bar, click Content
-
Click New Item and upload the CSV from your computer.
-
Select the Add atlanta_stores.csv and create a hosted feature layer option to publish your file as a hosted feature layer.
-
Specify the data fields to include in the feature layer as well as the type of data they contain. You can leave these values at the default settings.
-
Under Location settings, set the following parameters:
- Select Addresses or place names to geocode the addresses in the file.
- Under Location fields, select Location information is in multiple fields.
- Match the
ADDRESS,CITY,STATE, andZIPfields to theAddress or Place,City,State, andZIPlocation types. - View the credit estimate to see the number of credits that will be consumed by the geocoding operation. Click Next to proceed.
-
In the Create Item dialog, set the following parameters:
- Title:
Imported Store Locations - Tags:
import,csv,layer,addresses - Click the CREATE ITEM button.
- Title:
-
Click Save to create a new hosted feature layer.
-
Copy the layer URL from its item page to use the feature layer in a feature analysis.
Result
The Atlanta stores feature layer is displayed in the application below. To learn how to use the layer in a feature analysis, go to How to perform feature analysis.
Import a trail route GPX file
This example explains how use ArcGIS Map Viewer to create a new hosted feature layer of the Santa Monica backbone trail from a GPX file. You can only import GPX files using Map Viewer Classic.
Steps
-
Download the Backbone trail GPX file.
-
Sign in to your portal:
- ArcGIS Location Platform: Go to https://location.arcgis.com > My portal.
- ArcGIS Online: Go to https://www.arcgis.com/home/signin.html.
- ArcGIS Enterprise: Learn more at ArcGIS Enterprise > Use > Get started > Access.
-
In the top navigation bar, click Map to open Map Viewer. Move to Map Viewer Classic by clicking Open in Map Viewer Classic.
-
Click Add > Add layer from file > Choose file and upload the GPX file from your computer. Click Import Layer to add the trail route to your map.
-
Save the imported layer as an item by clicking the ellipsis under the layer name and selecting Save Layer.
-
In the Create Item dialog, set the following parameters:
- Title:
Backbone Trail - Tags:
Trails
- Title:
-
Click Create Item to create a new feature collection.
-
Open the item page of the new layer by clicking the ellipsis under the layer name and selecting Show Item Details.
-
In the item page, click Publish and set the following parameters:
- Title:
Backbone Trail - Tags:
Trails
- Title:
-
Click Save to publish a new hosted feature layer containing your data.
-
In the item page of the hosted feature layer, copy the URL at the bottom to use the layer in a feature analysis.
Result
The Backbone trail feature layer is displayed in the application below. To learn how to use the layer in a feature analysis, go to How to perform feature analysis.
2. Create new data
You can use ArcGIS tools to create a new feature layer and populate it with data interactively in your browser. To do this, use the portal to make an empty feature layer, then edit it using ArcGIS Map Viewer to add features. This method of data creation is a great way to make personalized datasets, such as trail photoshoot locations or countries that you've visited.
The following steps explain how to create an empty feature layer and populate it with data:
Create an empty feature layer
Use data management tools to create a new feature layer that is powered by a feature service. The feature service will not initially contain geometries or attributes.
-
Sign in to your portal:
- ArcGIS Location Platform: Go to https://location.arcgis.com > My portal.
- ArcGIS Online: Go to https://www.arcgis.com/home/signin.html.
- ArcGIS Enterprise: Learn more at ArcGIS Enterprise > Use > Get started > Access.
-
In the top navigation bar, click Content.
-
Click New item > Feature Layer > Define your own layer.
-
Set the geometry type and name of the layer.
-
Provide a summary, tags, and other properties for your new layer.
-
Click Save to create a new hosted feature layer.
-
Navigate to the new layer's item page and set the following properties:
- Set the layer access permissions by clicking Share.
- Enable editing under Settings > Feature Layer (hosted).
Add features with Map Viewer
Map Viewer can be used to add and edit feature layer data. Use it to populate your new feature layer with feature data. You can also use this process to edit features in existing layers.
-
Open the ArcGIS Online item page of the hosted feature layer you created in the previous step.
-
Click the dropdown next to Open in Map Viewer and choose Open in Map Viewer Classic with full editing control.
-
In the Details pane, find your new feature layer and click Show Table.
-
In the feature layer data table, click the more options button and select Add Field to create a new data field.
-
Enter the name, display name, and data type of your new field and click Add New Field to add it to your layer. You can create as many data fields for your layer as you want.
-
When you have finished preparing data fields, zoom to the desired extent of your map. Click Edit to open the feature editor.
-
Click New Feature in the Add Features panel. Click on the map to create a new feature record.
-
Populate the field values and attachments for your new feature. When you are ready to add the feature, click Close. You can create as many features for your layer using this method as you want.
-
When you are finished adding features, Save your feature layer in order to write your changes to the feature layer.
-
Copy the feature layer URL from its item page to use the feature layer in a feature analysis.
See the examples below to learn how to create different types of feature layers.
Create a beach access point map
This example shows a user-created feature layer that represents Los Angeles County Beaches.
Steps
The steps to create this layer are explained in the Create a new feature layer tutorial.
Results
The Los Angeles County Beaches feature layer is displayed in the application below. To learn how to use the layer in a feature analysis, go to How to perform feature analysis.
3. Generate data
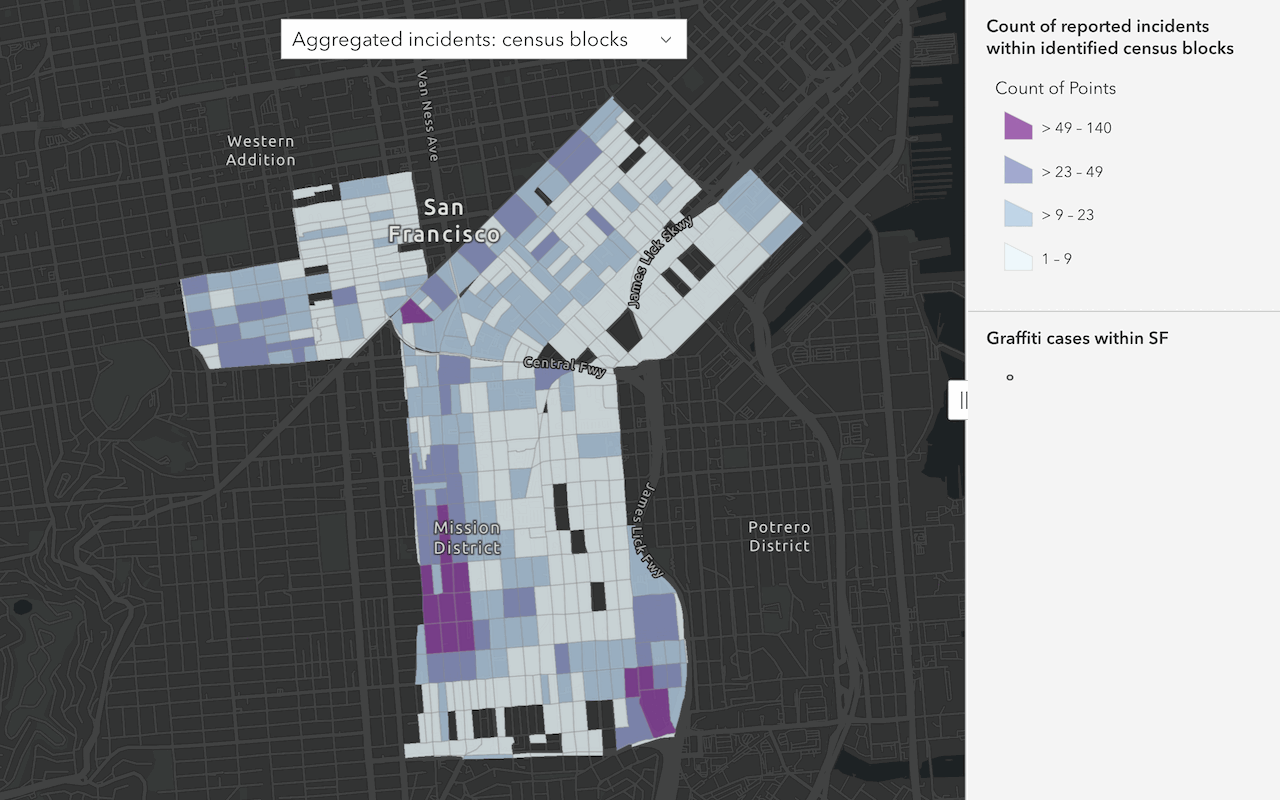
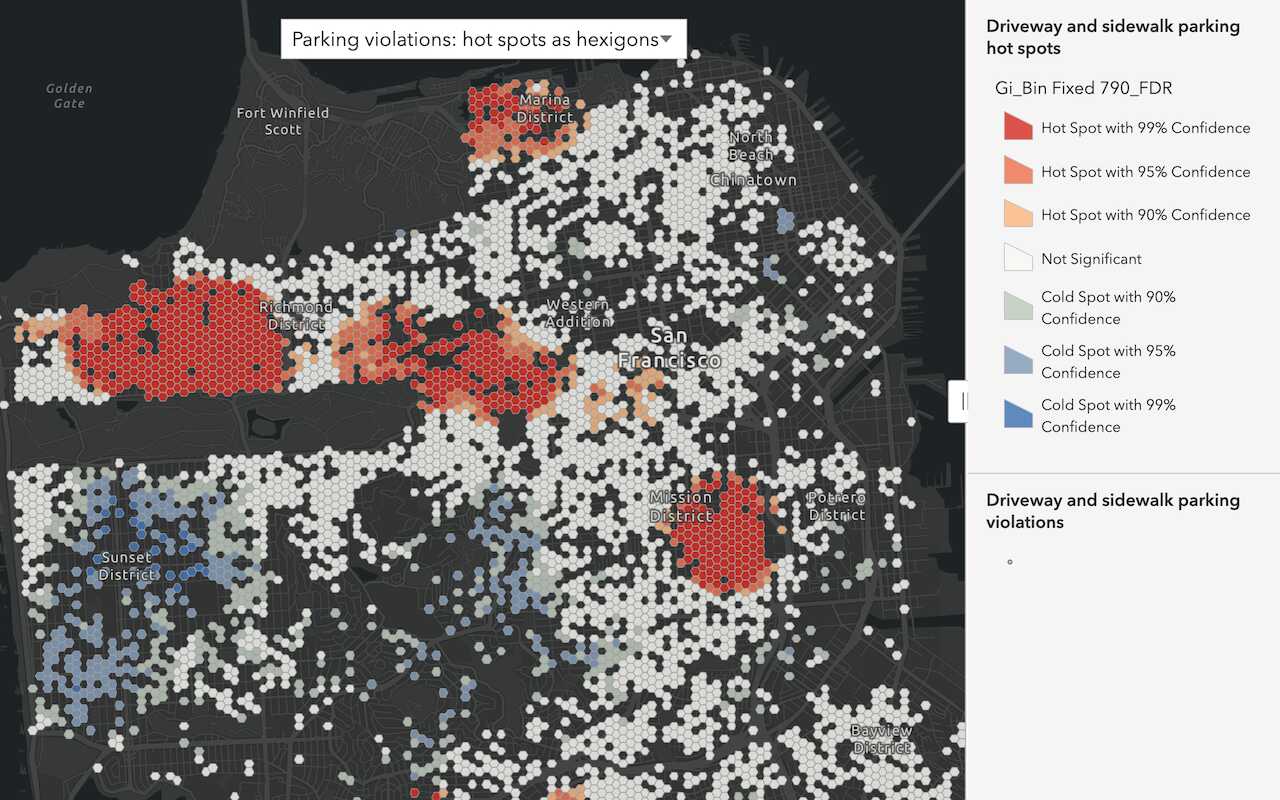
Another method of creating data is to generate it programmatically with the Generate Tessellations analysis tool in Map Viewer. The Generate Tessellations tool covers a specified area in tessellated geometries of equal size. The tessellated shapes can be squares, hexagons, triangles, or diamonds, and their size is customizable. You can use tessellation layers in subsequent analyses such as aggregation, summarization, enrichment, and visualization.
The general steps to generate tessellations are:
-
Sign in to your portal:
- ArcGIS Location Platform: Go to https://location.arcgis.com > My portal.
- ArcGIS Online: Go to https://www.arcgis.com/home/signin.html.
- ArcGIS Enterprise: Learn more at ArcGIS Enterprise > Use > Get started > Access.
-
Open Map Viewer.
-
Zoom to your desired analysis extent and add any data layers you will use as boundaries to the map.
-
In the Analysis menu, click Manage Data > Generate Tessellations.
-
Set the geometry shape of the analysis to Square, hexagon, triangle, or diamond.
-
Set the extent of the operation based on a shapefile or the current map extent.
-
Set the bin size and units of each tessellated shape.
-
Click Show credits to view the credit estimate for the operation.
-
Click Run Analysis to perform the operation and wait for it to complete.
-
Open the item page of the new tessellation layer by clicking the ellipsis under the layer name and selecting Show Item Details.
-
Copy the layer URL to use the feature layer in a feature analysis.
See the examples below for different types of tessellations you can generate.
Generate tessellations from the map extent
This example uses the Generate Tessellations tool to create a grid of square tessellations around Memphis, TN. The tessellated area is based on the extent of the map view.
Steps
-
Sign in to your portal:
- ArcGIS Location Platform: Go to https://location.arcgis.com > My portal.
- ArcGIS Online: Go to https://www.arcgis.com/home/signin.html.
- ArcGIS Enterprise: Learn more at ArcGIS Enterprise > Use > Get started > Access.
-
Open Map Viewer.
-
In the Find address or place search bar, search for Memphis, TN.
-
In the Analysis menu, click Manage Data > Generate Tessellations.
-
Set the following tool parameters:
- Choose shape: Square
- Define extent: Same as display.
- Define bin size by specifying: Click the Area checkbox. Enter 3 and select Square Miles.
-
Set the Result layer name to
Memphis - 3 square mile bins. -
Click Show credits to view the credit estimate for the operation. The analysis will consume approximately 0.42 credits.
-
Click Run Analysis to perform the operation and wait for it to complete.
-
Open the item page of the new tessellation layer by clicking the ellipsis under the layer name and selecting Show Item Details.
-
Copy the layer URL to use the feature layer in a feature analysis.
Results
The Result feature layer contains 420 equally sized 3-square-mile polygons. This hosted feature layer can be used in further analysis with operations such as Summarize Within and Aggregate Points.
Generate tessellations from a boundary feature layer
This example uses the Generate Tessellations tool to create a layer of tessellated hexagons within the city boundaries of Portland. The tessellated area is based on a provided feature layer.
Steps
-
Open the Portland boundary feature layer in Map Viewer Classic.
-
Save a copy of the boundary by clicking Save > Save As.
-
In the Analysis menu, click Manage Data > Generate Tessellations.
-
Set the following tool parameters:
- Choose shape: Hexagon
- Define extent: Portland Boundary. Click the Only keep intersecting tessellations checkbox.
- Define bin size by specifying: Click the Area checkbox. Enter 1 and select Square Mile.
-
Set the Result layer name to
Portland - 1 mile hexbin results. -
Click Show credits to view the credit estimate for the operation. The analysis will consume approximately 0.3 credits.
-
Click Run Analysis to perform the operation and wait for it to complete.
-
Open the item page of the new tessellation layer by clicking the ellipsis under the layer name and selecting Show Item Details.
-
Copy the layer URL to use the feature layer in a feature analysis.
Results
The Result feature layer contains 177 one-square-mile hexbin features. This hosted feature layer can be used in further analysis with operations such as Summarize Within and Aggregate Points.
What's next?
To learn how to perform feature analysis using the layers you created, go to a tutorial:

Find data sources
Discover data in ArcGIS that you can use for feature analysis.

Enrich data sources
Enrich data with demographic information and local business facts using the spatial analysis service.
Find and extract data
Find data with attribute and spatial queries using find analysis operations.

Combine data
Overlay, join, and dissolve features using combine analysis operations.
Summarize data
Aggregate and summarize features using summarize analysis operations.
Discover patterns in data
Find patterns and trends in data using spatial analysis operations.

