Learn how to perform a hot spot feature analysis.
The spatial analysis service
In this tutorial, use ArcGIS REST JS to perform a hot spot analysis to find statistically significant clusters of parking violations.
Prerequisites
You need an ArcGIS Location Platform or ArcGIS Online account.
Steps
Get the starter app
- Go to the Display a map tutorial and download the solution.
- Unzip the folder and open it in a text editor of your choice, such as Visual Studio Code. The starter app includes the following:
- callback.html: This contains callback as part of the authentication process.
- index.html: This contains app logic and the OAuth 2.0 code necessary to perform the authentication.
Set up authentication
Create a new OAuth credentialclient_id, client_secret, and redirect URIs. They are a type of developer credential.
- Go to the Create OAuth credentials for user authentication tutorial to create an OAuth credential.
- Copy the Client ID and Redirect URL from your OAuth credentials item and paste them to a safe location. They will be used in a later step.
Set developer credentials
-
In both the
index.htmlandcallback.htmlfiles, replaceYOURand_CLIENT _ID YOURwith the client ID and redirect URL of your OAuth credentials_REDIRECT _URL OAuth credentials are an item that contains parameters required to implement user authentication or app authentication, including a .client_id,client_secret, and redirect URIs. They are a type of developer credential.index.htmlUse dark colors for code blocks Copy /* Use for user authentication */ const clientId = "YOUR_CLIENT_ID"; // Your client ID from OAuth credentials const redirectUri = ""YOUR_REDIRECT_URI""; // The redirect URL registered in your OAuth credentials const session = await arcgisRest.ArcGISIdentityManager.beginOAuth2({ clientId, redirectUri, portal: "https://www.arcgis.com/sharing/rest" // Your portal URL }); const accessToken = session.token;callback.htmlUse dark colors for code blocks Copy arcgisRest.ArcGISIdentityManager.completeOAuth2({ clientId: "YOUR_CLIENT_ID", // Your client ID from OAuth credentials redirectUri: "YOUR_REDIRECT_URI", // The redirect URL registered in your OAuth credentials portal: "https://www.arcgis.com/sharing/rest" // Your portal URL }); -
Run the app and ensure you can sign in successfully.
If you are unable to sign in, make sure you have the correct redirect URL and port. This URL varies based on your application and typically takes the format of
httpsor:// <server >[ :port]/callback.html http. For example, if you are running an application on://my-arcgis-app :/auth http, set://127.0.0.1 :5500/ httpas your redirect URL in the index.html and callback.html file and your developer credential. They all have to match!://127.0.0.1 :5500/callback.html
Add script references
In addition to OpenLayers, also reference the Portal helper class from ArcGIS REST JS to access the spatial analysis service URL.
-
Add a reference to the ArcGIS REST JS
Portalhelper class.Use dark colors for code blocks <!-- ArcGIS REST JS used for user authentication. --> <script src="https://unpkg.com/@esri/arcgis-rest-request@4/dist/bundled/request.umd.js"> </script> <!-- OpenLayers --> <link rel="stylesheet" href="https://cdn.jsdelivr.net/npm/ol@v10.11.0/ol.css"> <script src="https://cdn.jsdelivr.net/npm/ol@v10.11.0/dist/ol.js"></script> <script src="https://cdn.jsdelivr.net/npm/ol-mapbox-style@13.5.1/dist/olms.js"></script> </script> <!--ArcGIS REST JS used for spatial analysis --> <script src="https://unpkg.com/@esri/arcgis-rest-portal@4/dist/bundled/portal.umd.js"> </script>
Update the map
-
Update the map's viewpoint to
[37.760, -122.445]and a zoom level of13to focus in San Francisco, CA. Then, update the basemap toarcgis/human-geography.Use dark colors for code blocks Copy // create map and add basemap const map = new ol.Map({ target: "map" }); map.setView( new ol.View({ center: ol.proj.fromLonLat([-122.445, 37.76]), zoom: 13 }) );
Display parking violations
To perform feature analysis, you need to provide feature data
-
Add the parking violation feature layer and the corresponding vector tile layer to the
pointsandpointsvariables.VTL Use dark colors for code blocks const points = "https://services3.arcgis.com/GVgbJbqm8hXASVYi/arcgis/rest/services/sf_traffic_parking_violations_sa_osapi/FeatureServer/0"; const pointsVTL = "https://vectortileservices3.arcgis.com/GVgbJbqm8hXASVYi/arcgis/rest/services/sf_traffic_parking_violations_sa_osapi/VectorTileServer"; -
Add the SF parking violations vector tile layer
A vector tile layer is a data layer used to access and display tiled data and its corresponding styles. to the map.Use dark colors for code blocks const inputSource = new ol.source.VectorTile({ format: new ol.format.MVT(), url: `${pointsVTL}/tile/{z}/{y}/{x}.pbf` }); // add the input data to the map const vtlLayer = new ol.layer.VectorTile({ source: inputSource, style: () => { return new ol.style.Style({ image: new ol.style.Circle({ fill: new ol.style.Fill({ color: "rgb(0,0,0)" }), radius: 1.5 }) }); } }); map.addLayer(vtlLayer); }); -
Add the data attribution
Data attribution is the requirement to display the names of data source providers in all applications when accessing ArcGIS content, layers, or services. for the vector tile layer source.- Go to the sf_traffic_parking_violations_sa_osapi_vtl item
An item, also known as a content item, is a resource stored in a portal such as a web map, hosted layer, style, script tool, file, or notebook. . - Scroll down to the Acknowledgments section and copy its value.
- Create an
attributionsproperty and paste the attribution value from the item.Use dark colors for code blocks const inputSource = new ol.source.VectorTile({ format: new ol.format.MVT(), url: `${pointsVTL}/tile/{z}/{y}/{x}.pbf` }); // add the input data to the map const vtlLayer = new ol.layer.VectorTile({ source: inputSource, // Attribution text retrieved from https://arcgis.com/home/item.html?id=a9b4d69b02ee4365a0fcb9610c69db9b attributions: ["| San Francisco 311, City and County of San Francisco"], style: () => { return new ol.style.Style({ image: new ol.style.Circle({ fill: new ol.style.Fill({ color: "rgb(0,0,0)" }), radius: 1.5 }) }); } }); map.addLayer(vtlLayer); });
- Go to the sf_traffic_parking_violations_sa_osapi_vtl item
-
Run the application and navigate to your localhost, for example
https. After you sign in, you will see the vector tile layer rendered on the map.://localhost :8080
Get the analysis URL
To make a request to the spatial analysis service, you need to get the URL first. The analysis service URL is unique to your organization.
-
Call the
getoperation from ArcGIS REST JS to obtain the analysis URL.Self Use dark colors for code blocks const getAnalysisUrl = async (withAuth) => { const portalSelf = await arcgisRest.getSelf({ authentication: withAuth }); return portalSelf.helperServices.analysis.url; };
Make the request
Use the Job class and set the operation and params required for the selected analysis.
-
Create a function that submits a
Jobrequest to the spatial analysis serviceA spatial analysis service, also known as a feature analysis service, is a service used to perform spatial analysis operations on feature data such as finding, comparing, summarizing, analyzing patterns, and calculating geometries. using your organization's analysis URL. Set theparamsrequired for a hot spot analysis and authenticate usingsession.Use dark colors for code blocks const runAnalysis = async () => { const analysisUrl = await getAnalysisUrl(session); const operationUrl = `${analysisUrl}/FindHotSpots/submitJob`; const params = { analysisLayer: { url: "https://services3.arcgis.com/GVgbJbqm8hXASVYi/arcgis/rest/services/sf_traffic_parking_violations_sa_osapi/FeatureServer/0" }, shapeType: "Hexagon", outputName: { serviceProperties: { name: `OpenLayers_find_hot_spots_${new Date().getTime()}` } } //Outputs results as a hosted feature service. }; const jobReq = await arcgisRest.Job.submitJob({ url: operationUrl, params: params, authentication: session }); // get all the results, this will start monitoring and trigger events const jobResp = await jobReq.getAllResults(); // jobResp.aggregatedLayer.value.url return jobResp; }; -
Create an HTML
divelement calledstatusand a loader to display the job status.Use dark colors for code blocks <body> <div id="status" style="visibility: hidden"> <span class="loader"> </span> <div id="info"> </div> </div> <div id="map"> </div> -
Apply CSS styling to the
statusand the loader.Use dark colors for code blocks #status { width: 400px; background-color: #303336; color: #edffff; z-index: 1000; position: absolute; font-family: Arial, Helvetica, sans-serif; top: 50%; left: 50%; transform: translate(-50%, -50%); display: flex; flex-direction: row; justify-content: center; padding: 5px; border-radius: 5px; gap: 10px; align-content: center; align-items: center; margin: auto; } .loader { width: 24px; height: 24px; border: 5px solid #edffff; border-bottom-color: #303336; border-radius: 50%; display: inline-block; box-sizing: border-box; animation: rotation 2s linear infinite; } @keyframes rotation { 0% { transform: rotate(0deg); } 100% { transform: rotate(360deg); } } -
Create a function called
showto control the visibility and content of the status element.Info Use dark colors for code blocks const showInfo = (visible, msg) => { const statusUi = document.getElementById("status"); !visible ? (statusUi.style.visibility = "hidden") : (statusUi.style.visibility = "visible"); const infoUi = document.getElementById("info"); infoUi.innerText = msg; }; const runAnalysis = async () => { const analysisUrl = await getAnalysisUrl(session); const operationUrl = `${analysisUrl}/FindHotSpots/submitJob`; const params = { analysisLayer: { url: "https://services3.arcgis.com/GVgbJbqm8hXASVYi/arcgis/rest/services/sf_traffic_parking_violations_sa_osapi/FeatureServer/0" }, shapeType: "Hexagon", outputName: { serviceProperties: { name: `OpenLayers_find_hot_spots_${new Date().getTime()}` } } //Outputs results as a hosted feature service. }; const jobReq = await arcgisRest.Job.submitJob({ url: operationUrl, params: params, authentication: session }); // get all the results, this will start monitoring and trigger events const jobResp = await jobReq.getAllResults(); // jobResp.aggregatedLayer.value.url return jobResp; }; -
Use the function to dynamically update the status element with the current status of the analysis.
Use dark colors for code blocks const runAnalysis = async () => { const analysisUrl = await getAnalysisUrl(session); const operationUrl = `${analysisUrl}/FindHotSpots/submitJob`; const params = { analysisLayer: { url: "https://services3.arcgis.com/GVgbJbqm8hXASVYi/arcgis/rest/services/sf_traffic_parking_violations_sa_osapi/FeatureServer/0" }, shapeType: "Hexagon", outputName: { serviceProperties: { name: `OpenLayers_find_hot_spots_${new Date().getTime()}` } } //Outputs results as a hosted feature service. }; const jobReq = await arcgisRest.Job.submitJob({ url: operationUrl, params: params, authentication: session }); showInfo(true, "Initializing analysis..."); // listen to the status event to get updates every time the job status is checked. jobReq.on(arcgisRest.JOB_STATUSES.Status, (jobInfo) => { console.log(jobInfo.status); showInfo(true, "Hot spot analysis running..."); }); // get all the results, this will start monitoring and trigger events const jobResp = await jobReq.getAllResults(); // jobResp.aggregatedLayer.value.url return jobResp; }; -
Call the
runfunction and store its response inAnalysis job.Response Use dark colors for code blocks const showInfo = (visible, msg) => { const statusUi = document.getElementById("status"); !visible ? (statusUi.style.visibility = "hidden") : (statusUi.style.visibility = "visible"); const infoUi = document.getElementById("info"); infoUi.innerText = msg; }; const runAnalysis = async () => { const analysisUrl = await getAnalysisUrl(session); const operationUrl = `${analysisUrl}/FindHotSpots/submitJob`; const params = { analysisLayer: { url: "https://services3.arcgis.com/GVgbJbqm8hXASVYi/arcgis/rest/services/sf_traffic_parking_violations_sa_osapi/FeatureServer/0" }, shapeType: "Hexagon", outputName: { serviceProperties: { name: `OpenLayers_find_hot_spots_${new Date().getTime()}` } } //Outputs results as a hosted feature service. }; const jobReq = await arcgisRest.Job.submitJob({ url: operationUrl, params: params, authentication: session }); showInfo(true, "Initializing analysis..."); // listen to the status event to get updates every time the job status is checked. jobReq.on(arcgisRest.JOB_STATUSES.Status, (jobInfo) => { console.log(jobInfo.status); showInfo(true, "Hot spot analysis running..."); }); // get all the results, this will start monitoring and trigger events const jobResp = await jobReq.getAllResults(); // jobResp.aggregatedLayer.value.url return jobResp; }; const jobResults = await runAnalysis();
Display results
The results of a feature analysis are returned as feature data
-
Create a new vector source object from the analysis results hosted feature layer
A hosted feature layer is a hosted layer (item) in a portal that is used to manage the properties and settings of a spatially-enabled feature layer in a feature service. URL as GeoJSON. As URL parameters, Add a query string to only include results with a value greater than 0, set theout, and provide the session token.Fields Use dark colors for code blocks showInfo(true, "Adding results to map..."); const vectorSource = new ol.source.Vector({ format: new ol.format.GeoJSON(), url: `${jobResults.hotSpotsResultLayer.value.url}/query?f=geojson&where=Gi_Bin<>0&outFields=Gi_Text&token=${accessToken}` }); -
Create a new layer from the source, define it's style and add the layer to the map. Then, hide the status element.
Use dark colors for code blocks showInfo(true, "Adding results to map..."); const vectorSource = new ol.source.Vector({ format: new ol.format.GeoJSON(), url: `${jobResults.hotSpotsResultLayer.value.url}/query?f=geojson&where=Gi_Bin<>0&outFields=Gi_Text&token=${accessToken}` }); const resultLayer = new ol.layer.Vector({ source: vectorSource, style: (feature) => { const fieldValue = feature.get("Gi_Text"); const colorTable = { "Hot Spot with 99% Confidence": "#d62f27", "Hot Spot with 95% Confidence": "#ed7551", "Hot Spot with 90% Confidence": "#fab984", "Not Significant": "#f7f7f2", "Cold Spot with 90% Confidence": "#c0ccbe", "Cold Spot with 95% Confidence": "#849eba", "Cold Spot with 99% Confidence": "#4575b5" }; return new ol.style.Style({ fill: new ol.style.Fill({ color: colorTable[fieldValue || "transparent"] }) }); } }); map.addLayer(resultLayer); // hide the status indicator showInfo(false, "");
Run the app
Run the application and navigate to your localhost, for example https.
After signing in, a request is sent to the spatial analysis service
What's next?
To learn how to perform other types of feature analysis, go to the related tutorials in the Spatial analysis services guide:

Find and extract data
Find data with attribute and spatial queries using find analysis operations.
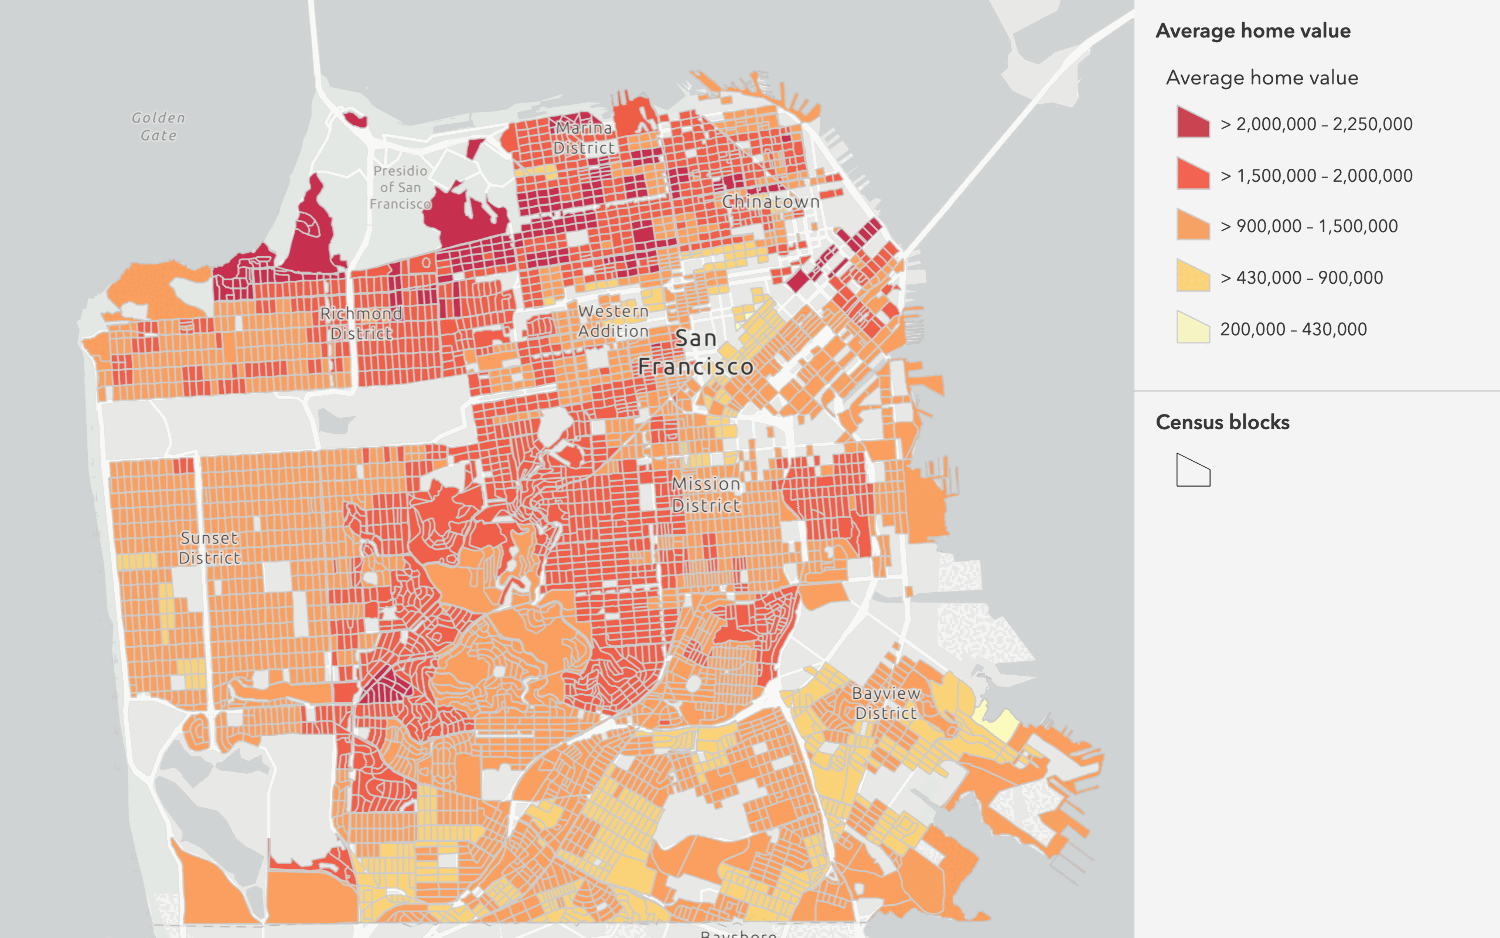
Combine data
Overlay, join, and dissolve features using combine analysis operations.
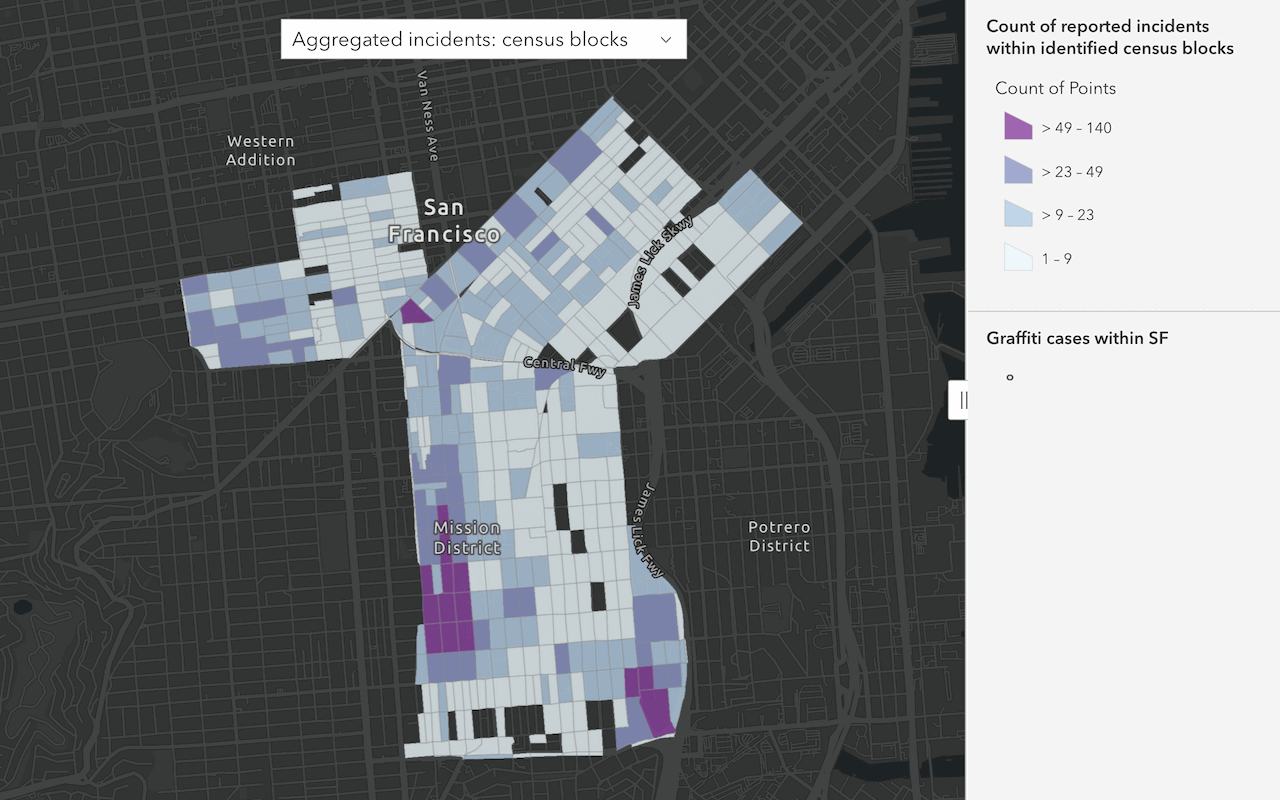
Summarize data
Aggregate and summarize features using summarize analysis operations.

Discover patterns in data
Find patterns and trends in data using spatial analysis operations.