Learn how to use Map Viewer
This tutorial shows you how to use the Map Viewer
Prerequisites
You need an ArcGIS Location Platform or ArcGIS Online account for this tutorial.
Steps
Copy the web map
Use the unstyled LA Parks and Trails Map as a starting point for the tutorial. Or, if you prefer, use your own web map from the Create a web map tutorial.
-
Go to the LA Parks and Trails Map (unstyled) web map.
-
Click Sign In > Save > Save As to copy the map. At minimum, you need a title and tags to save the web map.
Style trailheads (points)
You can style point features
-
In the left panel, click Layers > Trailheads to open the layer's properties.
-
In the right panel, click Styles > Location (Single symbol) > Symbol style to open a symbol panel.
-
In the dropdown menu, select Points of Interest.
-
Scroll down and select the hiker icon with a black background and white foreground. Adjust the icon size to
18pixels. -
Click Done > Done.
Style trailheads with labels
Use labels to display trailhead names.
-
In the Properties panel, click Labels > +Add label class . Verify that Enable labels is switched on.
-
Select the
TRLattribute in size_NAME 13pixels > Edit label style -
Close the panel.
Style trails (lines)
You can classify features
-
Go back to the Layers panel on the left.
-
Click Trails.
-
On the right, in the Properties panel, click Edit layer style.
-
In Pick a style > Location (single symbol).
-
In Symbol style, set the following:
- Color: Black
- Transparency:
0 - Width:
1.15
-
Set the Pattern to a dotted line.
-
Click Done > Done
Style bike-only trails
Use the Filter tool to style bike-only trails.
-
In the right panel, click Add data > Add layer from URL.
-
Enter the Trails-Trails_0 layer URL:
https> Add to map.://services3.arcgis.com/ G Vgb Jbqm8h XASV Yi/arcgis/rest/services/ Trails/ Feature Server/0 -
Click Layers.
-
Rename Trails 0 to:
Bike Only Trails. -
Click on the layer to open the Properties panel.
-
Click Filter > +Add new to set the fields:
USE_BIKE isYES> Save. -
On the right, in the Properties panel, click Edit layer style.
-
In Pick a style > Location (single symbol).
-
Click Symbol style and set the following properties:
- Select color: `#efefef (white/gray)
- Stroke:
- Pattern : a solid line
- Width:
2
-
Click Done > Done.
Style park areas (polygons)
You can apply different styles to features
-
Double click the Parks and Open Space layer to open the Properties panel.
-
Click Styles.
-
In Choose attributes > +Fields.
-
Select TYPE > Add.
-
In Try a drawing style > Types(unique symbols).
-
Click Symbol style to select a color ramp. Set the fill transparency to
0. -
Click Done > Done.
-
In the left panel, click Save to save your map.
Explore the web map
-
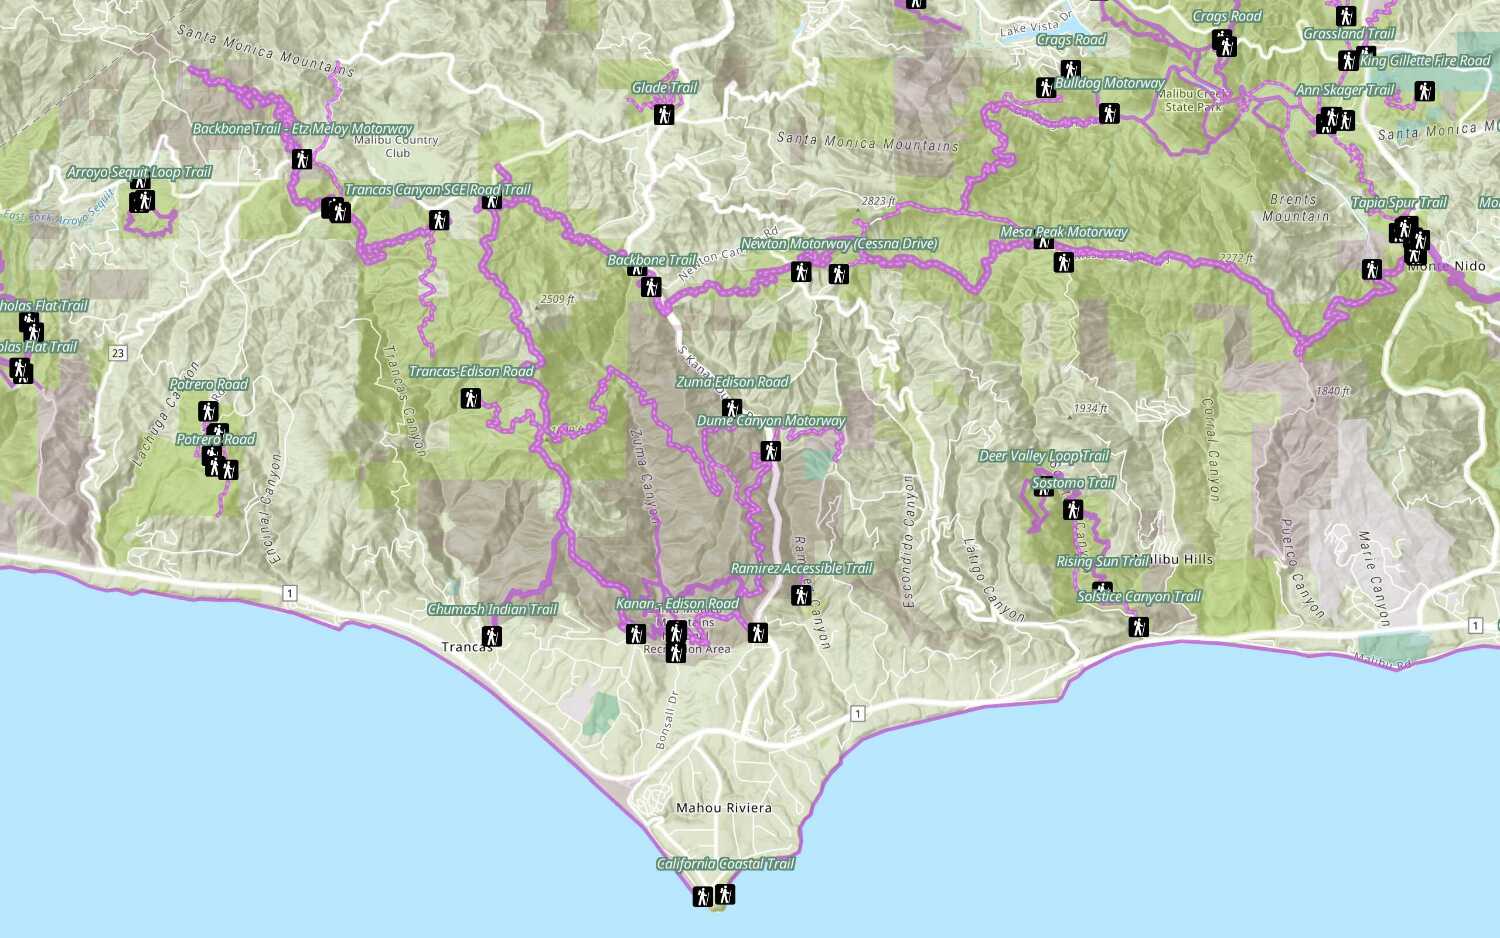
In the left panel, click Legend to see the styled layers. Your web map
A web map is a map stored as a JSON object that defines properties such as the basemap layer, data layers, layer styles, and pop-up styles. Its JSON structure is defined by the web map specification. should look something like this. -
Click on features
A feature is a single record, also known as a row, that represents a real-world entity. It typically contains a geometry (point, multipoint, polyline, or polygon) and attributes but it can also contain just attributes. in the map to display attributeAttributes are fields and values for a single feature or non-spatial record. They are typically stored in a database or service such as a feature service. data.
You can load the styled web map with its item ID
What's next?
Learn how to use additional tools, APIs, and location services in these tutorials:

Display a web map
Create and display a map from a web map.
Display a custom basemap style
Add and display a styled vector tile basemap layer.
Style a feature layer
Use symbols and renderers to style feature layers.