Data services, also known as hosted data services, are services hosted in a portal that are used to securely store, manage, and access geographic data. They are typically created as an item in your organization's portal.
You can access data from data services by creating client-side data layers in your application. These are also known as operational layers, and can be used to display features, vector tiles, map tiles, and more.
Feature layers
If you have features containing geometry and attributes, you can import the data to create an ArcGIS feature layer in a feature service. To access the data, you can use the URL of the service to query and return features. You can style and display the results in a map or scene. Feature layers can also contain styling information as part of the service response.
How to access a feature service
- Import your data from a CSV, XLS, GeoJSON, or Shapefile file to create a hosted feature layer.
- Get the URL for the feature layer.
- Reference the MapLibre JS and CSS libraries.
- Define a data source to access and query the feature layer.
- Display the data in a layer.
Example
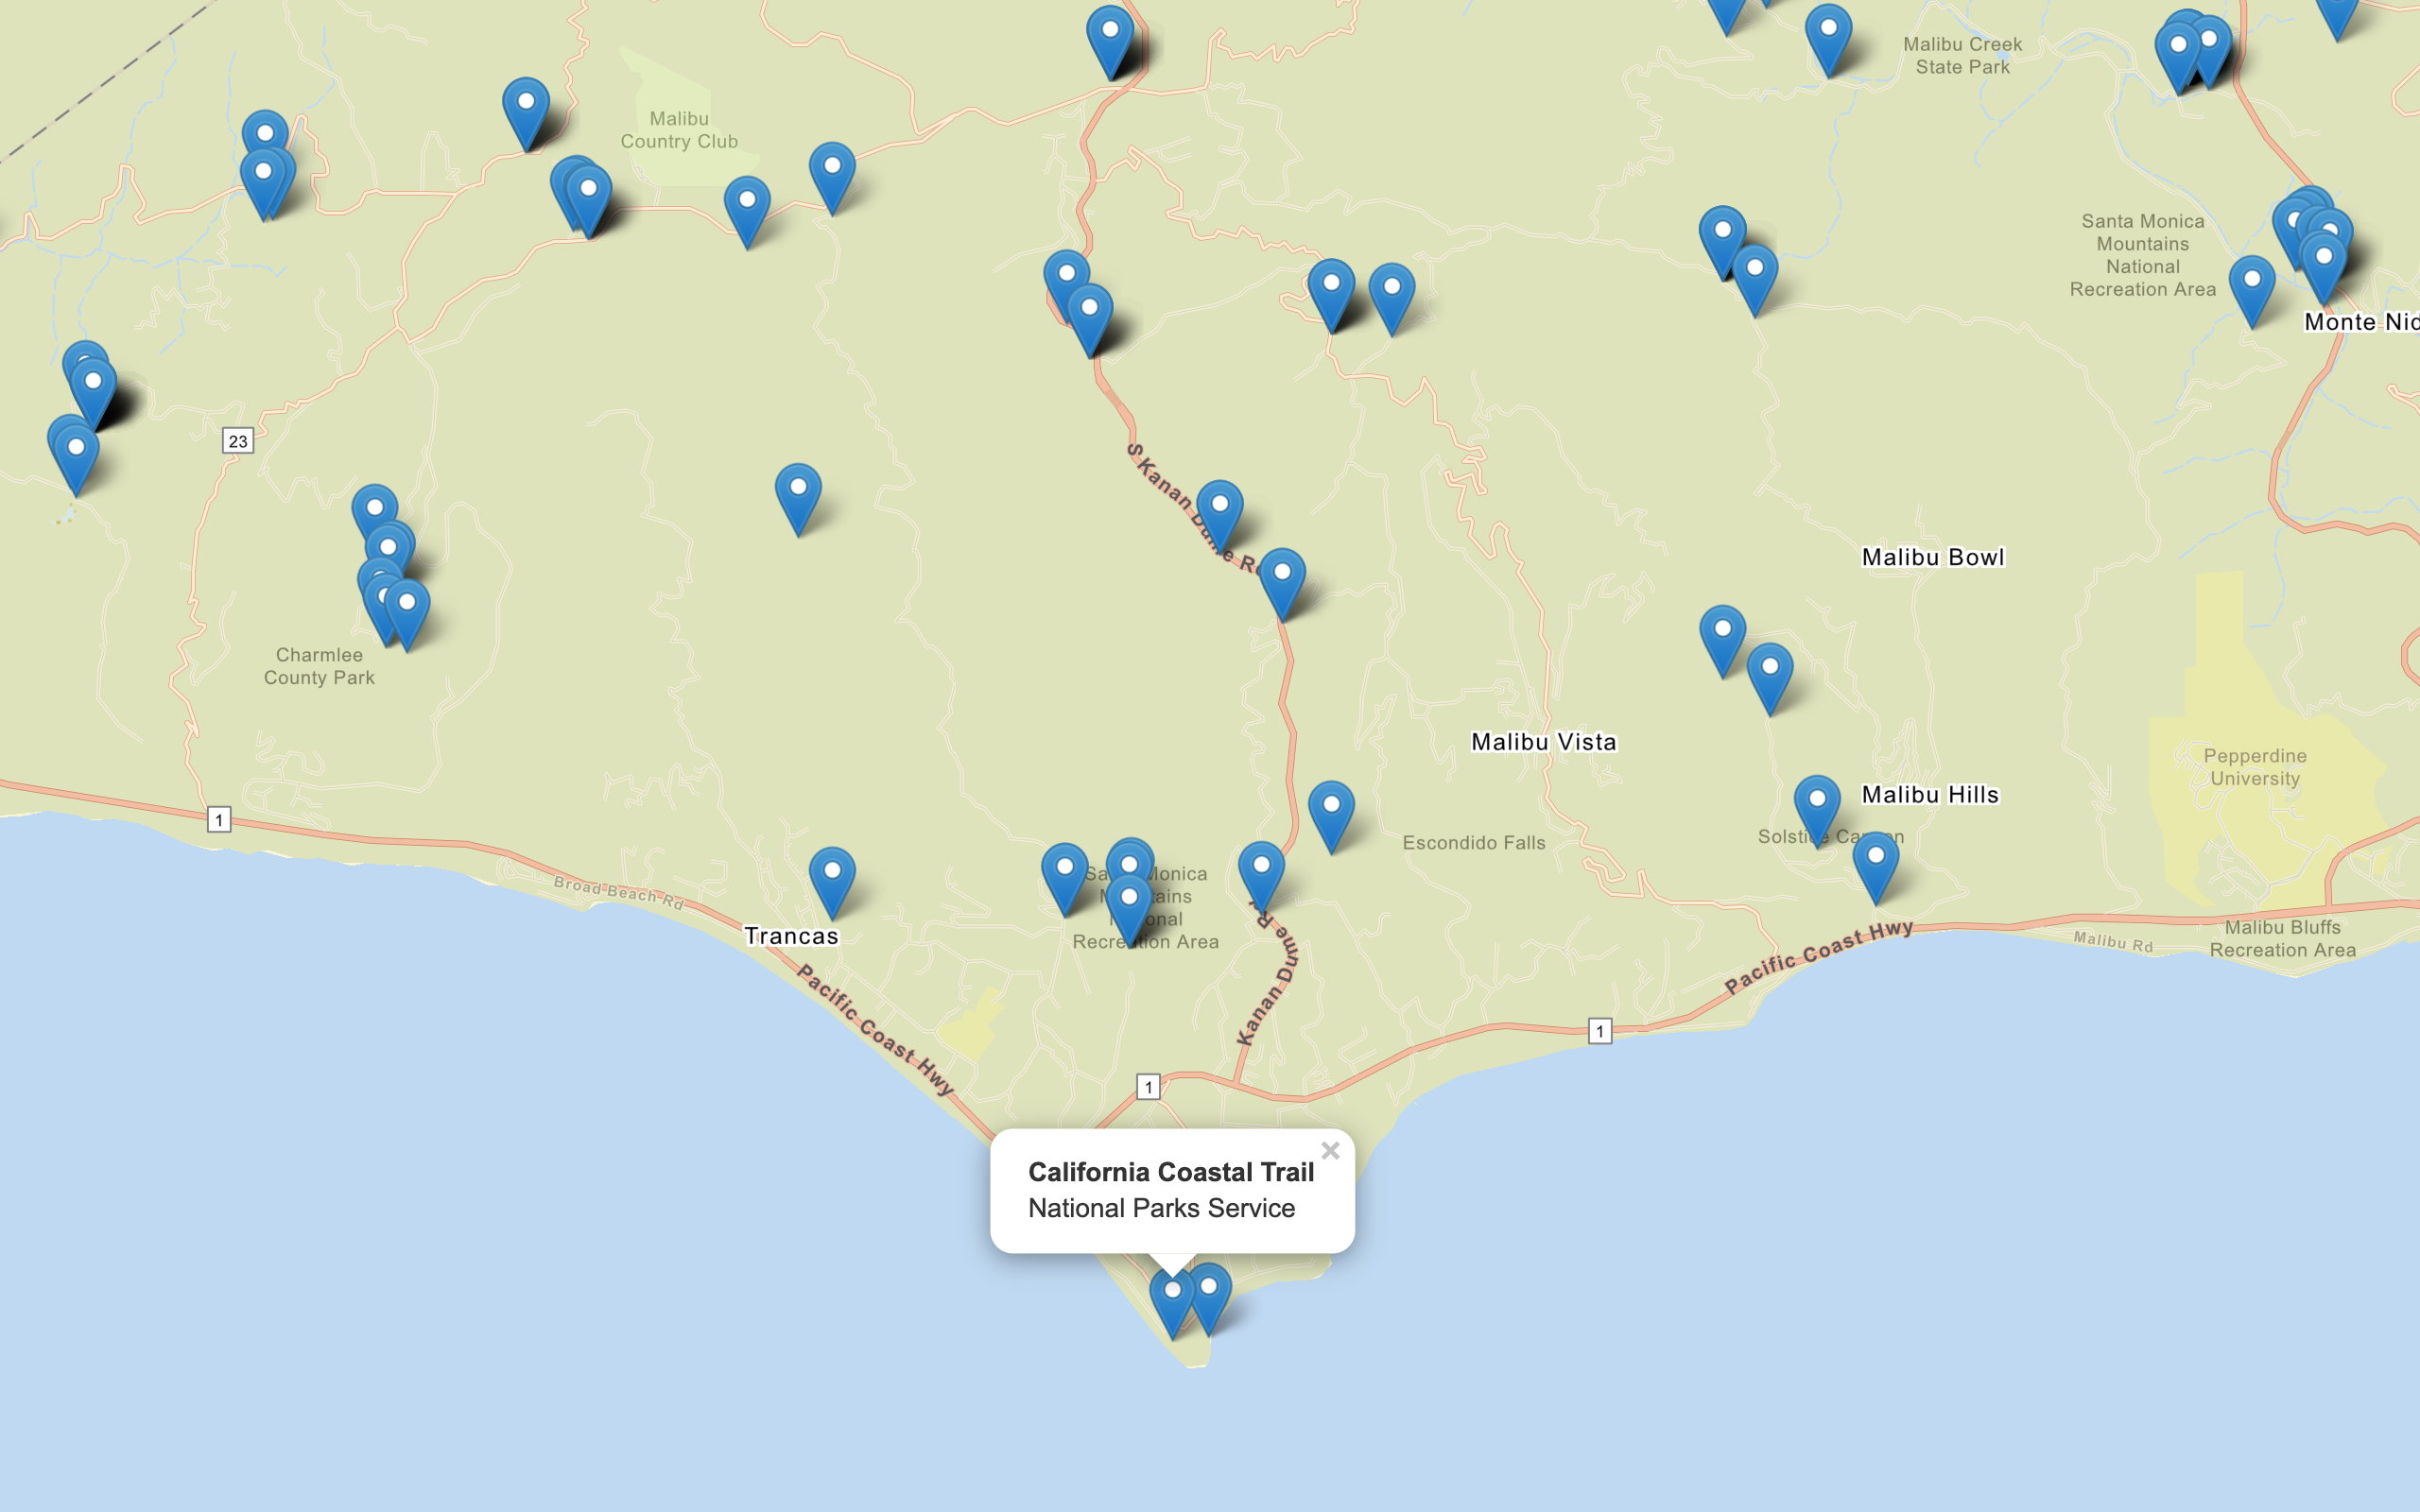
This example demonstrates how to display a feature layer. To get GeoJSON features from a feature layer, you need to provide a URL that queries the feature service and return the features in GeoJSON format.
Display a feature layer (as GeoJSON)
<script src="https://unpkg.com/maplibre-gl@4/dist/maplibre-gl.js"></script>
<link href="https://unpkg.com/maplibre-gl@4/dist/maplibre-gl.css" rel="stylesheet" />
<script>
map.addSource("trailheads", {
type: "geojson",
data: "https://services3.arcgis.com/GVgbJbqm8hXASVYi/arcgis/rest/services/Trailheads/FeatureServer/0/query?f=pgeojson&where=1=1",
});
map.addLayer({
id: "trailheads-circle",
type: "circle",
source: "trailheads",
paint: {
"circle-color": "hsla(0,0%,0%,0.75)",
"circle-stroke-width": 1.5,
"circle-stroke-color": "white",
}
});
</script>Vector tile layers
If you want to access and display your data as vector tile data, you can publish a vector tile layer from a feature layer, and then display it in a map. Vector tile layers closely follow the Mapbox vector tile specification, but there a few important differences:
- URL endpoints end in
/{z}/{y}/{x}.pbf, rather than/{z}/{x}/{y}.pbf. - Each style may contain one source.
- The
rasterandhillshadelayer types are not supported.
How to access the vector tile service
- Import your data from a CSV, XLS, GeoJSON, or Shapefile file to create a hosted feature layer.
- Style the feature layer using the Map Viewer.
- Create a vector tile service by publishing the feature layer as a vector tile layer.
- Get the URL.
- Reference the MapLibre JS and CSS libraries.
- Set the source as the type
vectorand add the tiles. - Define the style of the vector tile layer, found in the Style tab of the item page in your portal.
Example
Display a vector tile layer
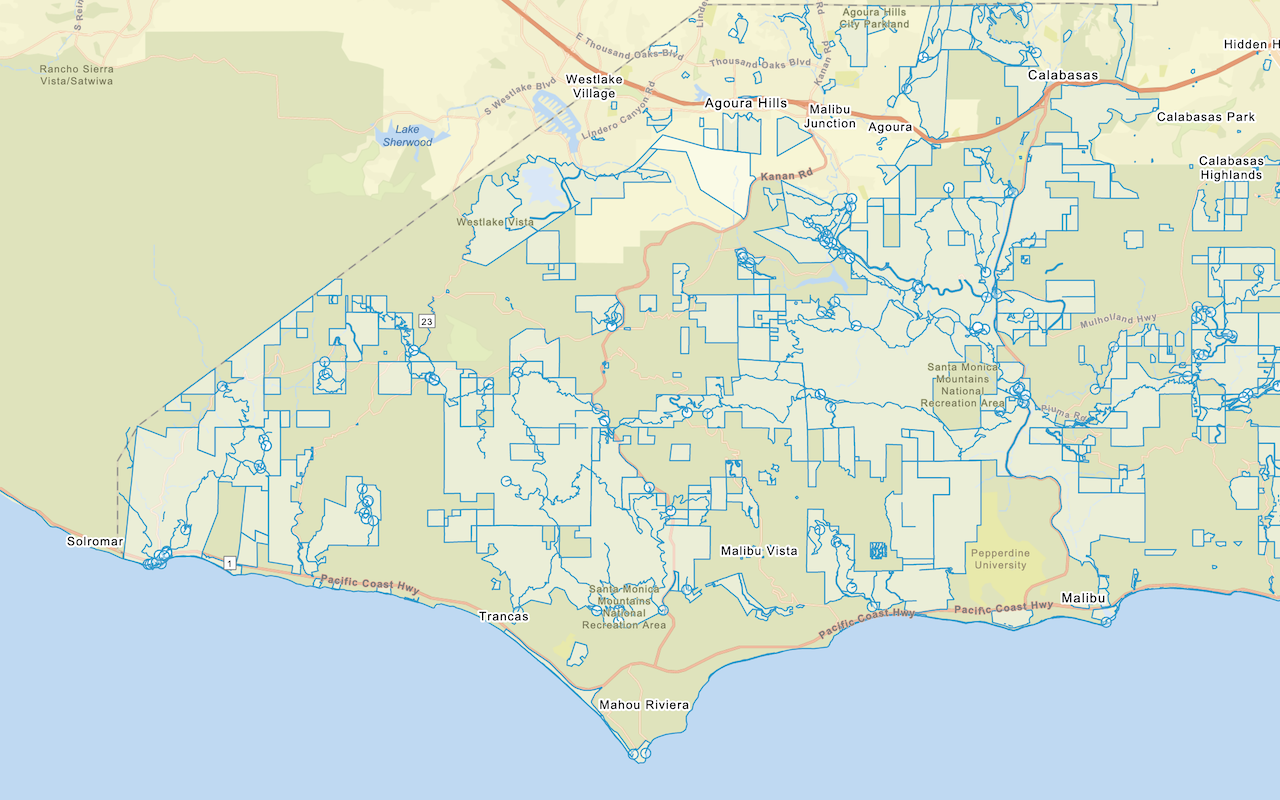
This example demonstrates how you fetch the vector tiles and then use a layer of type fill to display the tiles.
<script src="https://unpkg.com/maplibre-gl@4/dist/maplibre-gl.js"></script>
<link href="https://unpkg.com/maplibre-gl@4/dist/maplibre-gl.css" rel="stylesheet" />
<script>
map.addSource("parcels", {
type: "vector",
tiles: ["https://vectortileservices3.arcgis.com/GVgbJbqm8hXASVYi/arcgis/rest/services/Santa_Monica_Mountains_Parcels_VTL/VectorTileServer/tile/{z}/{y}/{x}.pbf"]
});
map.addLayer({
id: "parcels-fill",
type: "fill",
source: "parcels",
"source-layer": "Santa_Monica_Mountains_Parcels",
paint: {
"fill-color": "hsl(200, 80%, 50%)",
"fill-opacity": 0.5,
"fill-outline-color": "white"
}
});
</script>Map tile layers
If you want to access and display your data as a tile layer, you can publish a map tile layer from a feature layer, and then display it in a map.
How to access a map tile service
- Import your data from a CSV, XLS, GeoJSON, or Shapefile file to create a hosted feature layer.
- Create a tile layer in your portal by navigating to its item page > Publish > Tile layer.
- Get the URL.
- Reference the MapLibre JS and CSS libraries.
- Define the source as the type
rasterand add the layer.
Example
Display a map tile layer
The example shows how to fetch raster tiles from a map tile service and display them on the map with a layer of type raster.
<script src="https://unpkg.com/maplibre-gl@4/dist/maplibre-gl.js"></script>
<link href="https://unpkg.com/maplibre-gl@4/dist/maplibre-gl.css" rel="stylesheet" />
<script>
map.addSource("parcels", {
type: "raster",
tiles: [
"https://services3.arcgis.com/GVgbJbqm8hXASVYi/arcgis/rest/services/Santa_Monica_contours_(map_tiles)/MapServer/tile/{z}/{y}/{x}?token=" + accessToken
]
});
map.addLayer({
id: "contours-raster",
type: "raster",
source: "contours"
});
</script>


