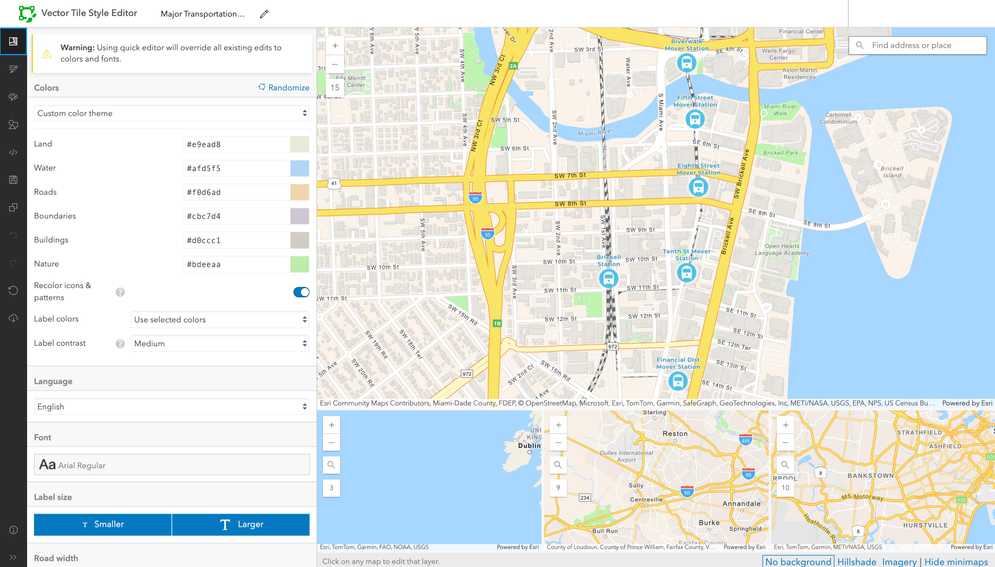
Use the ArcGIS Vector Tile Style Editor to style colors, icons, and layers to emphasize railway stations and routes.
Prerequisites
You need an ArcGIS Location Platform or ArcGIS Online account.
Steps
Select a base style
Select the ArcGIS Navigation style from the ArcGIS Basemap Styles service as the starting point of your custom basemap style.
-
Go to the ArcGIS Vector Tile Style Editor.
-
Sign in with your ArcGIS account.
-
Click + New style.
-
In the Select a style to continue panel, click Popular > World Navigation Map.
-
In the search tool of the map, enter Miami, FL, USA.
-
In the map, zoom in to level 14, which will center the map on one of the busiest areas of Miami, Florida.
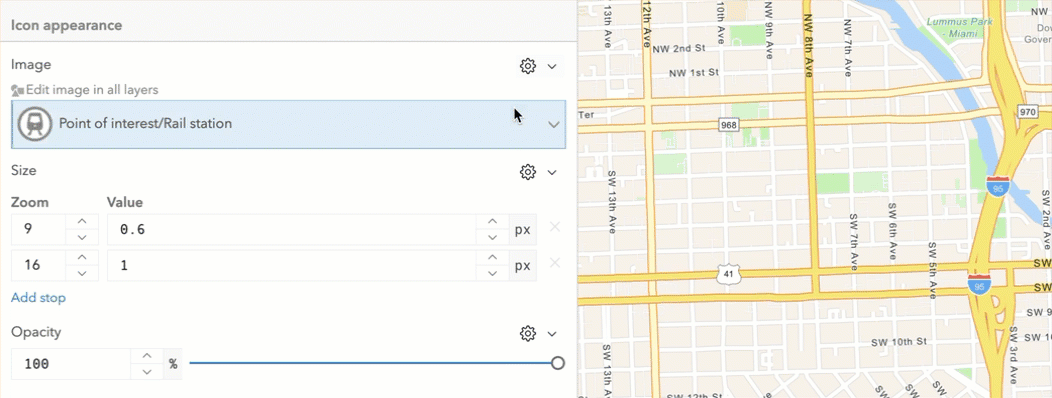
Style icon
Customize the train station icons and adjust their sizes at different zoom levels.
-
In the map, click one of the station icons, which will open up the Point of interest/Rail station (Symbol) layer window.
-
In Icon appearance > Image, browse the list of icons and select the Transportation place/Train station icon. Then, click Done.
-
In Icon appearance > Size, set the following zoom and value properties:
- Zoom
14: value2 - Zoom
16: value1.5
- Zoom
Style place labels
Modify the train station label appearance to improve readability and ensure it does not overlap with the icon.
-
In the Layer Editor > Text appearance panel, set the following style properties:
- Size:
- Zoom
14: value12 - Zoom
16: value11
- Zoom
- Font:
Montserrat Bold - Color:
#4799ba
- Size:
-
Scroll down to the Text layout panel and set the following style properties:
- Text anchor:
Center - Offset X:
0 - Offset Y:
3
- Text anchor:
Style railroads
Style the railroad lines with a striped color pattern and align their visibility with the station icons.
-
In the toolbar, click Edit Layer Styles > Transportation > Rail > Railroad/1.
-
In the Layer Editor > Visibility panel, set the first number of the Visible Zoom Range to
14. -
In the Layer Editor > Appearance panel, set the Color to
#636363. -
In the toolbar, click Edit Layer Styles > Transportation > Rail > Railroad/0.
-
In the Layer Editor > Visibility panel, set the first number of the Visible Zoom Range to
14. -
In the map, zoom out to level 14 and level 13 to see the new zoom range.
Reorder layers
To make sure the train routes and icons are clearly visible on the map, move their layers to the front.
-
In the Edit layer styles > Search layers field, type
Railroad/1and select the layer that comes up. -
In the Layer editor panel, click Actions on the top right > Move to front.
-
In the Edit layer styles > Search layers field, type
Railroad/0and select the layer that comes up. -
In the Layer editor panel, click Actions > Move to front.
-
In the Edit layer styles > Search layers field, type
Point of interest/rail stationand select the layer that comes up. -
In the Layer editor panel, click Actions > Move to front.
Save the item
Save the custom basemap style and copy its item ID to use in your application.
-
In the toolbar, click Save as to save your custom basemap style with the following properties:
- Title:
Major Transportation Routes - Tags:
vector,basemap,train,railway - Share with:
Me (Private)
- Title:
-
Click Save style.
-
Extract the item ID of your custom style from the URL and store it for later use. For example:
- URL:
https://www.arcgis.com/apps/vtseditor/en/#/ <YOUR _STYLE _ID >/layers - Item ID:
<YOUR_STYLE _ID >
- URL: