Popup components provide an easy way to add interactivity to your ArcGIS Maps SDK for JavaScript
In the most basic scenarios, you won’t need to modify the properties of the map component’s popup. Rather, the majority of popup customization may be handled with the PopupTemplate.
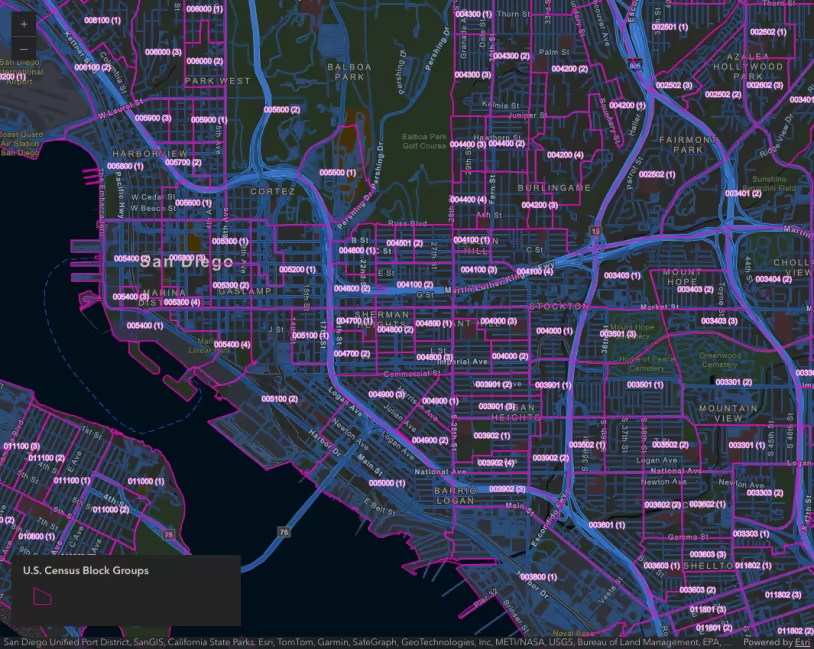
This sample demonstrates how to use the PopupTemplate in a FeatureLayer. The principles mentioned here may similarly be applied to other layer types, such as ImageryLayer.
Configure the Map and Popup components
Create a Map component and set the basemap, center, and zoom attributes.
The Map component currently uses the Popup widget by default.
To utilize the Popup component instead, set the popup-component-enabled property on the Map component. See the Map component documentation for more details.
<arcgis-map basemap="gray-vector" zoom="10" center="-73.95, 40.702" popup-component-enabled> <arcgis-legend slot="bottom-left"></arcgis-legend></arcgis-map>Create a PopupTemplate with title and formatted content
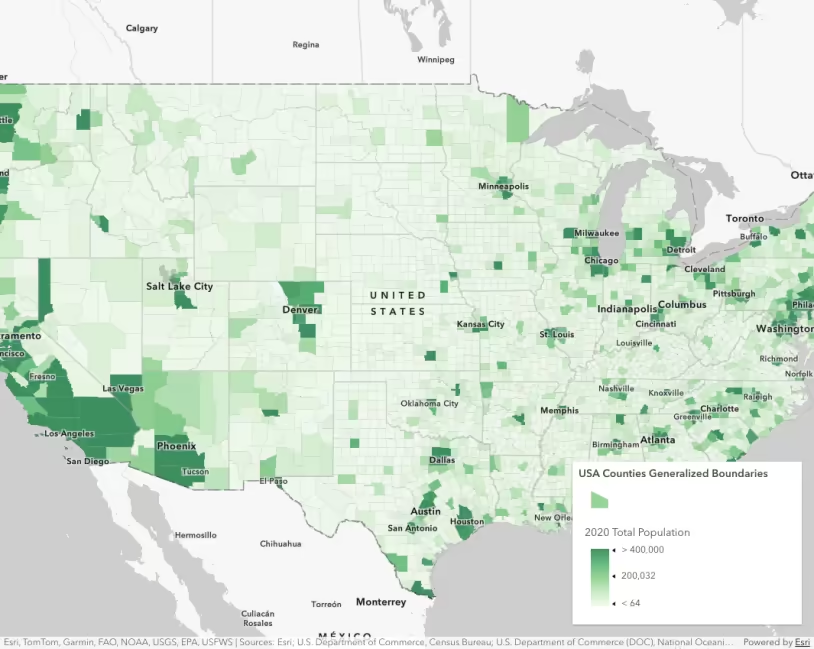
The PopupTemplate allows you to show feature attributes, or data specific to the selected feature (such as region name, population, state code, etc.), inside both the title and content properties of the popup. Attributes are referenced in the following syntax: {AttributeName}.
Below, the popup template is created with a title and content that reference attributes of the selected feature and formats some of the attribute values.
const template = { // autocasts as new PopupTemplate() title: "{NAME} in {COUNTY}", content: [ { type: "fields", fieldInfos: [ { fieldName: "B12001_calc_pctMarriedE", // The field whose values you want to format label: "Married %", }, { fieldName: "B12001_calc_numMarriedE", // The field whose values you want to format label: "People Married", fieldFormat: { type: "number", useGrouping: "always", // Uses a comma separator in numbers >999 maximumFractionDigits: 0, // Sets the number of decimal places to 0 and rounds up }, }, { fieldName: "B12001_calc_numNeverE", // The field whose values you want to format label: "People that Never Married", fieldFormat: { type: "number", useGrouping: "always", // Uses a comma separator in numbers >999 maximumFractionDigits: 0, // Sets the number of decimal places to 0 and rounds up }, }, { fieldName: "B12001_calc_numDivorcedE", // The field whose values you want to format label: "People Divorced", fieldFormat: { type: "number", useGrouping: "always", // Uses a comma separator in numbers >999 maximumFractionDigits: 0, // Sets the number of decimal places to 0 and rounds up }, }, ], }, ],};Since a PopupTemplate may be autocast you don’t need to require the esri/PopupTemplate module. Simply create a simple object containing the same properties as those specified in the PopupTemplate documentation and set it on the popupTemplate property of the layer.
Other content types may be added other than straight text. You can also add images, charts, tables, attachments, related feature list, and any combination of the above to a popup. See the Multiple popup elements sample for an example of this.
Set the PopupTemplate on the layer
Set the template on the layer’s popupTemplate property. This can be handled in the FeatureLayer’s constructor or directly on the layer instance prior to adding it to the map.
const featureLayer = new FeatureLayer({ url: "https://services.arcgis.com/P3ePLMYs2RVChkJx/arcgis/rest/services/ACS_Marital_Status_Boundaries/FeatureServer/2", popupTemplate: template,});Related samples and resources
Intro to popup component
Multiple popup elements
Reference Arcade expressions in PopupTemplate
Summarize intersecting points in a popup
Custom popup content
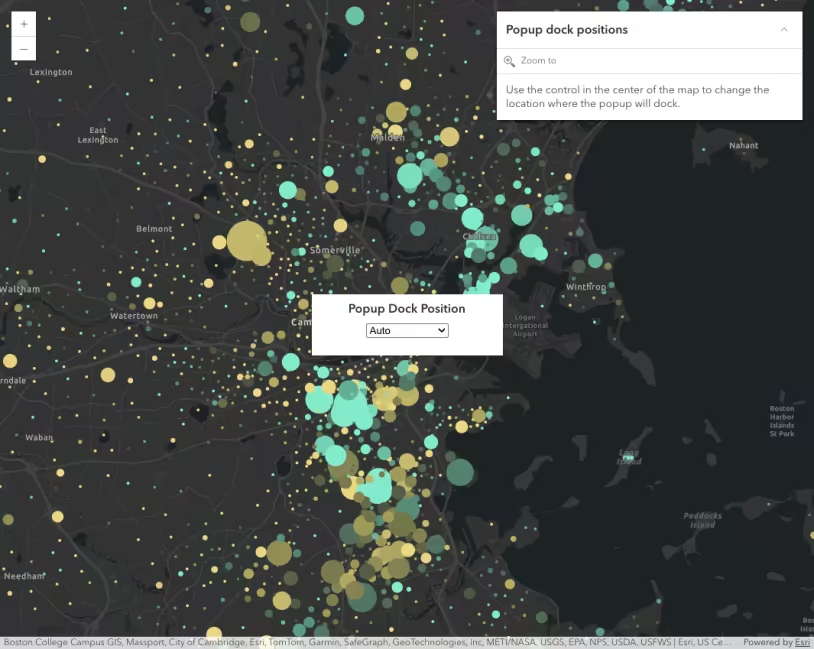
Popup dock positions
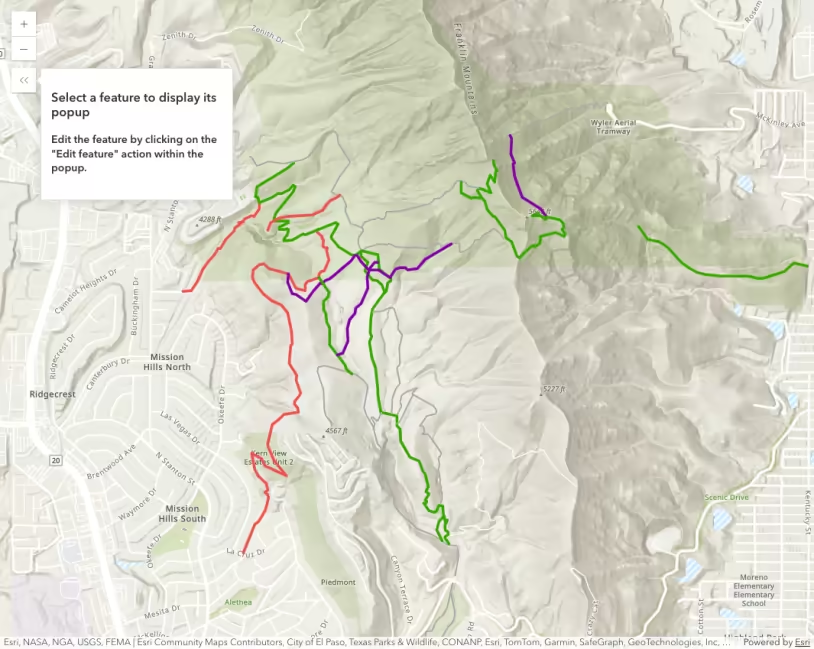
Popup with edit action
Custom popup actions per feature attribute
Popup actions
Browse related records in a popup
PopupTemplate - use functions to set content