Learn how to import data to create a feature layer in a feature service.
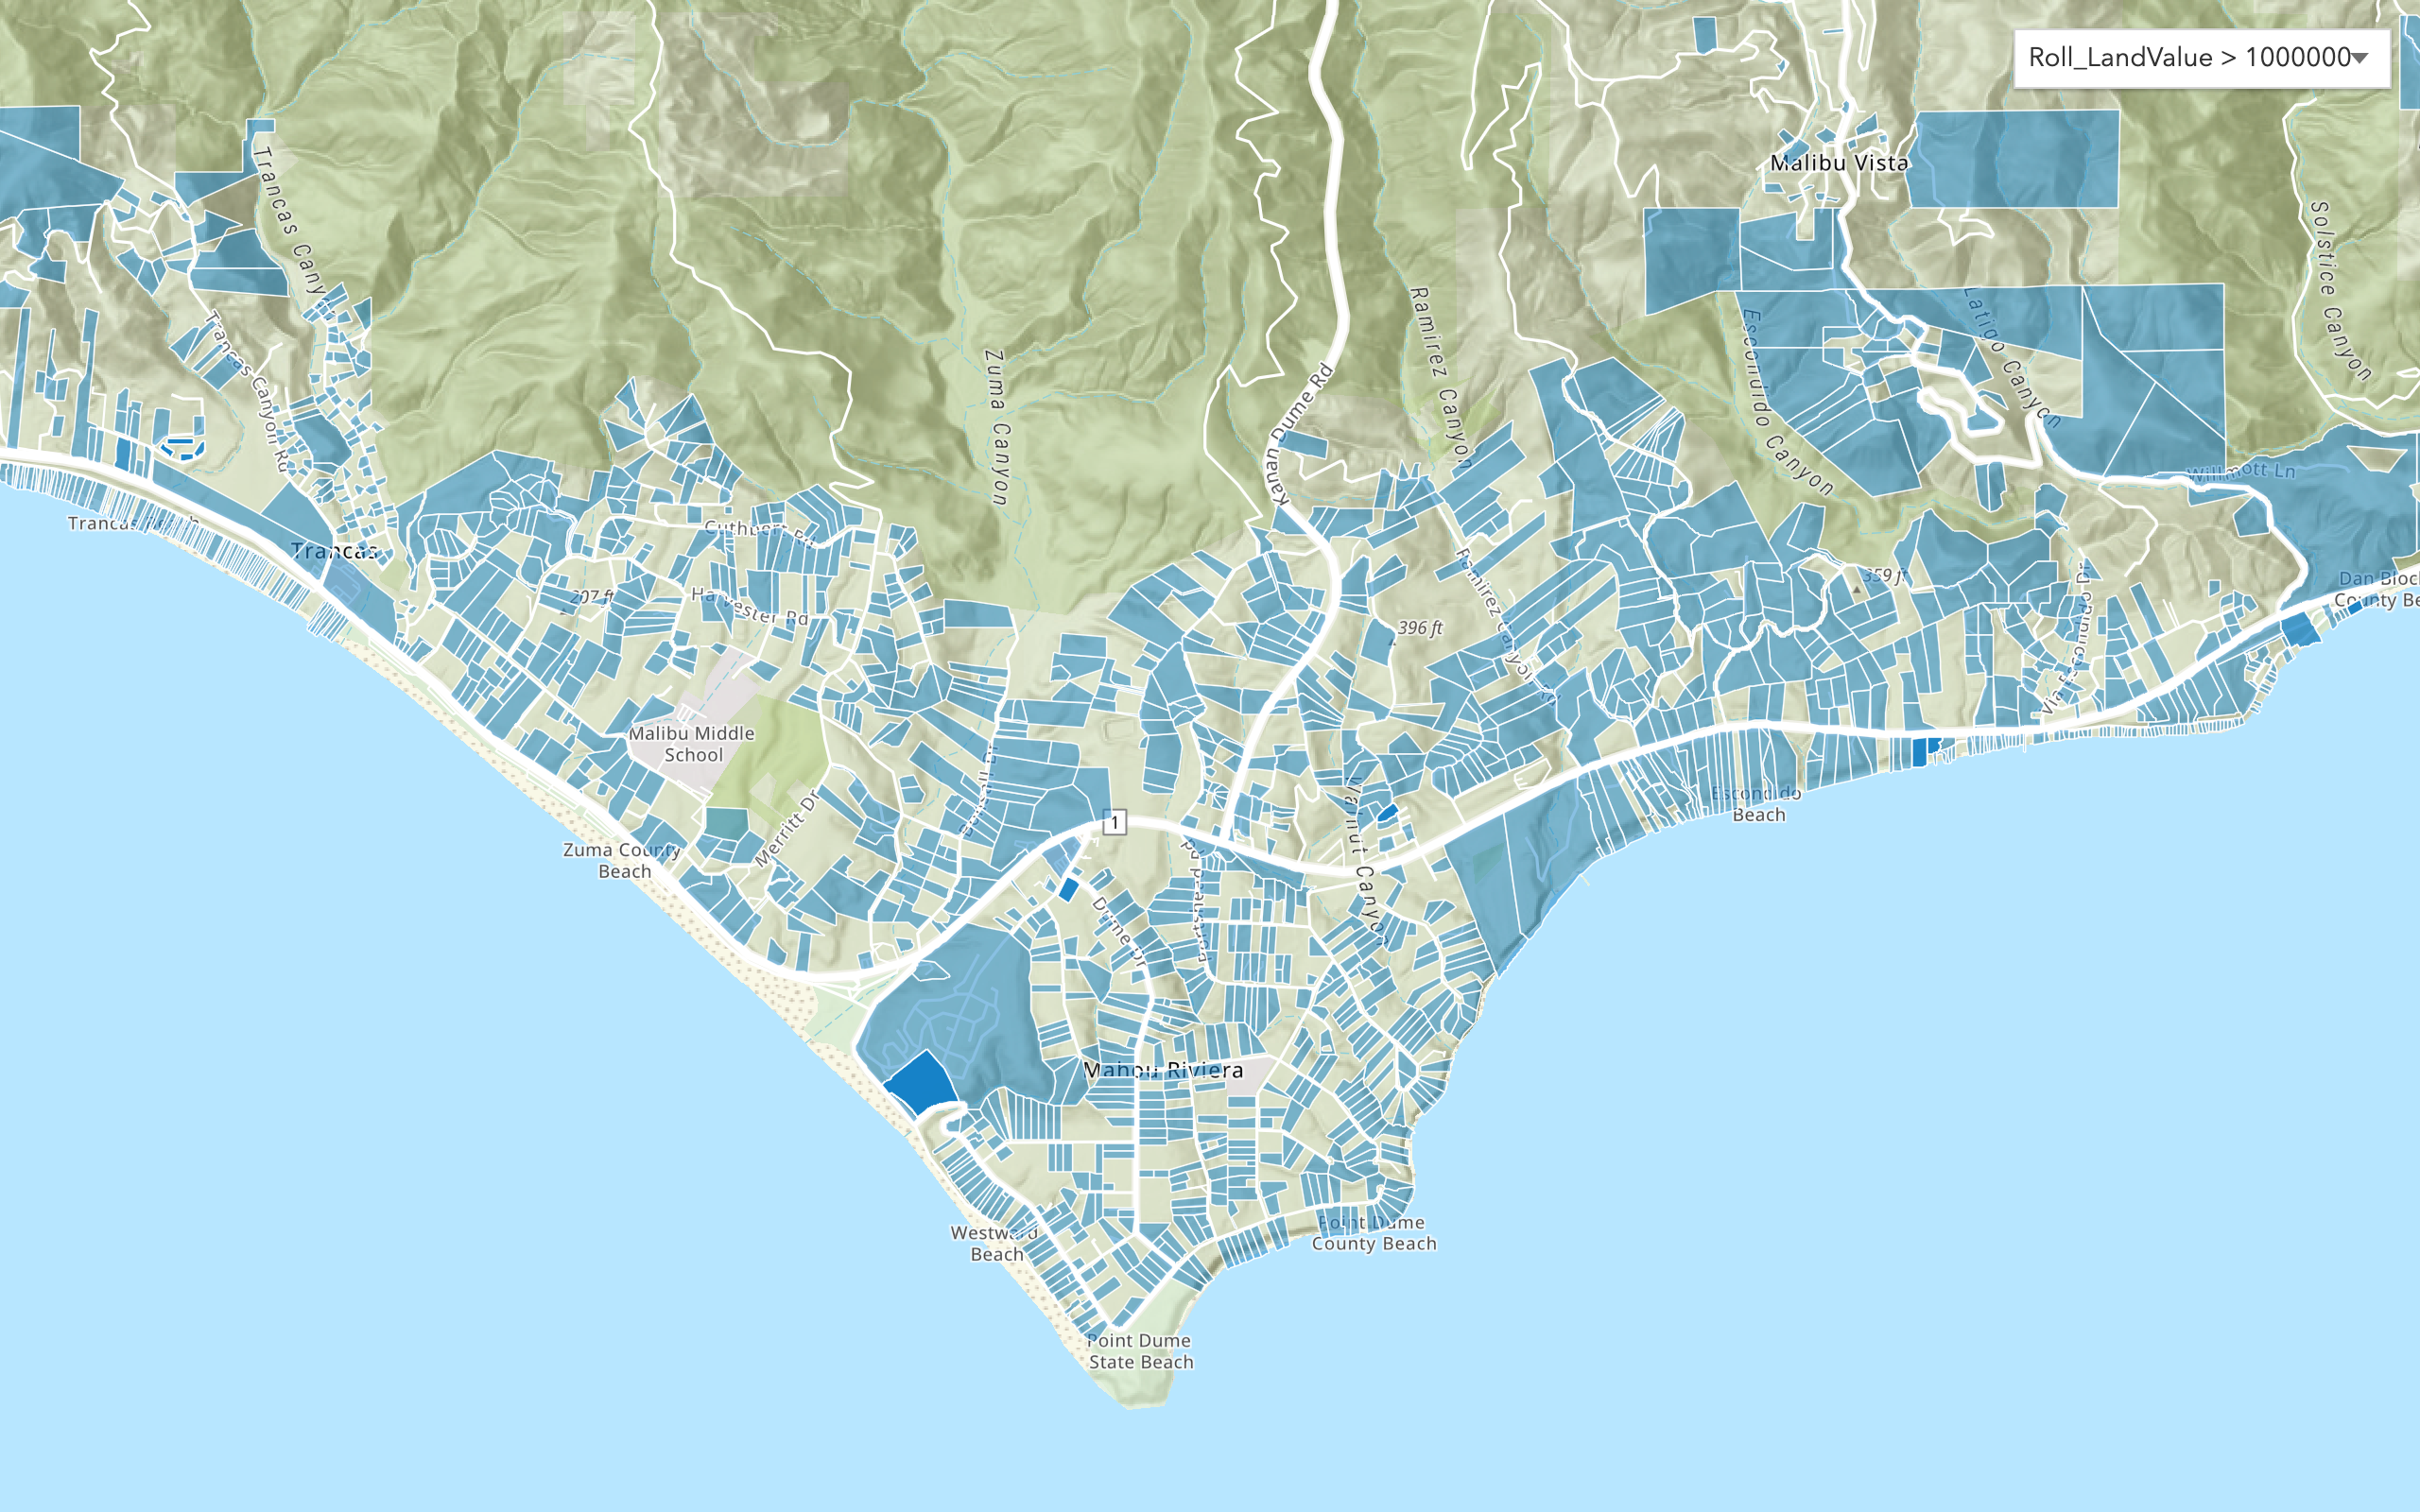
Importing data is the process of using data management tools in your portal to upload a file to create a feature layer in a feature service. Each file you import becomes a feature layer in the service. If your data contains geometries with attributes, such as a CSV or GeoJSON file, it is imported as a hosted feature layer. A hosted feature layer is also referred to as a feature layer. A feature layer is used to store point, line, or polygon geometries with attributes. After a feature layer is created, applications can access it by ID or URL and then query, edit, and display features.
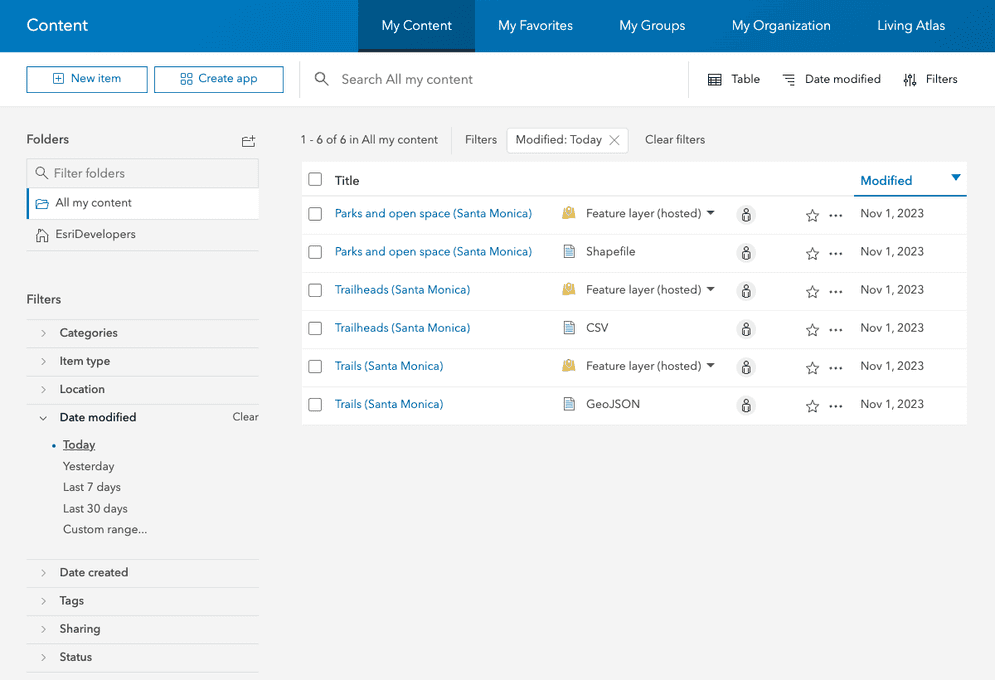
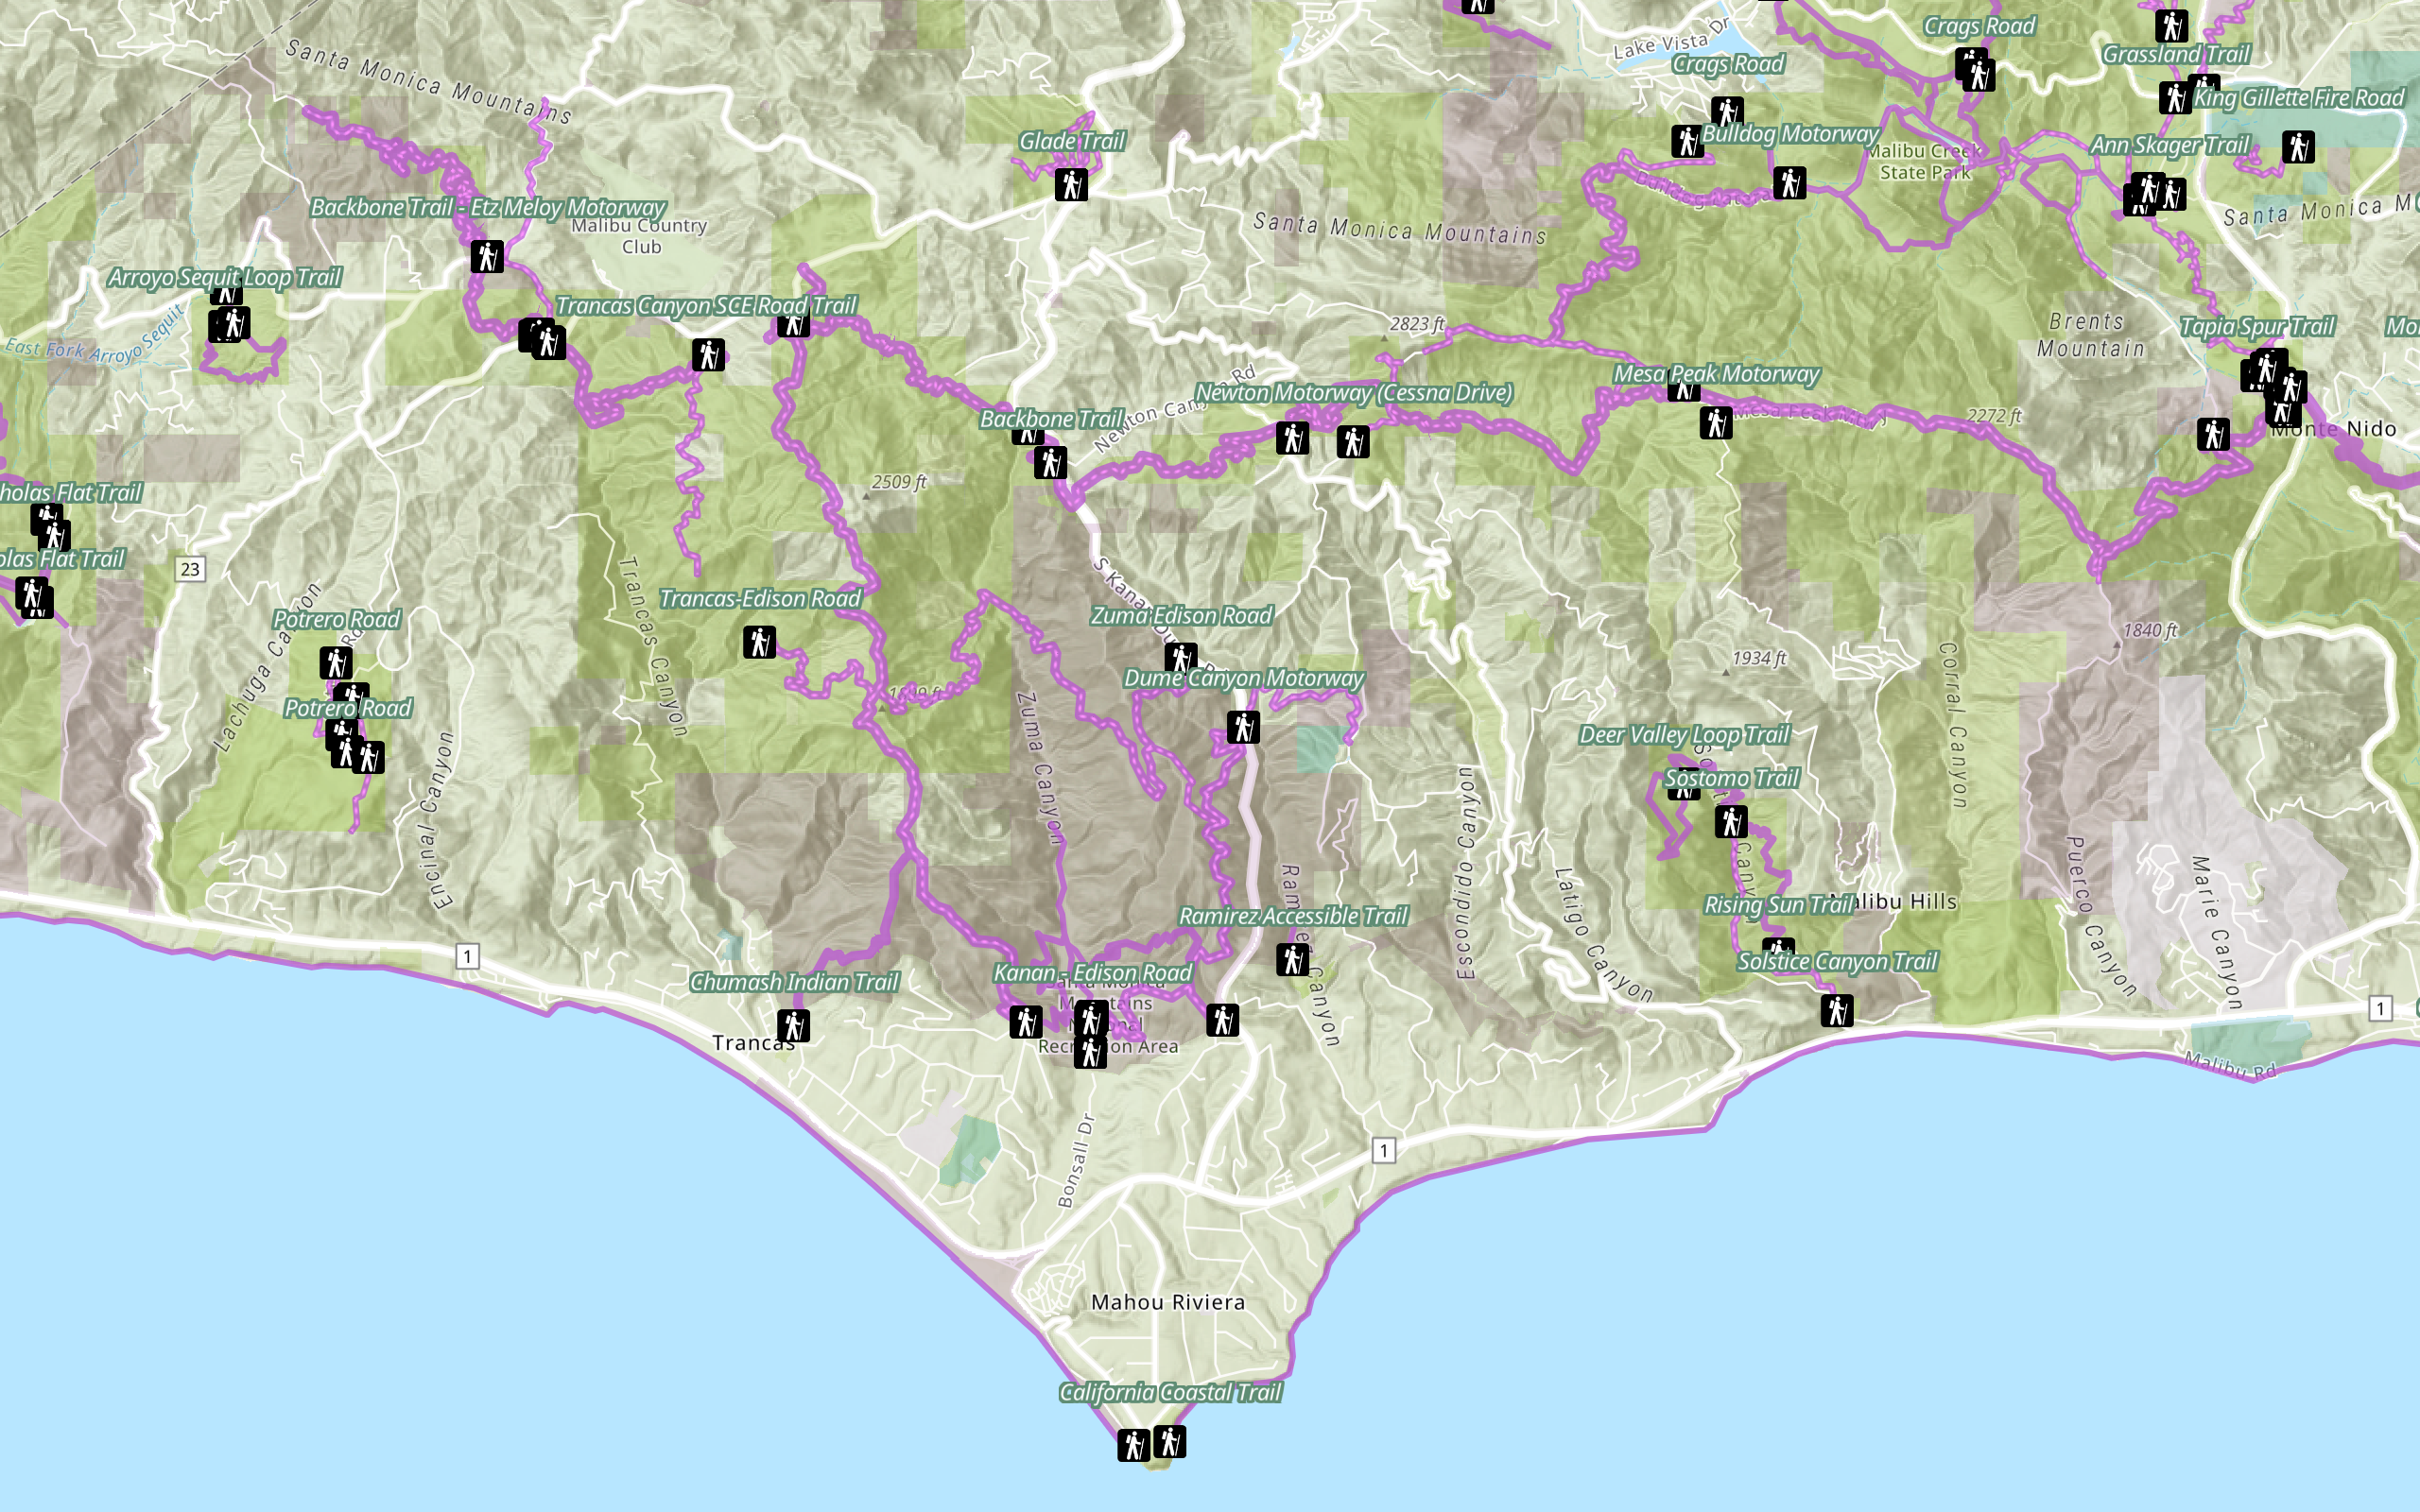
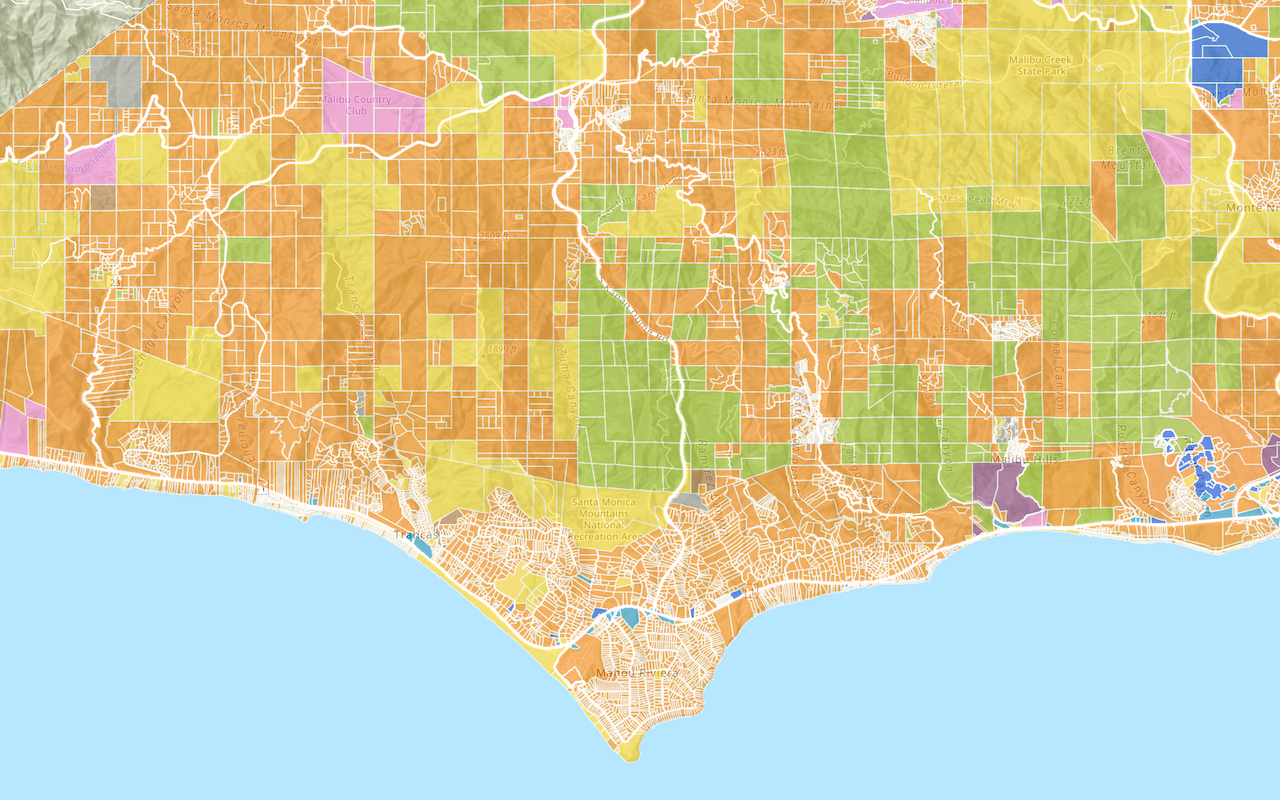
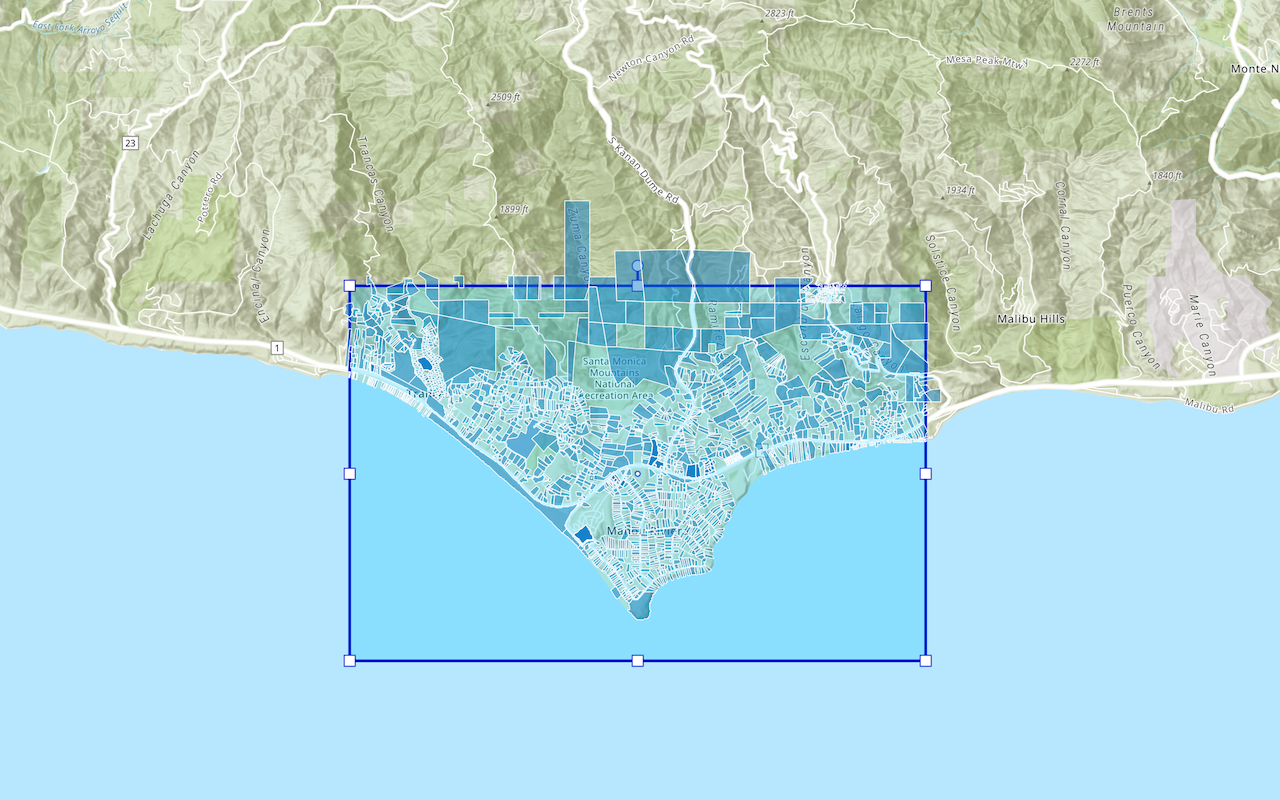
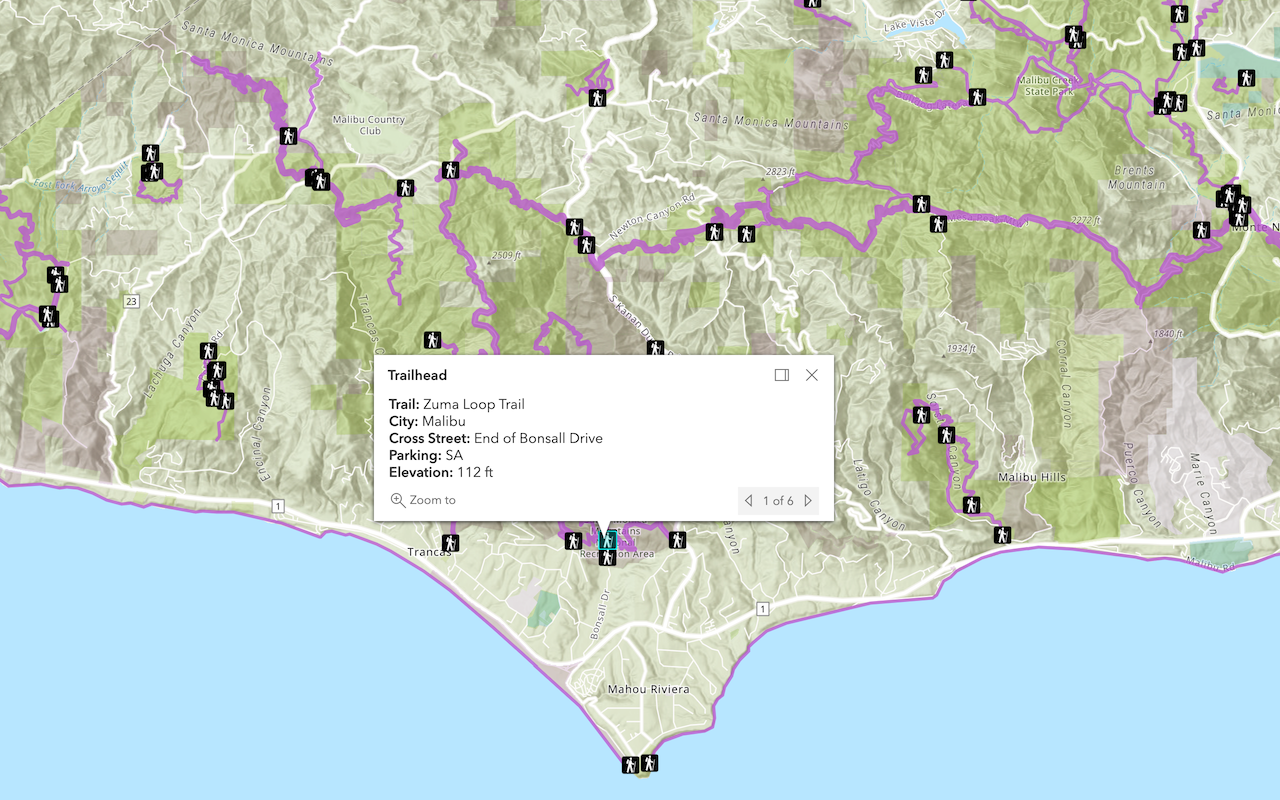
In this tutorial, you use data management tools and scripting APIs to import Trailheads (CSV), Trails (GeoJSON), and Parks and Open Space (Shapefile) files and publish them as feature layers. These layers are used in other tutorials.
Prerequisites
You need an account for ArcGIS Platform, ArcGIS Online, or ArcGIS Enterprise to create hosted data services. If you need an account, go to Get started.
Steps
Download the data
-
Download the LA_Hub_Datsets zip file from ArcGIS Online. The zip file contains the following:
- Trailheads.csv
- Trails.geojson
- Parks_and_Open_Space.zip (Shapefile)
-
Navigate to and unzip the file.
Import the Trailheads CSV file
The Trailheads CSV file contains point data with attributes. Importing the file will create a new point feature layer in a feature service. The import tool attempts to match field names and data types in the CSV file. The four supported field types are: String, Integer, Double, and Date.
Follow the steps below to use Data management tools or Scripting APIs:
In your web browser, go to ArcGIS.com and sign in with your ArcGIS Developer account.
-
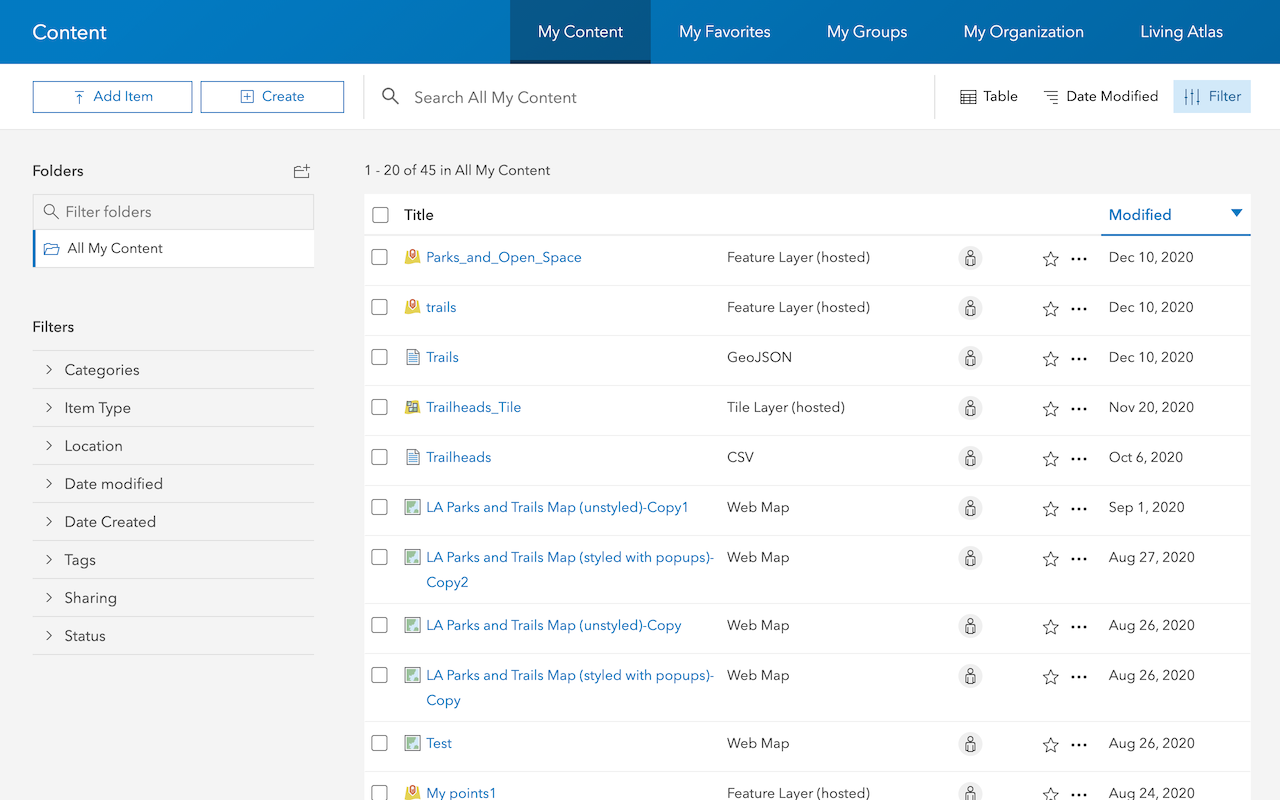
In the top navigation bar, click Content.
-
Click New item. To upload the Trailheads.csv file, you can either:
- Drag and drop the file.
- Or, click Your device and navigate to the file path.
-
Select
Add Trailheads.csv and create a hosted feature layerto publish the file as a hosted feature layer. -
In Fields, leave all fields at their default settings and click Next.
-
In Location settings, leave the default settings and click Next.
-
Set the following information in the item details pane:
- Title:
Trailheads - Tags:
Los AngelesTrailheads. - Summary:
Trailheads in the Santa Monica Mountains.
- Title:
-
Click Next to create the new Trailheads feature layer and feature service.
To access a hosted layer from an application, you need to be able to identify its ID and URL. If a layer is public, you use the URL or item ID to access it directly with your web browser or any application. If the layer is private, you need to provide an access token.
Public: https://services3.arcgis.com/GVgbJbqm8hXASVYi/arcgis/rest/services/Trailheads/FeatureServer/0
- In the item page of the layer, find the Item ID and Point Layer URL. They should look something like this:
- Layer ID: 883cedb8c9fe4524b64d47666ed234a7
- Point Layer URL:
https://services3.arcgis.com/GVgb Jbqm8h XASVYi/arcgis/rest/services/Trailheads/Feature Server/
In your web browser, go to ArcGIS.com and sign in with your ArcGIS Online account.
-
In the top navigation bar, click Content.
-
Click New item. To upload the Trailheads.csv file, you can either:
- Drag and drop the file.
- Or, click Your device and navigate to the file path.
-
Select
Add Trailheads.csv and create a hosted feature layerto publish the file as a hosted feature layer. -
In Fields, leave all fields at their default settings and click Next.
-
In Location settings, leave the default settings and click Next.
-
Set the following information in the item details pane:
- Title:
Trailheads - Tags:
Los AngelesTrailheads. - Summary:
Trailheads in the Santa Monica Mountains.
- Title:
-
Click Next to create the new Trailheads feature layer and feature service.
To access a hosted layer from an application, you need to be able to identify its ID and URL. If a layer is public, you use the URL or item ID to access it directly with your web browser or any application. If the layer is private, you need to provide an access token.
Public: https://services3.arcgis.com/GVgbJbqm8hXASVYi/arcgis/rest/services/Trailheads/FeatureServer/0
- In the item page of the layer, find the Item ID and Point Layer URL. They should look something like this:
- Layer ID: 883cedb8c9fe4524b64d47666ed234a7
- Point Layer URL:
https://services3.arcgis.com/GVgb Jbqm8h XASVYi/arcgis/rest/services/Trailheads/Feature Server/
In your web browser, go to your ArcGIS Enterprise portal website and sign in with your ArcGIS Enterprise account.
-
In the top navigation bar, click Content.
-
Click New item. To upload the Trailheads.csv file, you can either:
- Drag and drop the file.
- Or, click Your device and navigate to the file path.
-
Select
Add Trailheads.csv and create a hosted feature layerto publish the file as a hosted feature layer. -
In Fields, leave all fields at their default settings and click Next.
-
In Location settings, leave the default settings and click Next.
-
Set the following information in the item details pane:
- Title:
Trailheads - Tags:
Los AngelesTrailheads. - Summary:
Trailheads in the Santa Monica Mountains.
- Title:
-
Click Next to create the new Trailheads feature layer and feature service.
To access a hosted layer from an application, you need to be able to identify its ID and URL. If a layer is public, you use the URL or item ID to access it directly with your web browser or any application. If the layer is private, you need to provide an access token.
Public: https://your.server.com/webadaptor/rest/services/Trailheads/FeatureServer/0
Private: https://your.server.com/webadaptor/rest/services/Trailheads/FeatureServer/0?token=ACCESS_TOKEN
- In the item page of the layer, find the Item ID and Point Layer URL. They should look something like this:
- Layer ID: 883cedb8c9fe4524b64d47666ed234a7
- Point Layer URL:
https://your.server.com/ArcGIS/rest/services/Trailheads/Feature Server/
You can use ArcGIS Pro to import CSV data.
- Unzip the LA_Hub_Datsets zip file.
- The zip file contains the Trailheads.csv file.
- Launch ArcGIS Pro.
- Create a new map project.
- A map with
World Topographic MapandWorld Hillshadebasemap layers will be created.
- In the Map ribbon, click on Add Data > XY Point Data. The XY Table to Point geoprocessing tool will be displayed.
- Set the following information in the XY Table to Point geoprocessing tool:
- In the Input Table input parameter, click Browse and select the Trailheads.csv file.
- Output Feature Class:
Trailheads_.layer - X Field:
LON. - Y Field:
LAT. - Coordinate System:
GCS_.WGS_1984
A new point feature class is created and added to the map.
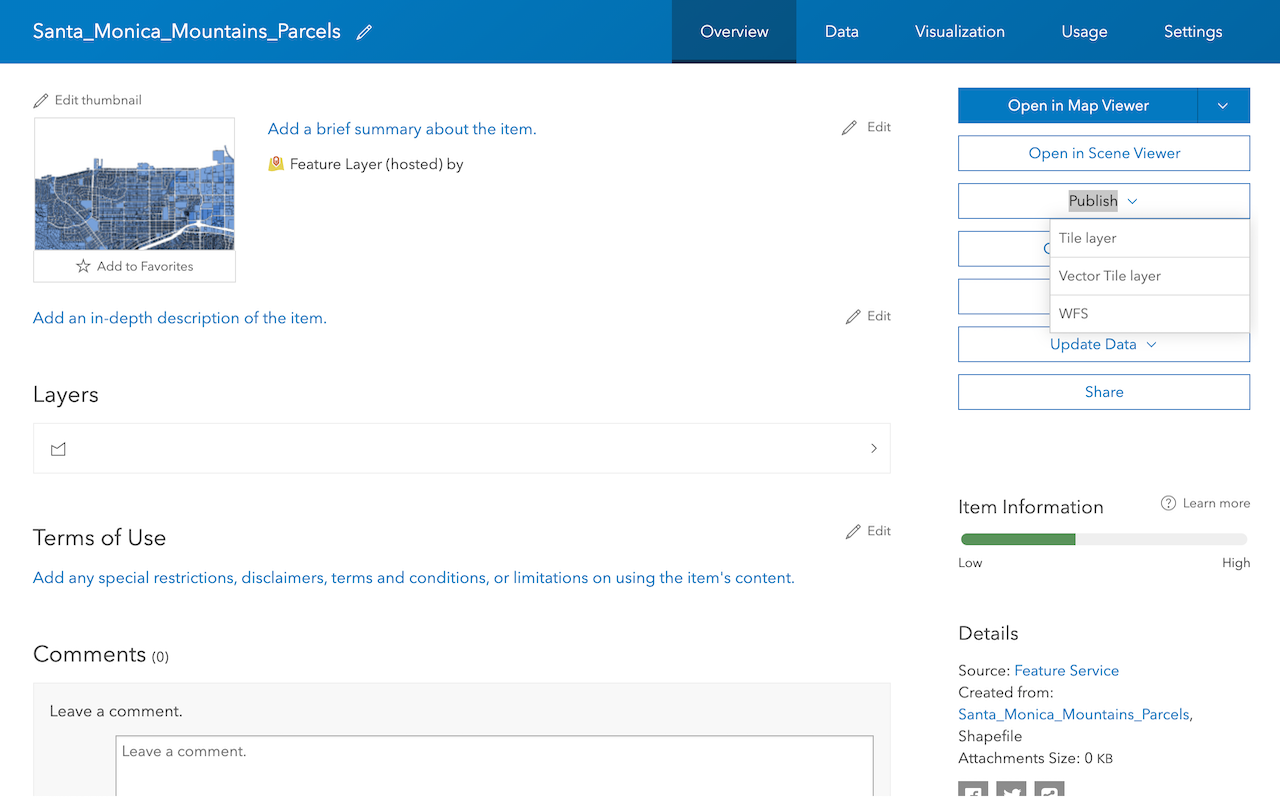
Publish as web layer
Before you can share the feature layer as a hosted feature layer, you will need to enable Allow assignment of unique numeric IDs for sharing web layers option. By default, this option is not enabled. Enabling this option will allow you to assign static IDs to feature layers in your project.
- In the Contents pane, right-click the Map > Properties
- In the General section, enable Allow assignment of unique numeric IDs for sharing web layers.
With that option enabled, you can now publish the Trailheads, Trails, or the Parks_and_Open_Space layers as a hosted feature layers.
- Right-click on feature layer and click Sharing > Share as Web Layer.
- The Share As Web Layer pane will be displayed.
- Set the following required information in the General tab:
- Name: The name of the hosted layer
- Provide text for Summary
- Provide text for Tags
- Layer Type:
Feature - Set a location in your organization in Location
- Click Analyze
- Any errors or warnings during the analyze process will be displayed in the Messages tab.
- Click Publish
A success message will be displayed with Manage the web layer link allowing you to visit the item page details of the hosted feature layer.
- Import the required libraries.
- Provide an access token.
- Create and publish a portal item.
- Handle the results.
# local path to csv file
input_file_path = str(Path(__file__).parent / "data/Trailheads.csv")
# add the csv file as an item to portal
csv_item = portal.content.add(
{
"title": "Trailheads",
"description": "Trailheads imported from CSV file in Mahou Riviera",
"tags": "LA Trailheads",
},
input_file_path,
)
# publish the item to create a hosted featurelayer
csv_service = csv_item.publish(None)
print(f"New item id : {csv_service.id}, url: {csv_service.layers[0].url}")
// create item
const csvItem = await createItem({
authentication: auth,
item: {
title: 'Trailheads CSV',
description: 'Trailheads imported from CSV file in Mahou Riviera',
tags: 'LA Trailheads',
type: 'CSV',
},
file: f,
});
// execute publish operation
const publishedService = await request(publishURL, {
authentication: auth,
params: {
itemid: csvItem.id,
filetype: 'csv',
publishParameters: publishParams,
},
});
// handle results
console.log('New service created: ');
publishedService.services.forEach((s) => {
console.log(`\n\tid: ${s.serviceItemId} \n\turl:${s.serviceurl}`);
});
Import the Trails GeoJSON file
The Trails GeoJSON file contains line (polyline) data with attributes. Importing the file will create a new line feature layer in a feature service.
Follow the steps below to use Data management tools or Scripting APIs:
In ArcGIS.com click Content > New item to upload your next file.
-
Upload the Trails.geojson file. Either:
- Drag and drop the file into the Drag and drop your file area.
- Or, click Your device and navigate to the file path.
-
Select Add Trails.geojson and create a hosted feature layer to publish the file as a hosted feature layer.
-
Set the following information in the item details pane:
- Title:
Trails - Tags:
Los AngelesTrails. - Summary:
Trails in the Santa Monica Mountains.
- Title:
-
Click Next to create the new Trails feature layer and feature service.
To access a hosted feature layer from an application, you need to be able to identify ID and URL.
-
In the item page, scroll down to the bottom of the page to find the Service URL. For example:
- Service URL:
https://services3.arcgis.com/GVgb Jbqm8h XASVYi/arcgis/rest/services/Trails/Feature Server
- Service URL:
-
Click View to access the feature service. Locate the Service ItemId, which will look something like this:
- Service ItemID: 69e12682738e467eb509d8b54dc73cbd
In your ArcGIS Enterprise portal, click Content > New item to upload your next file.
-
Upload the Trails.geojson file. Either:
- Drag and drop the file into the Drag and drop your file area.
- Or, click Your device and navigate to the file path.
-
Select Add Trails.geojson and create a hosted feature layer to publish the file as a hosted feature layer.
-
Set the following information in the item details pane:
- Title:
Trails - Tags:
Los AngelesTrails. - Summary:
Trails in the Santa Monica Mountains.
- Title:
-
Click Next to create the new Trails feature layer and feature service.
To access a hosted feature layer from an application, you need to be able to identify ID and URL.
-
In the item page, scroll down to the bottom of the page to find the Service URL. For example:
- Service URL:
https://your.server.com/ArcGIS/rest/services/Trails/Feature Server
- Service URL:
-
Click View to access the feature service. Locate the Service ItemId, which will look something like this:
- Service ItemID: 69e12682738e467eb509d8b54dc73cbd
You can use ArcGIS Pro to import GeoJSON data.
- Unzip the LA_Hub_Datsets zip file.
- The zip file contains the Trails.geojson file.
- Launch ArcGIS Pro.
- Create a new map project.
- A map with
World Topographic MapandWorld Hillshadebasemap layers will be created.
- In the Analysis ribbon, click on Tools in the Geoprocessing. The Geoprocessing pane will be displayed.
- In the Geoprocessing pane, enter JSON to Features in the search bar.
- Click for JSON to Features to launch the tool.
- Set the following information in the JSON to Features geoprocessing tool:
- In the Input JSON or GeoJSON input parameter, click Browse to select the Trails.geojson file.
- In the Output Feature Class input parameter, accept the default name or provide a name for the output feature class.
- Geometry Type:
Polyline
- Click Run.
A new polyline feature class is created and added to the map.
Publish as web layer
Before you can share the feature layer as a hosted feature layer, you will need to enable Allow assignment of unique numeric IDs for sharing web layers option. By default, this option is not enabled. Enabling this option will allow you to assign static IDs to feature layers in your project.
- In the Contents pane, right-click the Map > Properties
- In the General section, enable Allow assignment of unique numeric IDs for sharing web layers.
With that option enabled, you can now publish the Trailheads, Trails, or the Parks_and_Open_Space layers as a hosted feature layers.
- Right-click on feature layer and click Sharing > Share as Web Layer.
- The Share As Web Layer pane will be displayed.
- Set the following required information in the General tab:
- Name: The name of the hosted layer
- Provide text for Summary
- Provide text for Tags
- Layer Type:
Feature - Set a location in your organization in Location
- Click Analyze
- Any errors or warnings during the analyze process will be displayed in the Messages tab.
- Click Publish
A success message will be displayed with Manage the web layer link allowing you to visit the item page details of the hosted feature layer.
- Import the required libraries.
- Provide an access token.
- Create and publish a portal item.
- Handle the results.
# local path to geojson file
input_file_path = str(Path(__file__).parent / "data/Trails.geojson")
# add the geojson file as an item to portal
geojson_item = portal.content.add(
{
"title": "Trails",
"description": "Trails imported from GeoJSON file in Mahou Riviera",
"tags": "LA Trails",
"type": "GeoJson",
},
input_file_path,
)
# publish the item to create a hosted featurelayer
geojson_service = geojson_item.publish(None)
print(
f"New item : \n\t id : {geojson_service.id} \n\t url: {geojson_service.layers[0].url}"
)
// create item
const csvItem = await createItem({
authentication: auth,
item: {
title: 'Trails GeoJSON',
description: 'Trails imported from a GeoJSON file in Mahou Riviera',
tags: 'LA Trails',
type: 'GeoJson',
},
file: f,
});
// execute publish operation
const publishedService = await request(publishURL, {
authentication: auth,
params: {
itemid: csvItem.id,
filetype: 'geojson',
publishParameters: publishParams,
},
});
// handle results
console.log('New service created: ');
publishedService.services.forEach((s) => {
console.log(`\tid: ${s.serviceItemId} \n\turl:${s.serviceurl}`);
});
Import the Parks and Open Spaces Shapefile
The Parks and Open Spaces Shapefile contains polygon data with attributes. Importing the file will create a new polygon feature layer in a feature service.
Follow the steps below to use Data management tools or Scripting APIs:
In ArcGIS.com click Content > New item to upload your next file.
-
Upload the Parks and Open Space.zip file. Either:
- Drag and drop the file into the Drag and drop your file area.
- Or, click Your device to browse to the file path.
-
Set the file type to Shapefile. Select Add Parks_and_Open_Space.zip and create a hosted feature layer to publish the file as a hosted feature layer.
-
Set the following information in the item details pane:
- Title:
Parks and Open Space - Tags:
Los AngelesParks. - Summary:
Parks and open spaces in the Santa Monica Mountains.
- Title:
-
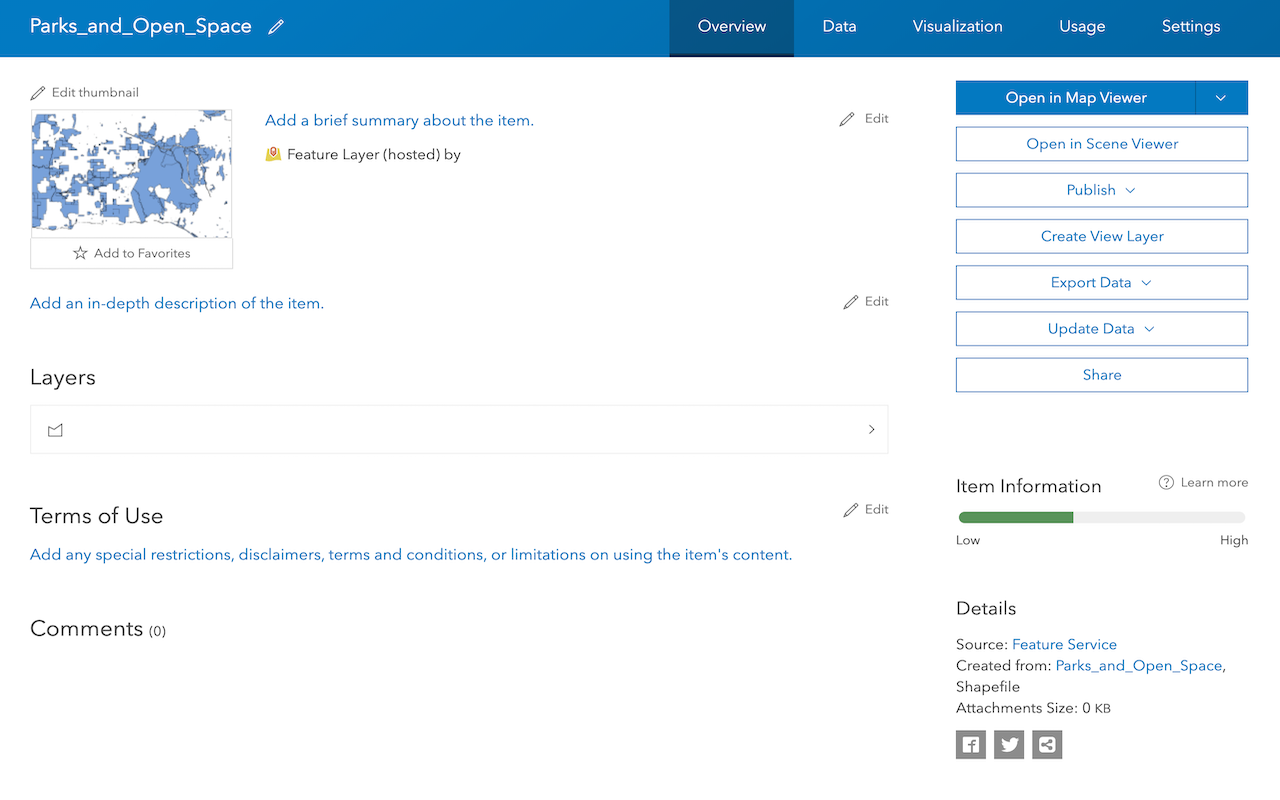
Click Next to create the new Parks and Open Space feature layer and feature service.
To access a hosted feature layer from an application, you need to be able to identify ID and URL.
-
In the item page, scroll down to the bottom of the page to find the Service URL. For example:
- Service URL:
https://services3.arcgis.com/GVgb Jbqm8h XASVYi/arcgis/rest/services/Parks_ and_ Open_ Space/Feature Server
- Service URL:
-
Click View to access the feature service. Locate the Service ItemId, which will look something like this:
- Service ItemID: f2ea5d874dad427294641d2d45097c0e
In ArcGIS.com click Content > New item to upload your next file.
-
Upload the Parks and Open Space.zip file. Either:
- Drag and drop the file into the Drag and drop your file area.
- Or, click Your device to browse to the file path.
-
Set the file type to Shapefile. Select Add Parks_and_Open_Space.zip and create a hosted feature layer to publish the file as a hosted feature layer.
-
Set the following information in the item details pane:
- Title:
Parks and Open Space - Tags:
Los AngelesParks. - Summary:
Parks and open spaces in the Santa Monica Mountains.
- Title:
-
Click Next to create the new Parks and Open Space feature layer and feature service.
To access a hosted feature layer from an application, you need to be able to identify ID and URL.
-
In the item page, scroll down to the bottom of the page to find the Service URL. For example:
- Service URL:
https://services3.arcgis.com/GVgb Jbqm8h XASVYi/arcgis/rest/services/Parks_ and_ Open_ Space/Feature Server
- Service URL:
-
Click View to access the feature service. Locate the Service ItemId, which will look something like this:
- Service ItemID: f2ea5d874dad427294641d2d45097c0e
In your ArcGIS Enterprise portal, click Content > New item to upload your next file.
-
Upload the Parks and Open Space.zip file. Either:
- Drag and drop the file into the Drag and drop your file area.
- Or, click Your device to browse to the file path.
-
Set the file type to Shapefile. Select Add Parks_and_Open_Space.zip and create a hosted feature layer to publish the file as a hosted feature layer.
-
Set the following information in the item details pane:
- Title:
Parks and Open Space - Tags:
Los AngelesParks. - Summary:
Parks and open spaces in the Santa Monica Mountains.
- Title:
-
Click Next to create the new Parks and Open Space feature layer and feature service.
To access a hosted feature layer from an application, you need to be able to identify ID and URL.
-
In the item page, scroll down to the bottom of the page to find the Service URL. For example:
- Service URL:
https://your.server.com/ArcGIS/rest/services/Parks_ and_ Open_ Space/Feature Server
- Service URL:
-
Click View to access the feature service. Locate the Service ItemId, which will look something like this:
- Service ItemID: f2ea5d874dad427294641d2d45097c0e
You can use ArcGIS Pro to import shapefile data.
- Unzip the LA_Hub_Datsets zip file.
- The zip file contains the Parks_and_Open_Shape.shp file.
- Launch ArcGIS Pro.
- Create a new map project.
- A map with
World Topographic MapandWorld Hillshadebasemap layers will be created.
- In the Map ribbon, click on Add Data > Data and select Parks_and_Open_Shape.shp file.
The Parks_and_Open_Shape.shp file is added as a feature layer to the map.
Publish as web layer
Before you can share the feature layer as a hosted feature layer, you will need to enable Allow assignment of unique numeric IDs for sharing web layers option. By default, this option is not enabled. Enabling this option will allow you to assign static IDs to feature layers in your project.
- In the Contents pane, right-click the Map > Properties
- In the General section, enable Allow assignment of unique numeric IDs for sharing web layers.
With that option enabled, you can now publish the Trailheads, Trails, or the Parks_and_Open_Space layers as a hosted feature layers.
- Right-click on feature layer and click Sharing > Share as Web Layer.
- The Share As Web Layer pane will be displayed.
- Set the following required information in the General tab:
- Name: The name of the hosted layer
- Provide text for Summary
- Provide text for Tags
- Layer Type:
Feature - Set a location in your organization in Location
- Click Analyze
- Any errors or warnings during the analyze process will be displayed in the Messages tab.
- Click Publish
A success message will be displayed with Manage the web layer link allowing you to visit the item page details of the hosted feature layer.
- Import the required libraries.
- Provide an access token.
- Create and publish a portal item.
- Handle the results.
# local path to shapefile zip file
input_file_path = str(Path(__file__).parent / "data/Parks_and_Open_Space.zip")
# add the zip file as an item to portal
shp_item = portal.content.add(
{
"title": "Parks and Open Space",
"description": "Parks and open spaces in Mahou Riviera.",
"tags": "LA Parks",
"type": "Shapefile",
},
input_file_path,
)
# publish the item to create a hosted featurelayer
shp_service = shp_item.publish(None)
print(f"New item id : {shp_service.id, }, url: {shp_service.layers[0].url}") // publish parameters
// https://developers.arcgis.com/rest/users-groups-and-items/publish-item.htm#ESRI_SECTION1_1016F32E313240D38E8CF741BDBC0BE8
const publishParams = {
name: 'Parks and Open Space',
maxRecordCount: 2000,
hasStaticData: true,
layerInfo: { capabilities: 'Query' },
};
// create item
const zipItem = await createItem({
authentication: auth,
item: {
title: 'Parks and Open Space',
description: 'Parks and open spaces in Mahou Riviera.',
tags: 'LA Parks',
type: 'Shapefile',
},
file: f,
});
// execute publish operation
const publishedService = await request(publishURL, {
authentication: auth,
params: {
itemid: zipItem.id,
filetype: 'shapefile',
publishParameters: publishParams,
},
});
// handle results
console.log('New service created: ');
publishedService.services.forEach((s) => {
console.log(`\tid: ${s.serviceItemId} \n\turl:${s.serviceurl}`);
});
You now have three hosted feature layers hosted in ArcGIS. You can access each layer with their service URL or layer ID in your applications. To manage your hosted layer (item) properties and capabilities, visit the Manage a feature layer tutorial.
What's next?
Learn how to use additional tools, APIs, and location services in these tutorials:
Define a new feature layer
Use data management tools to define and create a new empty feature layer in a feature service.
Manage a feature layer
Use a hosted feature layer item to set the properties and settings of a feature layer in a feature service.
Create a vector tile service
Use data management tools to create a new vector tile service from a feature service.
Add a feature layer
Access and display point, line, and polygon features from a feature service.
Add a vector tile layer
Access and display a vector tile layer in a map.
Add a map tile layer
Access and display a map tile layer in a map.
Style a feature layer
Use symbols and renderers to style feature layers.
Query a feature layer (spatial)
Execute a spatial query to get features from a feature layer.
Query a feature layer (SQL)
Execute a SQL query to access polygon features from a feature layer.

Edit feature data
Add, update, and delete features in a feature service.
Display a popup
Format a popup to show attributes in a feature layer.