The general steps to use ArcGIS StoryMaps are:
1. Create a story
In your ArcGIS Online or ArcGIS Enterprise organization:
-
Click Create app > ArcGIS StoryMaps.
-
Add a title and a cover image to your story.
-
Add story blocks.
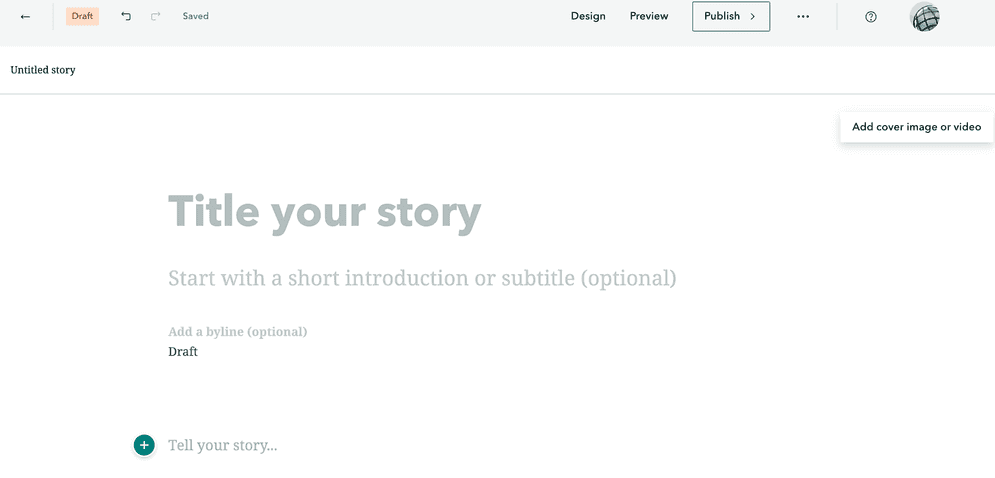
Use the story designer to create your story.
2. Design the layout
ArcGIS StoryMaps offers several configuration options to customize the appearance and behavior of a story. Below are some of the configuration options.
Select a story cover
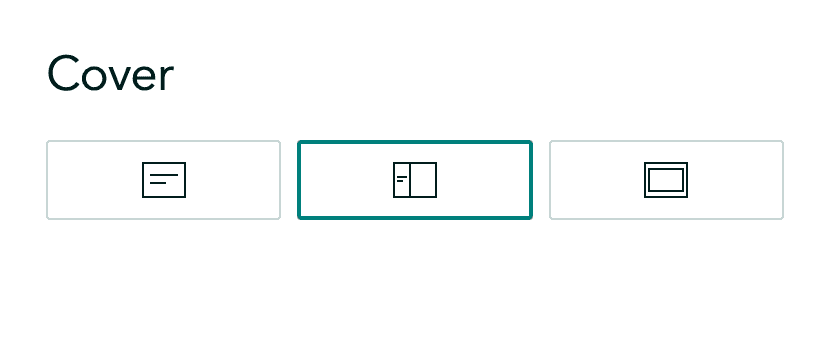
Start by selecting a cover for your story.
The story cover is similar to the front page of a book. It shows important details about a story such as:
- The title of the story
- A brief summary of the story
- The author's name
- The date the story was published
- And sometimes even an embedded image or video.
StoryMaps offer three cover layouts to choose from:
- Minimal
- Side-by-side
- Full
Select a theme
You can select a readily available theme, a shared theme, or customize a new one.

Select from a list of themes for your story.
Adjust content blocks
Adjust the size, position, and arrangement of content blocks to create a visually appealing and well-organized story.
Enhance the story experience
You can configure the navigational and interactivity aspects of a story such as side-swiping and autoplay. Below are common configuration options:
-
Select and configure either the scrolling or side-swiping to navigate through story sections.
-
Enable or disable auto-play functionality, which automatically advances the story to the next section after a specified time interval.
-
Utilize "zoom-to" actions on maps to highlight specific locations or areas of interest.
Add media
Once you add various types of media, including images, videos, and audio, you can adjust the size, position, and layout as well as add captions and alt-text.
Add a map
You can add web map or web scene to your story or create your own maps by using express maps in ArcGIS StoryMaps. This feature allows you to quickly create simple maps for your story.
3. Publish the story
After you configure a story, you can publish and share it with the following steps:
-
Publish the app to make it accessible to others. You can choose to publish it publicly or privately.
-
Share your story with others by providing them with the direct URL or embedding it on a website or blog.
-
Monitor the performance of your story through analytics and gather feedback from your audience.
Tutorials

Customize a theme for impactful stories
Recreate an award-winning theme from the 2020 ArcGIS StoryMaps Competition to get to know the capabilities of the StoryMaps theme builder.
ArcGIS Online Location Platform dashboard

Build a sidecard in your story
Use a sidecar to allow others to access your mapped data one step at a time.
ArcGIS Online Location Platform dashboard