Learn how to display feature attributes in a pop-up.
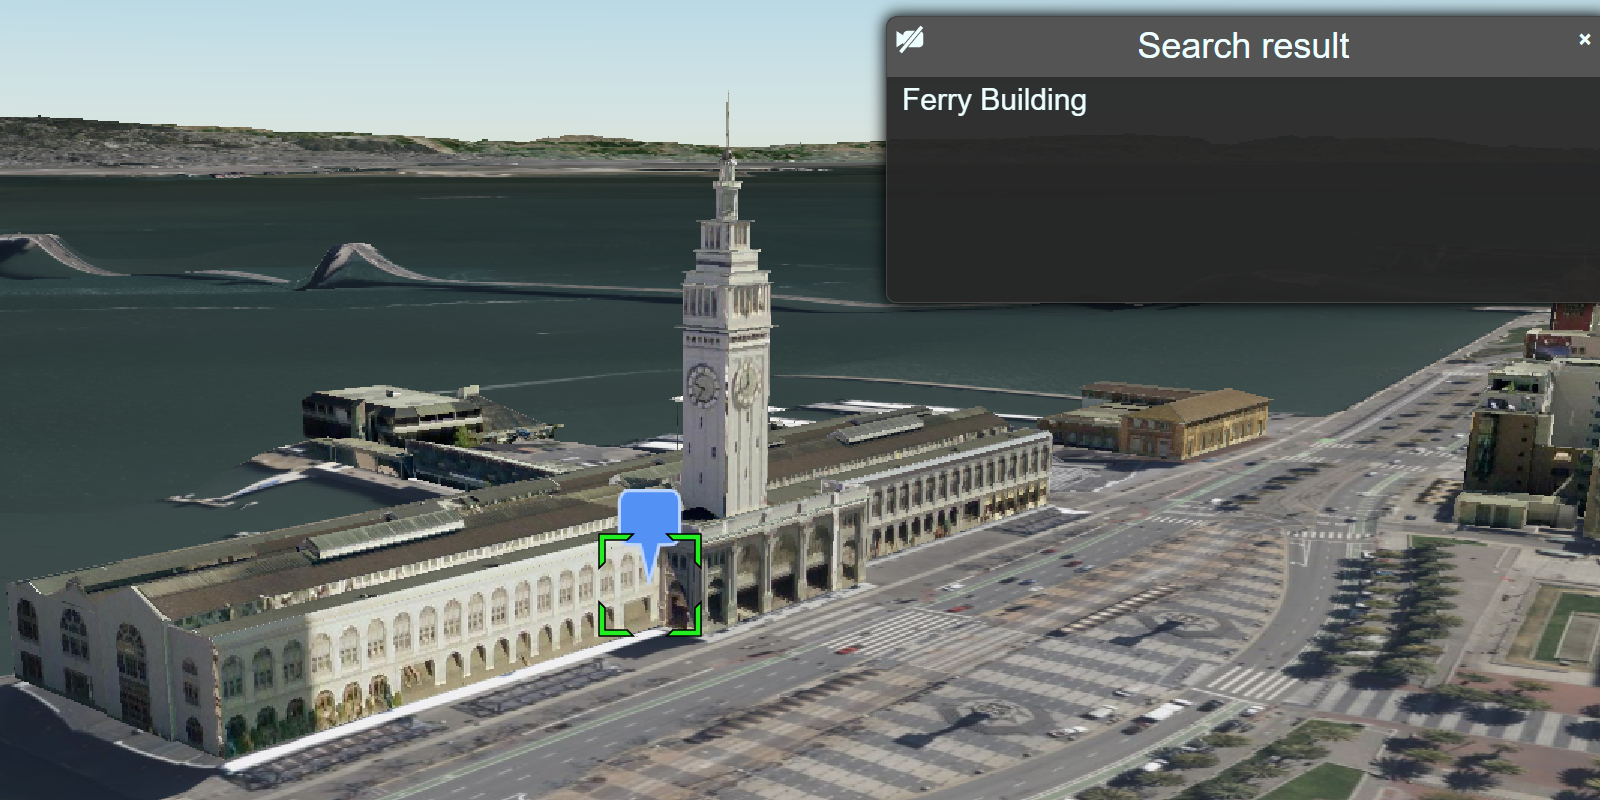
A pop-up, also known as a "popup", is a visual element that displays information about a feature when it is clicked. You typically style and configure a pop-up using HTML and CSS for each layer in a map. Pop-ups can display attribute values, calculated values, or rich content such as images, charts, or videos.
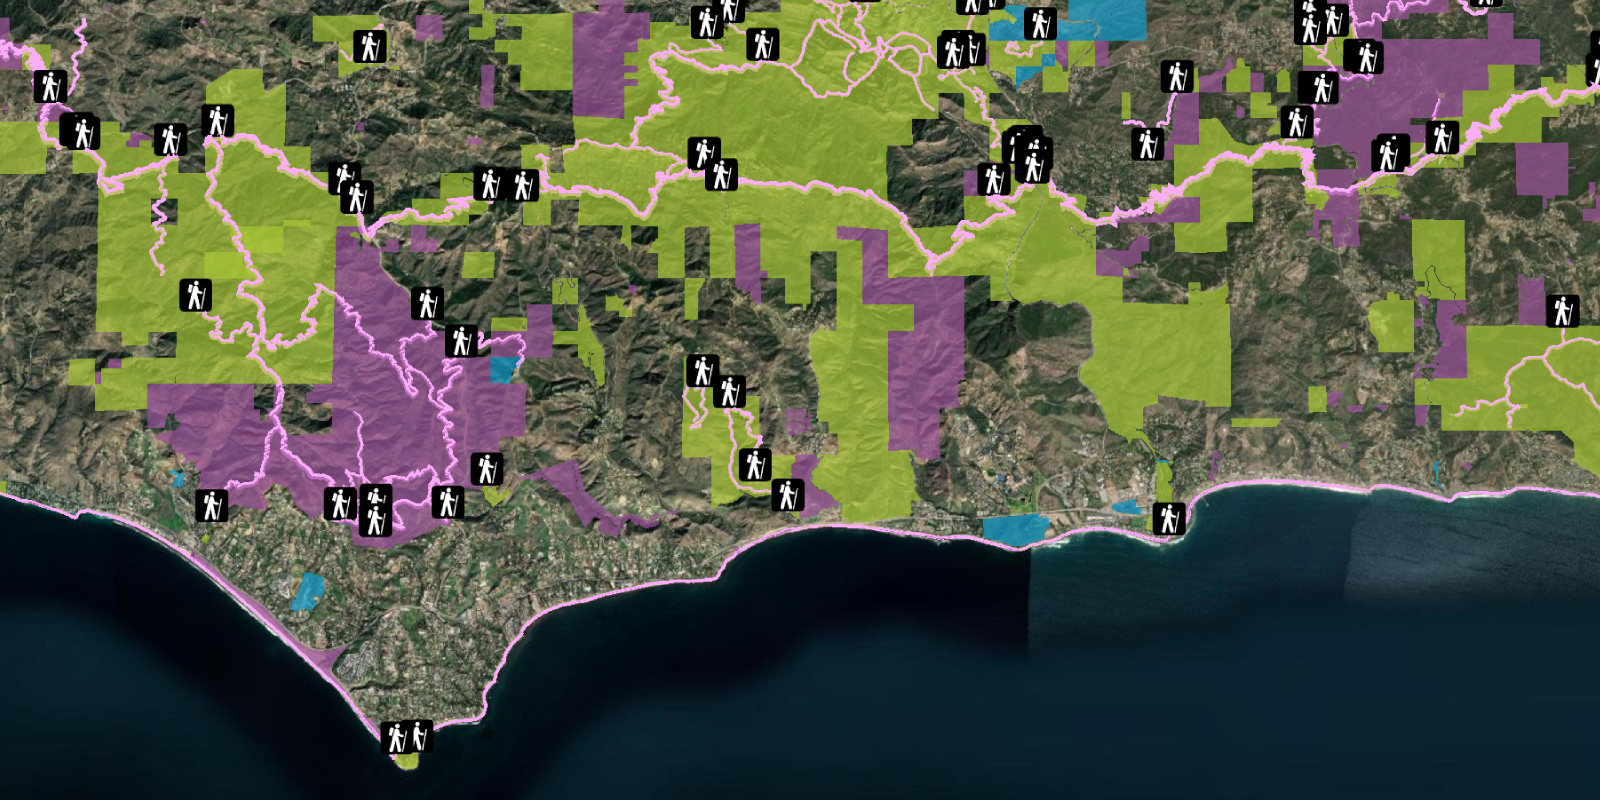
In this tutorial, you customize the interactive pop-up created by CesiumJS for the Trailheads feature service in the Santa Monica Mountains. When a feature is clicked, a pop-up will display containing the name of the trail and the service that manages it.
Prerequisites
You need an ArcGIS Location Platform or ArcGIS Online account.
Steps
Create a new pen
- To get started, either complete the Display a scene tutorial or .
Get an access token
You need an access token with the correct privileges to access the resources used in this tutorial.
-
Go to the Create an API key tutorial and create an API key with the following privilege(s):
- Privileges
- Location services > Basemaps
- Item access
- Note: If you are using your own custom data layer for this tutorial, you need to grant the API key credentials access to the layer item. Learn more in Item access privileges.
- Privileges
-
Copy the API key access token to your clipboard when prompted.
-
In CodePen, update the
accessvariable to use your access token.Token Use dark colors for code blocks const accessToken = "YOUR_ACCESS_TOKEN"; Cesium.ArcGisMapService.defaultAccessToken = accessToken; const cesiumAccessToken = "YOUR_CESIUM_ACCESS_TOKEN"; Cesium.Ion.defaultAccessToken = cesiumAccessToken; const arcGisImagery = Cesium.ArcGisMapServerImageryProvider.fromBasemapType(Cesium.ArcGisBaseMapType.SATELLITE); const viewer = new Cesium.Viewer("cesiumContainer", { baseLayer: Cesium.ImageryLayer.fromProviderAsync(arcGisImagery), });
To learn about the other types of authentication available, go to Types of authentication.
Add references to ArcGIS REST JS
-
In the
<headelement, reference the> feature-serviceandrequestpackages from ArcGIS REST JS.Use dark colors for code blocks <script src="https://cesium.com/downloads/cesiumjs/releases/1.121/Build/Cesium/Cesium.js"></script> <link href="https://cesium.com/downloads/cesiumjs/releases/1.121/Build/Cesium/Widgets/widgets.css" rel="stylesheet"> <script src="https://unpkg.com/@esri/arcgis-rest-request@4/dist/bundled/request.umd.js"></script> <script src="https://unpkg.com/@esri/arcgis-rest-feature-service@4/dist/bundled/feature-service.umd.js"></script>
Add the trailheads layer
Use arcgis to query the Trailheads URL and add features to the scene as GeoJSON.
-
In the
<body, create an> arcgisusing your access token to authenticate requests to the feature service.Rest. Api Key Manager Use dark colors for code blocks const accessToken = "YOUR_ACCESS_TOKEN"; Cesium.ArcGisMapService.defaultAccessToken = accessToken; const authentication = arcgisRest.ApiKeyManager.fromKey(accessToken); -
Use
arcgisto make an authenticated request to the Trailheads feature service. Set theRest.query Features fproperty togeojsonto format the response as GeoJSON.Use dark colors for code blocks destination : Cesium.Cartesian3.fromDegrees(-118.705, 33.957, 35000), orientation : { heading : Cesium.Math.toRadians(0.0), pitch : Cesium.Math.toRadians(-70.0), } }); const trailheadsURL = "https://services3.arcgis.com/GVgbJbqm8hXASVYi/arcgis/rest/services/Trailheads/FeatureServer/0"; arcgisRest.queryFeatures({ url: trailheadsURL, authentication, f:"geojson" }).then((response) => { }) -
Load the features into your scene using a
GeoJson Data Source Use dark colors for code blocks const trailheadsURL = "https://services3.arcgis.com/GVgbJbqm8hXASVYi/arcgis/rest/services/Trailheads/FeatureServer/0"; arcgisRest.queryFeatures({ url: trailheadsURL, authentication, f:"geojson" }).then((response) => { Cesium.GeoJsonDataSource.load(response,{ clampToGround:true, markerColor: Cesium.Color.fromCssColorString('#5491f5'), }).then((data)=>{ viewer.dataSources.add(data); }) })
Customize the pop-up
Cesium automatically creates popups for GeoJSON layers using the properties of each feature. You can set the title and description properties of each feature to customize the popup content.
-
Access the GeoJSON response from
arcgisand iterate through each feature. Set theRest.query Features titleproperty of each trailhead to the trail name (TRL)._NAME Use dark colors for code blocks const trailheadsURL = "https://services3.arcgis.com/GVgbJbqm8hXASVYi/arcgis/rest/services/Trailheads/FeatureServer/0"; arcgisRest.queryFeatures({ url: trailheadsURL, authentication, f:"geojson" }).then((response) => { for (let i=0; i<response.features.length; i++) { let feature = response.features[i]; feature.properties.title = feature.properties.TRL_NAME; } Cesium.GeoJsonDataSource.load(response,{ clampToGround:true, markerColor: Cesium.Color.fromCssColorString('#5491f5'), }).then((data)=>{ viewer.dataSources.add(data); }) }) -
Set the
descriptionproperty of each trailhead to include additional feature attributes.Use dark colors for code blocks for (let i=0; i<response.features.length; i++) { let feature = response.features[i]; feature.properties.title = feature.properties.TRL_NAME; feature.properties.description = `<b>${feature.properties.PARK_NAME}</b><br> Zip code: ${feature.properties.ZIP_CODE}<br> Elevation: ${feature.properties.ELEV_FT}ft` }
Run the app
In CodePen, run your code to display the map.
You should see the trailheads feature layer represented as points in the scene. Click on a trailhead to open a pop-up that displays information about it.
What's next?
Learn how to use additional ArcGIS location services in these tutorials:


