Most CesiumJS scenes include a base layer and a terrain layer. The base layer provides the visual backdrop of your scene, while the terrain layer adds elevation data for realistic ground surfaces.
Base layers
Base layers provide the visual foundation for a scene. ArcGIS supports two types of base layers you can add to a CesiumJS scene: styled basemap tiles and satellite basemap tiles.
Styled basemap tiles
Styled basemap tiles are provided by the ArcGIS Static Basemap Tiles service. This service offers pre-rendered, pre-styled raster tiles of ArcGIS basemap styles such as streets, navigation, and outdoor. These tiles show geographic features using cartographic styling rather than real-world satellite imagery.
Steps
- Select a basemap style from the list of available styles.
- Set the location of the scene.
- Display the style by accessing the Static Basemap Tiles service.
Display styled basemap tiles
Learn how to display styled basemap tiles from the Static Basemap Tiles service. This example displays the arcgis/navigation style as pre-rendered raster tiles.
Tutorials
 />
/>
Display a scene
Create and display a scene with ArcGIS styled basemap tiles.

Change the base layer
Change the styled basemap tile in a scene.

Change language labels
Switch the language labels on static basemap tiles.
Display multiple basemap layers
Add multiple basemap layers from different services to your scene.
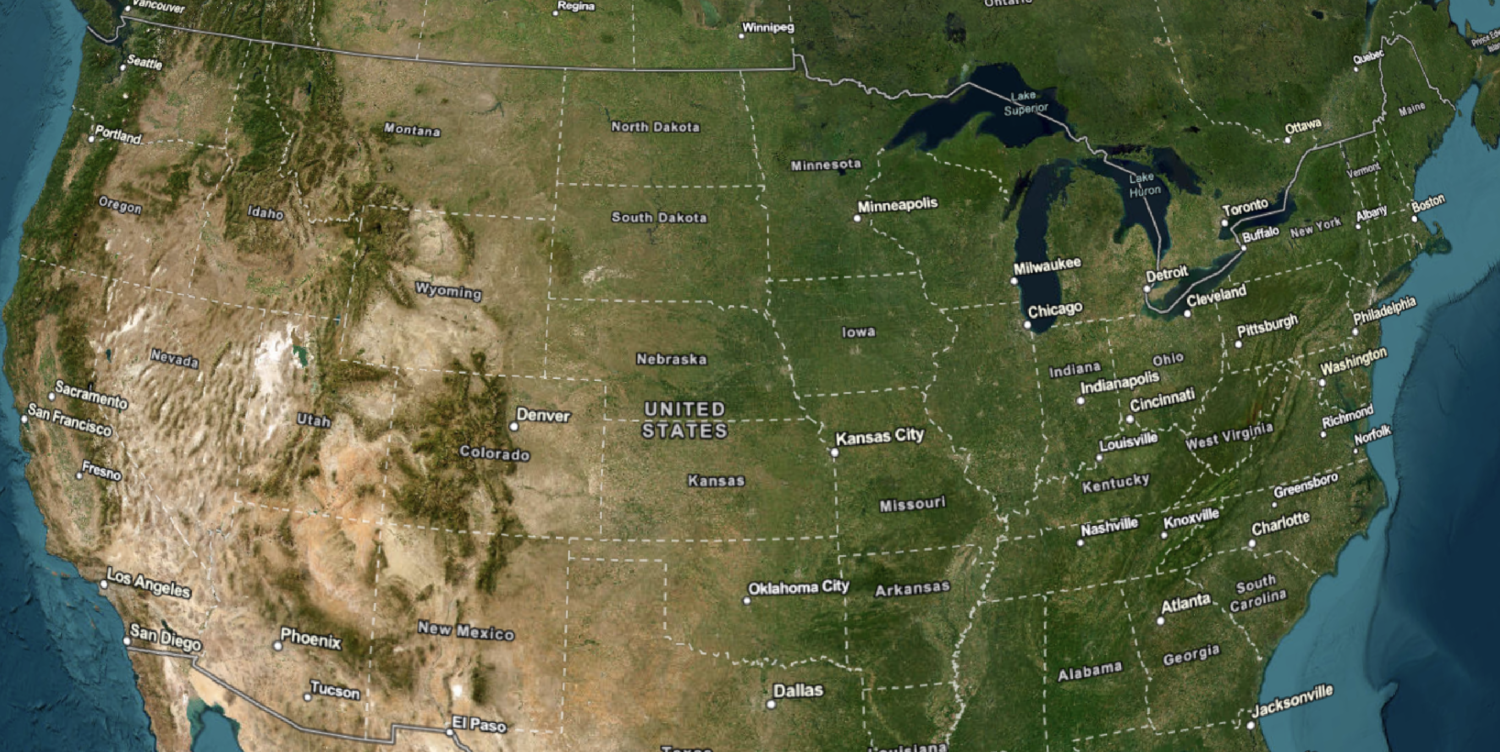
Satellite basemap tiles
Satellite basemap tiles are provided through a direct integration with CesiumJS. Cesium's ArcGis class can be used to load satellite basemap tiles from ArcGIS. The class provides access to real-world satellite imagery, as well as imagery-based styles such as hillshade and ocean.
Steps
- Select a basemap style from the styles supported by CesiumJS.
- Set the location of the scene.
- Display the style with CesiumJS.
Display satellite basemap tiles
Learn how to display satellite basemap tiles with Cesium.. This example displays the ArcGI style.
Tutorials


Elevation layers
You can add an ArcGIS elevation layer to a CesiumJS application as a Terrain to display detailed 3D terrain.
Steps
-
Create a
ViewerorCesium.Widget -
Create a new
ArcGISand set theTiled Elevation Terrain Provider urlproperty to the URL of the World Elevation service. -
Add the terrain provider to the scene by setting the
terrainproperty of the viewer or widget.Provider
Display an ArcGIS elevation layer
This example creates a CesiumJS viewer with an ArcGIS that references the World Elevation service.