Learn how to add a map tile layer to a map.
A map tile layer, also known as an image tile layer, displays raster imagery such as satellite photography or hillshading. You can combine map tile layers to enhance the display of a street basemap layer, position the layer on top of existing layers, or position it under existing layers. When positioned above other layers, you need to give the map tile layer a level of transparency so that users can see through it to the basemap. This combined basemap layer technique is used to enhance overall visualization.
In this tutorial, you add a hillshade map tile layer to your map and display it beneath a semitransparent basemap layer.
Prerequisites
You need an ArcGIS Location Platform or ArcGIS Online account.
Steps
Create a new pen
You need an access token with the correct privileges to access the resources used in this tutorial.
- Go to the Create an API key tutorial and create an API key with the following privilege(s):
- Privileges
- Location services > Basemaps
- Privileges
- Copy the API key access token as it will be used in the next step.
To learn about other ways to get an access token, go to Types of authentication.
- To get started, either complete the Display a map tutorial or .
Get an access token
You need an access token with the correct privileges to access the resources used in this tutorial.
-
Go to the Create an API key tutorial and create an API key with the following privilege(s):
- Privileges
- Location services > Basemaps
- Item access
- Note: If you are using your own custom data layer for this tutorial, you need to grant the API key credentials access to the layer item. Learn more in Item access privileges.
- Privileges
-
Copy the API key access token to your clipboard when prompted.
-
In CodePen, update the
accessvariable to use your access token.Token Use dark colors for code blocks const map = L.map("map", { minZoom: 2 }) map.setView([34.02, -118.805], 13); const accessToken = "YOUR_ACCESS_TOKEN"; const basemapEnum = "arcgis/streets"; L.esri.Vector.vectorBasemapLayer(basemapEnum, { token: accessToken }).addTo(map);
To learn about the other types of authentication available, go to Types of authentication.
Add a map tile layer
Use the Tiled class to access and display data from the World Hillshade map tile service.
-
Access the hillshade layer with a
Tiledand add it to your map.M a p Layer Use dark colors for code blocks L.esri.Vector.vectorBasemapLayer(basemapEnum, { token: accessToken, }).addTo(map); L.esri.tiledMapLayer({ url:"https://server.arcgisonline.com/arcgis/rest/services/Elevation/World_Hillshade/MapServer", apiKey: accessToken, }).addTo(map); </script>
Reposition and style the basemap
By default, the basemap layer is added to the same pane as the hillshade layer. To visually combine hillshading with a basemap, you need to change the layer order and opacity of the basemap so both layers are visible.
-
Create a new Leaflet pane called
esri-basemap. Set thezof the pane toIndex 300to display above the hillshade layer. Add code so the basemap is created in the new pane.Use dark colors for code blocks const basemapPane = map.createPane('esri-basemap'); basemapPane.style.zIndex = 300; L.esri.Vector.vectorBasemapLayer(basemapEnum, { token: accessToken, pane: basemapPane, }).addTo(map); -
Reduce the opacity of everything in the basemap layer except for water and buildings. This will make the hillshade layer visible on land.
Use dark colors for code blocks L.esri.Vector.vectorBasemapLayer(basemapEnum, { token: accessToken, pane: basemapPane, style: function (style) { for (const [i, layer] of style.layers.entries()) { if (layer.type === 'fill' && !layer.id.match(/(Water|Marine|Bathymetry|Building)/)) { style.layers[i].paint['fill-opacity'] = 0.5; } } return style } }).addTo(map);
Run the app
In CodePen, run your code to display the map.
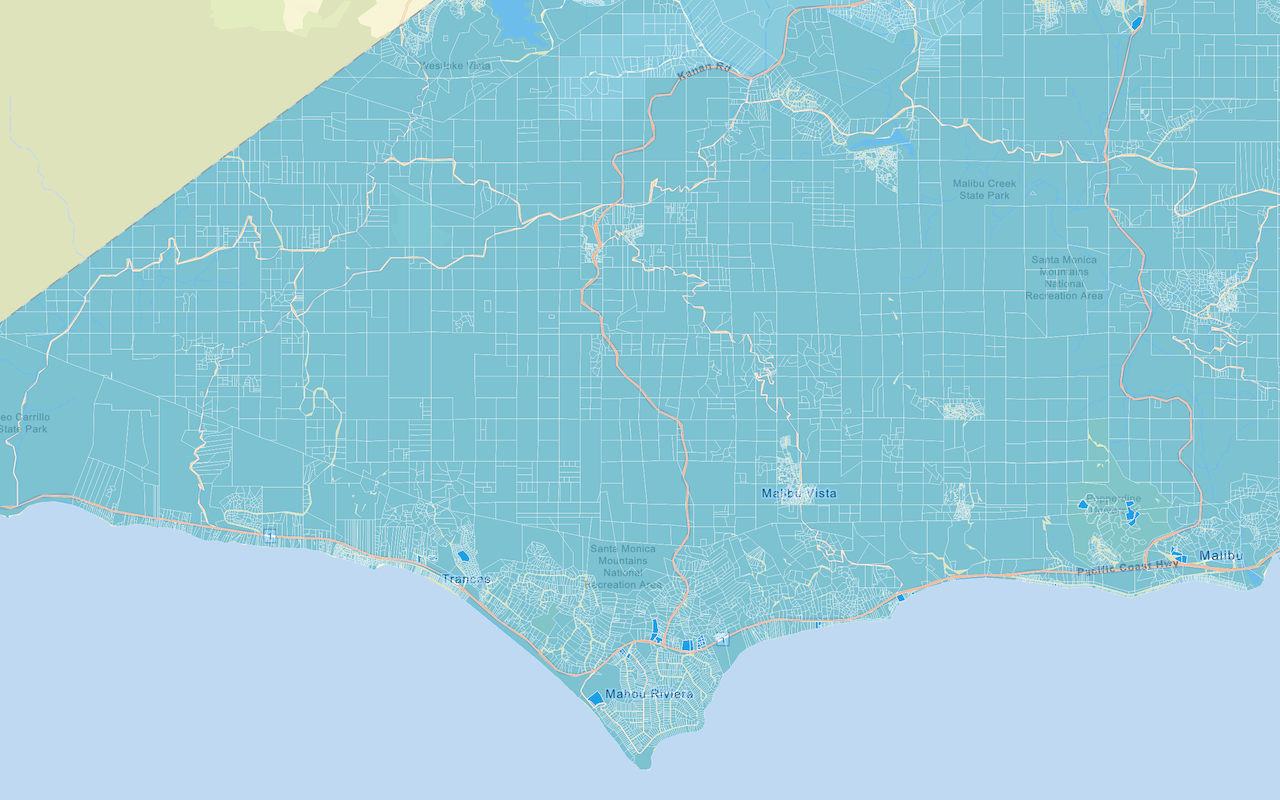
Your map should display a hillshade layer underneath a semi-transparent basemap. You should see the hillshade layer combined with other layers, with labels, roads, buildings and water areas clearly visible over the top.
What's next?
Learn how to use additional ArcGIS location services in these tutorials:


