1. Choose a style
The first step is to determine which type of style to use. If you want to display a single symbol for all features, use a simple style. If you want to display different symbols for features based on attributes, use a data-driven style. The most common styles are listed below.
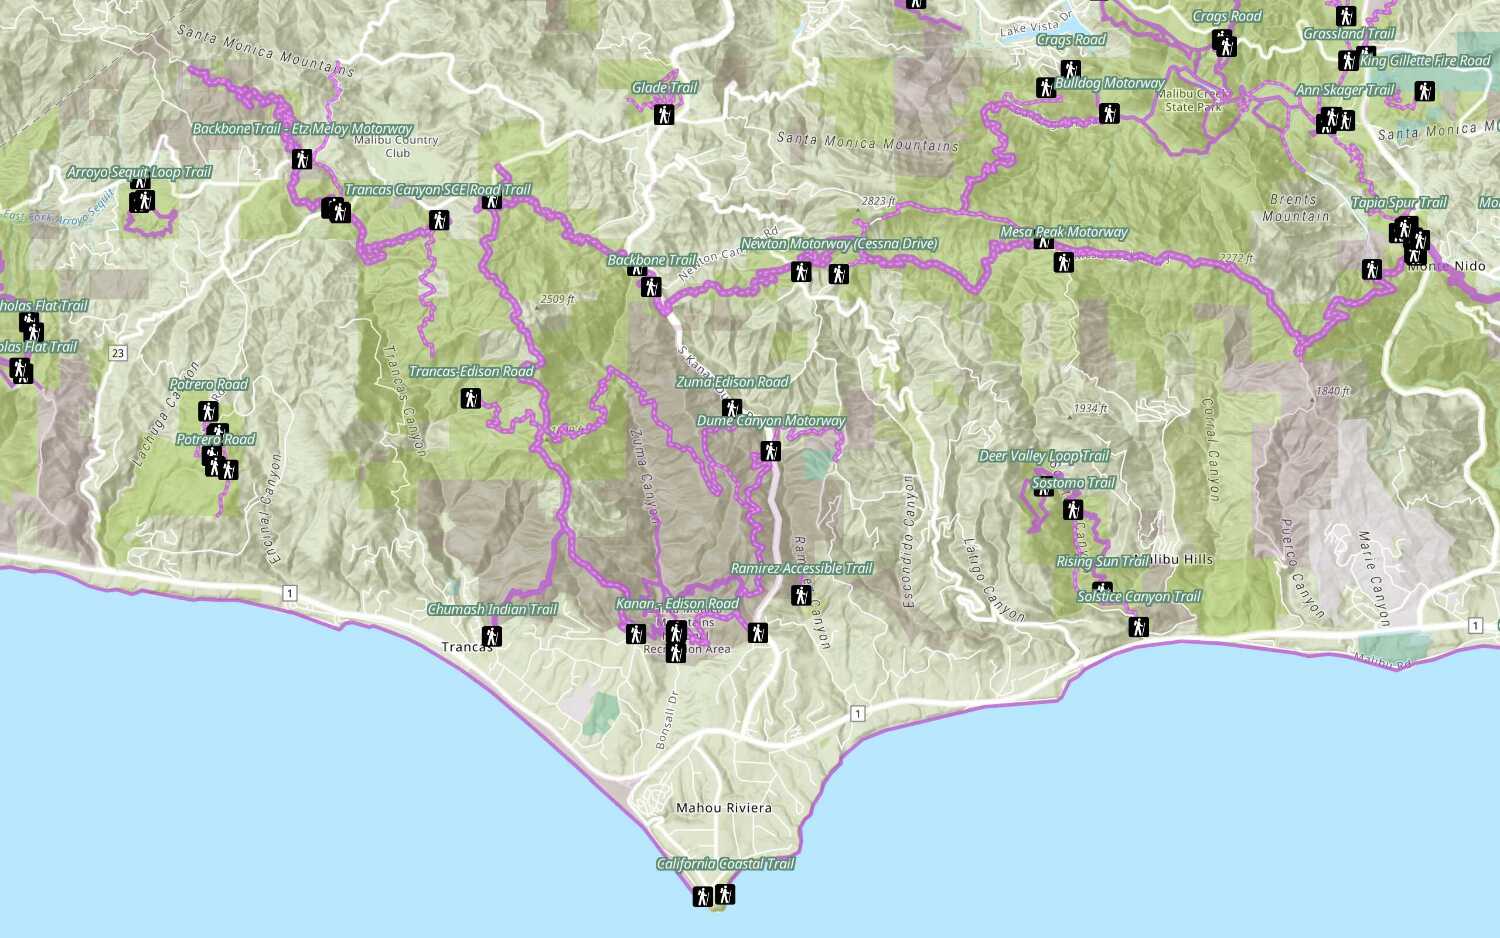
Simple styles are a single set of visual properties applied to all features in a feature layer.
| Style | Description | Example |
|---|---|---|
| 2D symbols | To style point, line, and polygon geometries in a map. |

|
| 3D symbols | To style point, line, and polygon geometries in a scene. |

|
2. Define the symbols and renderer
The next step is to define one or more symbols and a renderer with an ArcGIS Maps SDK. Each symbol contains a unique set of style properties. Typical properties are color, size, fill color, outline size and color, and transparency. A renderer is responsible for assigning each feature a symbol. A simple renderer defines one symbol for all features. Data-driven renderers define multiple symbols that are assigned to features based on attribute values.
The steps to define the style are:
- Create and define symbols.
- Create the renderer.
- Set the symbols to the renderer.
This example illustrates how to create 2D point symbols and define a simple renderer using ArcGIS Maps SDKs.
const renderer = new SimpleRenderer({
symbol: new SimpleMarkerSymbol({
size: 4,
color: [0, 255, 255],
outline: null,
}),
})
3. Display the style
The last step is to use an ArcGIS Maps SDK to access and display the features on a map.
The steps to display the style are:
- Reference the feature layer by using a service URL or its item ID.
- Set the renderer property of the layer.
- Add the layer to the map.
//Set the renderer on the layer
const citiesLayer = new FeatureLayer({
url: "https://services3.arcgis.com/GVgbJbqm8hXASVYi/arcgis/rest/services/USA_Major_Cities_/FeatureServer/0",
renderer: new SimpleRenderer({
symbol: new SimpleMarkerSymbol({
size: 2,
color: [0, 255, 255],
outline: null,
}),
}),
})
Additional resources
Tutorials

Style a feature layer
Use symbols and renderers to style feature layers.


