With SwiftUI you can now manage your map and scene view’s appearance, behavior, and gesture recognition using a new genre of declarative methods called view modifiers. For example, you can set the background grid on a map view, the atmosphere effect on a scene view, or a geometry editor instance on a map view using their respective modifiers.
View modifiers are an essential part of the SwiftUI ecosystem. When you call these modifiers on a view, they return a new modified view that effectively takes the place of the original in the view hierarchy. To find out more about view modifiers see Apple’s Configuring views topic.
You can configure your map viewMapView and SceneView classes. Both classes conform to the GeoView and SwiftUI.View protocols and provide an additional range of view modifiers. It is important that you add SwiftUI modifiers after ArcGIS modifiers. This maintains the sequence of type information and ensures that the SwiftUI modifiers are applied correctly to the ArcGIS components.
ArcGIS modifiers
ArcGIS Maps SDK for Swift has a range of view modifiers that perform one of the 3 main roles:
-
Change the view’s appearance, such as:
- Enable wraparound in a map view -
wrapAroundMode. - Space effect in a scene view -
spaceEffect. - Set the selection color -
selectionColor.
- Enable wraparound in a map view -
-
Control the view’s behavior, such as:
- Display the location display in a map view -
locationDisplay. - Provide a geometry editor to the map view -
geometryEditor. - Enable a magnifier in a map view -
magnifierDisabled.
- Display the location display in a map view -
-
Capture the view events, such as:
- User single tapped on a map view -
onSingleTapGesture. - Rotation changed in a map view -
onRotationChanged. - Camera changed in a scene view -
onCameraChanged.
The name of these modifiers often starts with “on” and ends with “Changed” or “Gesture”, to indicate that action will be performed when the value-of-interest changes or when the gesture is performed.
- User single tapped on a map view -
For a full list of the view modifiers that you can use to configure your map and scene views, see the instance methods in MapView, SceneView, and GeoView.
SwiftUI.View modifiers
SwiftUI provides a large number of view modifiers to configure views that conform to the View protocol. These view modifiers fall into the following categories and sub-categories:
-
- Accessibility modifiers
- Appearance modifiers
- Text and symbols
- Auxiliary view modifiers
-
- Style modifiers
- Layout modifiers
- Graphics and rendering modifiers
-
- Input and event modifiers
- Search modifiers
- Presentation modifiers
- State modifiers
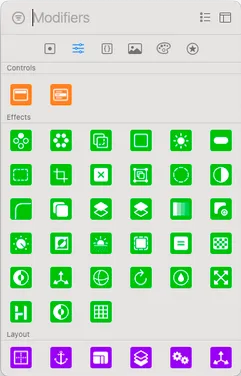
You can also browse the available view modifiers in SwiftUI by going to Xcode. With the View class file open, click on the Library button (+) in Xcode’s toolbar on the right.
Examples
Location display example
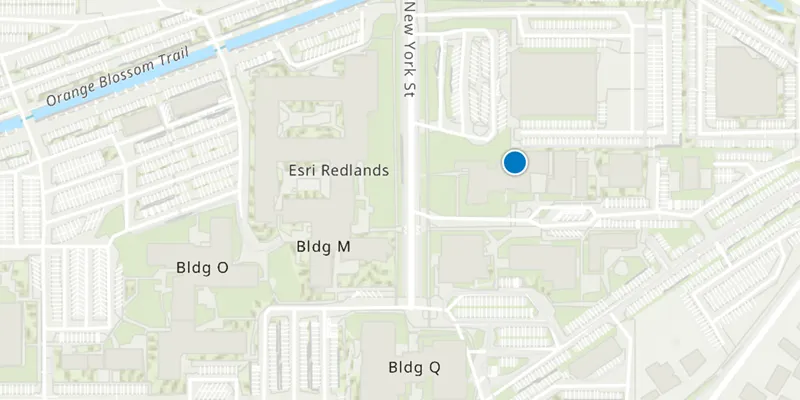
This example demonstrates how to configure a map view to display a device’s location on screen. In this example, the MapView is instantiated with a map and a viewpoint that are provided by a Model class (as discussed in Manage GeoView state).
Steps
-
Define a closure to set the
viewpointproperty to the map view’s current viewpoint. Add this closure to theonViewpointChangedview modifier so that it is performed every time the user pans or zooms the map view, for example. -
Pass a location display instance to the map view using the
locationDisplayview modifier. This will show the device location as a blue dot on the screen once the location data source has started. -
Provide the toolbar view modifier to place a toolbar control to the bottom of the map view.
-
Add a task view modifier and define a closure in it to asynchronously start the location data source. This ensures location is displayed on the map view when the view is created.
-
Add the onDisappear view modifier and define a closure in it to stop the location data source. This stops the location display when the view disappears from the interface.
    var body: some View {        MapView(map: model.map, viewpoint: viewpoint)
            // ArcGIS Maps SDK for Swift view modifiers            .onViewpointChanged(kind: .centerAndScale) { viewpoint = $0 }            .locationDisplay(model.locationDisplay)
            // SwiftUI view modifiers            .toolbar {                ToolbarItem(placement: .bottomBar) {                    Button("Query City") {                        Task {                            try? await model.featureLayer.load()                            try? await model.queryCity(name: "Los Angeles")                        }                    }                }            }            .task {                await model.startLocationDataSource()            }            .onDisappear {                model.stopLocationDataSource()            }    }
The device’s location is displayed as a blue dot on the screen.
Samples

Navigate route
Use a routing service to navigate between two points.

Show device location
Show your current position on the map, as well as switch between different types of auto-pan modes.

Identify layer features
Identify features in all layers in a map.