Learn how to use ArcGIS portal and scripting APIs to create a feature layer view.

Feature layer views
Prerequisites
You need an account
Steps
Download the data
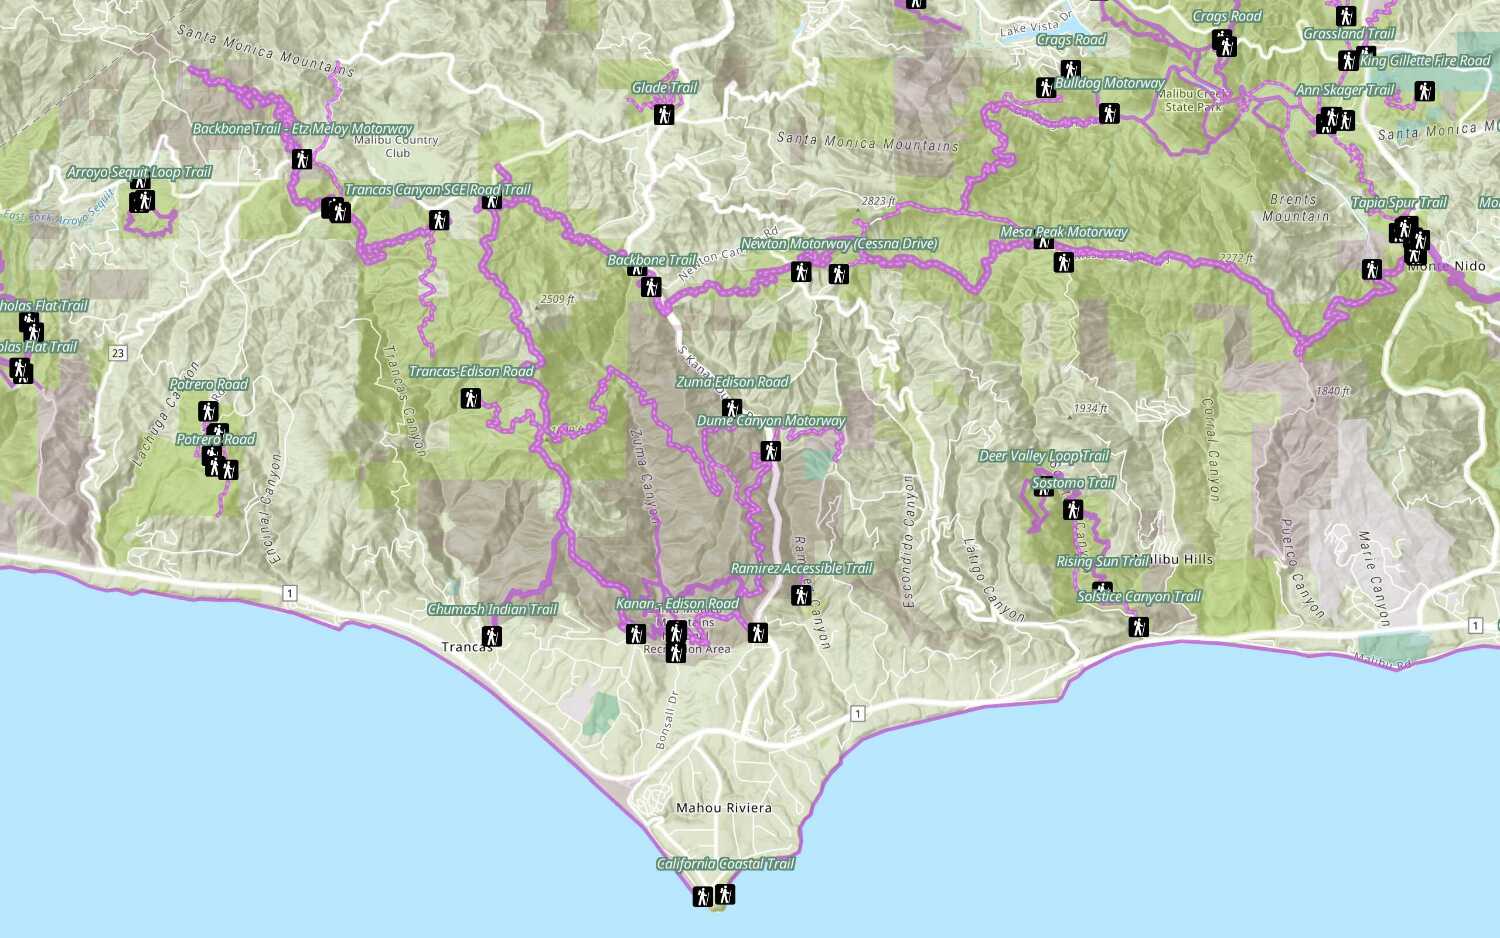
For this workflow, you will use the Santa Monica Parcels dataset.
-
In your web browser, go to the Santa Monica Parcels item.
-
Click the Download button to download the zip file locally. Do not unzip this file.
Create a feature layer in a feature service
You can upload data into ArcGIS in supported file types such as CSV, XLS, GeoJSON, shapefile, and File Geodatabase. To create a feature service for the parcel data, import the shapefile by either using a data management tool
Follow the steps below to use Data management tools or Scripting APIs:
In your web browser, go to https://location.arcgis.com, and sign in with your ArcGIS Location Platform account
-
In the top navigation bar, click Content.
-
Click New item. To upload the Santa Monica Parcels shapefile, you can either:
- Drag and drop the file.
- Or, click Your device and navigate to the file path.
-
Select Add Santa Monica Parcels.zip to publish the file as a hosted feature layer
A hosted feature layer is a hosted layer (item) in a portal that is used to manage the properties and settings of a spatially-enabled feature layer in a feature service. . -
Set the following information in the item details pane:
- Title:
Santa Monica Parcels - Tags:
Santa MonicaParcels. - Summary:
Parcels in the Santa Monica Mountains.
- Title:
-
Click Next to create the new feature layer
A feature layer (client-side) is a data layer that can access and display features from a feature service that has the same type of geometry and attribute fields. and feature serviceA feature service is a data service that provides access to spatial and non-spatial data in feature layers, feature layer views, and tables. .
- Import the required libraries.
- Implement authentication.
- Create and publish a portal item.
- Handle the results.
# local path to shapefile zip file
input_file_path = str(
Path(__file__).parent / "Santa_Monica_Public_Parcels.zip"
)
# add the zip file as an item to portal
shp_item = portal.content.add(
{
"title": "Santa Monica Public Parcels",
"description": "Santa Monica public parcels",
"tags": "Santa, Monica, public, parcels",
"type": "Shapefile",
},
input_file_path,
)
# publish the item to create a hosted featurelayer
shp_service = shp_item.publish(None)
print(f"New item id : {shp_service.id, }, url: {shp_service.layers[0].url}")Create the feature layer view
To create a hosted feature layer view
Follow the steps below to use Data management tools or Scripting APIs:
In ArcGIS portal, use the item page to create a view layer.
- In the source feature layer item page, click Create View Layer > View layer.
- In the Create View Layer dialog, under choose layers, ensure your layer is checked and click Next.

- In Included layers, click on the layer, to define the fields and filters.
- Click Add Filter > + Add expression.
- In the expression dialog, in the first dropdown, select
usetype. In the second dropdown, selectisand in the last dropdown selectCommercial.

-
Click the back arrow, under Layer definitions click Fields > Select fields.
-
Select the following fields:
situsfulla,usetype,usedescrip. Uncheck all the remaining fields. -
Click Done.
-
Click the back arrow and click Next to open the Create view tab.
-
In the Create pane, Set the following parameters:
- Title: Santa Monica commercial parcels view
- Tags: view, public, parcels, santa, monica, commercial, tutorial
- Summary: Feature layer view representing commercial parcels in Santa Monica, CA
-
Click Create. Once the view is created you will be redirected to the item page
An item page is a web page in ArcGIS Online or the developer dashboard used to access and manage the properties for an item and the content it references such as a web map, hosted layer, or file. of the new feature layer viewA feature layer view, also known as a view, is a feature layer that only exposes a subset of the fields and data available in an existing feature layer (source). . -
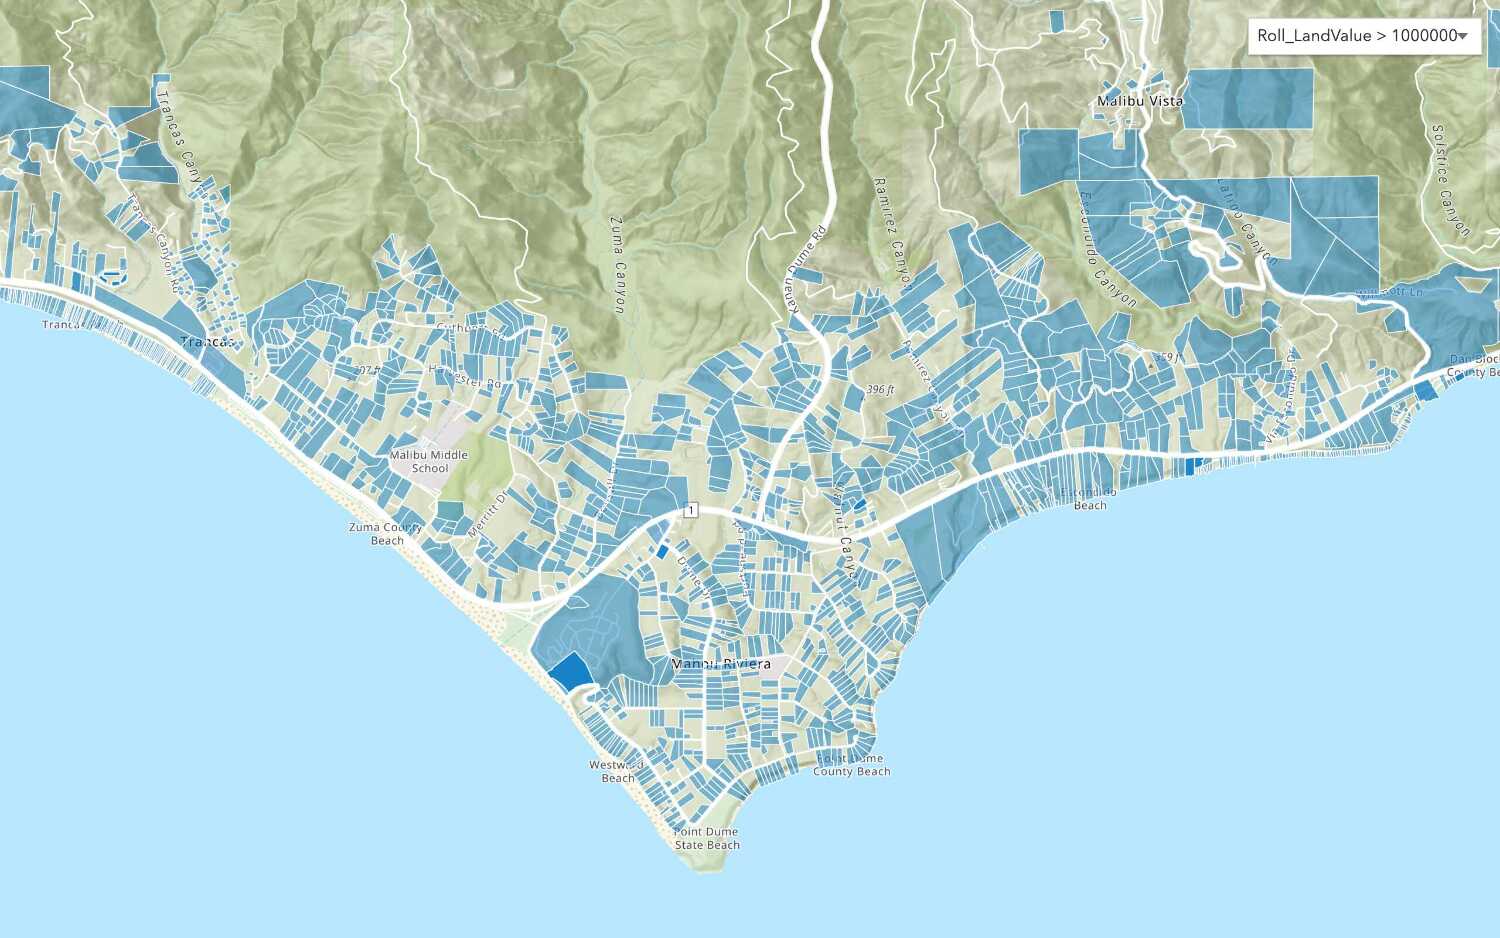
Click the Data tab. You should see only the four fields you used in the expression.
-
Click the Visualization tab. Only features with
"usetype"='should display.Commercial'
- Import the required libraries.
- Implement authentication.
- Create and publish a portal item.
- Handle the results.
# Create the view layer
view_item = flc.manager.create_view(name="Santa monica commercial parcels (view)")
# reduce the number of fields included in the view
# Get the current field list
view_flds = view_item.layers[0].properties.fields
# Set only the fields we want to visible, also include OID
vis_flds = [
{"name": f"{f.name}", "visible": True}
if f.name in ["apn", "situsfulla", "usetype", "usedescrip"]
or f.type == "esriFieldTypeOID"
else {"name": f"{f.name}", "visible": False}
for f in view_flds
]
layer_def = {"viewDefinitionQuery": "usetype = 'Commercial'", "fields": vis_flds}
view_item.layers[0].manager.update_definition(layer_def)
print(f"Feature layer view created\n\t ItemID : {view_item.id}\n\t URL:{view_item.url}")You now have a feature layer view
What's next?
Learn how to use additional tools, APIs, and location services in these tutorials:

Define a new feature layer
Use data management tools to define and create a new empty feature layer in a feature service.

Manage a feature layer
Use a hosted feature layer item to set the properties and settings of a feature layer in a feature service.

Create a vector tile service
Use data management tools to create a new vector tile service from a feature service.