Learn how to set the properties and settings for a hosted feature layer and feature service.

You can manage hosted feature layers
In this tutorial, you use the item page
Prerequisites
You need an account
Steps
Import the Trails feature layer
Before you get started, you need your own Trails feature layer
-
Go to the Import data as a feature layer tutorial and follow the steps to create a new Trails feature layer.
-
You only need to import the Trails GeoJSON file to create the feature layer for this tutorial.
Access the Trails hosted feature layer item page
Use in ArcGIS portal or your ArcGIS Enterprise portal to access the Trails hosted feature layer item page
In your web browser, go to https://location.arcgis.com, and sign in with your ArcGIS Location Platform account
Set sharing permission (Overview tab)
The item page allows you to modify sharing options.
-
Click the Overview tab.
-
On the right side, click Share > Owner > Save. This limits access to your layer to only you.
Set field properties (Data tab)
Use the Data tab to access feature layer fields, values, and records. You can sort, calculate, edit (if you have permissions), and limit the fields displayed.
-
Click the Data tab. You will see a table with attributes.
-
At the top-right of the table, click the menu bar > Show/Hide Columns and only show the following fields:
TRL_NAME ELEV_GAIN ELEV_MIN ELEV_MAX
Limiting the columns will restrict client applications to only access four of the existing fields.
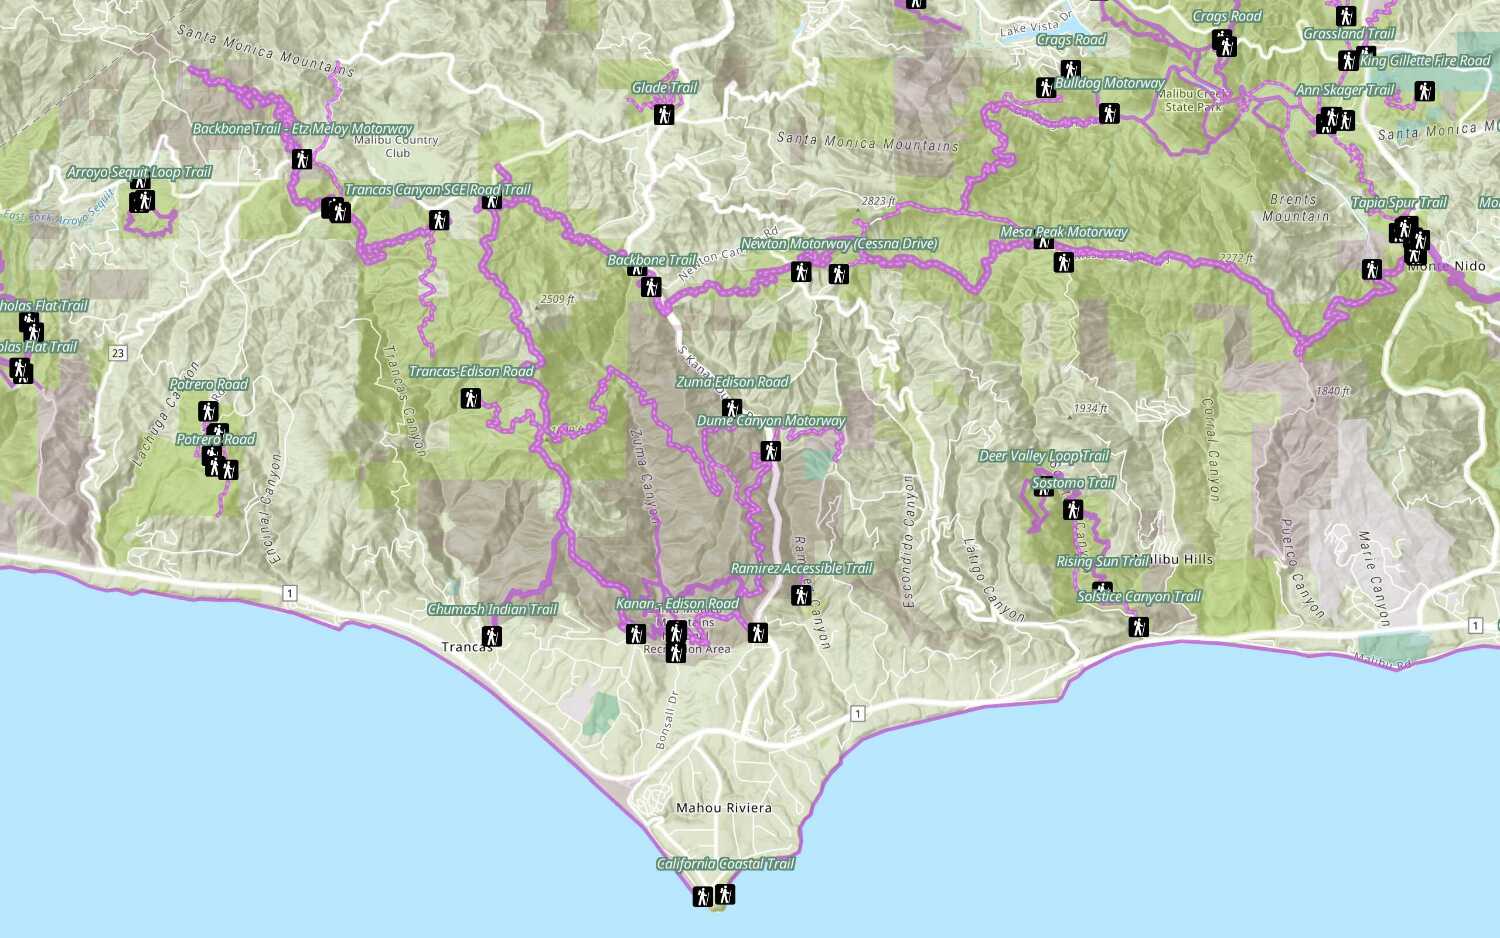
Set style and filter features (Visualization tab)
Use the Visualization tab to control the features that are displayed. You can style, configure pop-ups, and display labels on a map. You can also filter the data displayed on the client using one or more SQL expressions.
-
Click the Visualization tab.
-
In the top-left panel, click the Change style icon > Options > Symbols.
-
Select a color (such as purple) for the polyline, then click OK > OK > Done to apply the new styling.
-
In the top-left panel, click the Filter icon.
-
Filter trails by entering:
TRL_NAME containsBackbone. -
Click Apply Filter. All trails that do not match the query will be filtered out.
Client applications will only be able to access the filtered features.
Set item properties (Settings tab)
Use the Settings tab to set item permissions.
-
Click the Settings tab.
-
Content Status
- If the layer is an official source, you can mark the feature layer as authoritative.
- If the feature layer is out of date, then you can mark it as deprecated.
-
Delete Protection: Select to prevent accidental deletion of the feature layer.
-
Public Data Collection: If you have an application that relies on public data editing, then select this option. You must also enable public access to your layer using the Share button in the Overview.
-
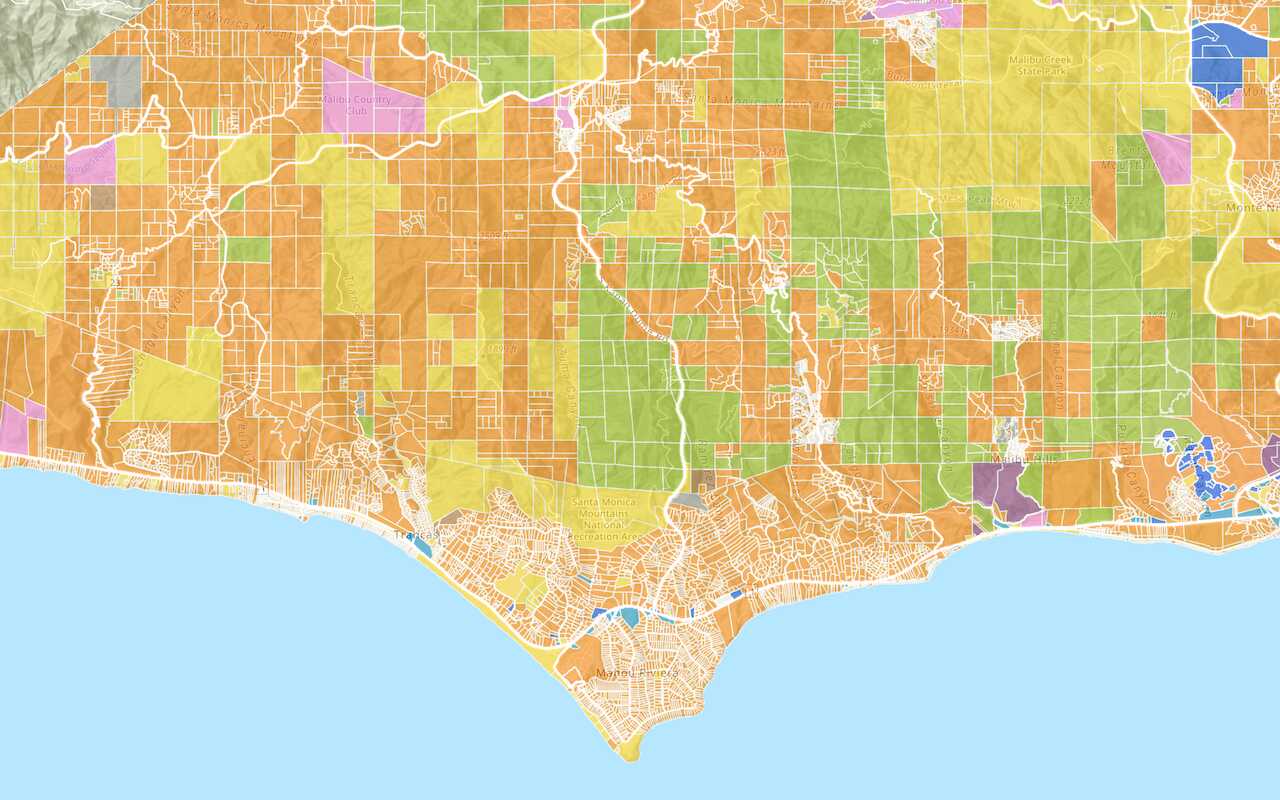
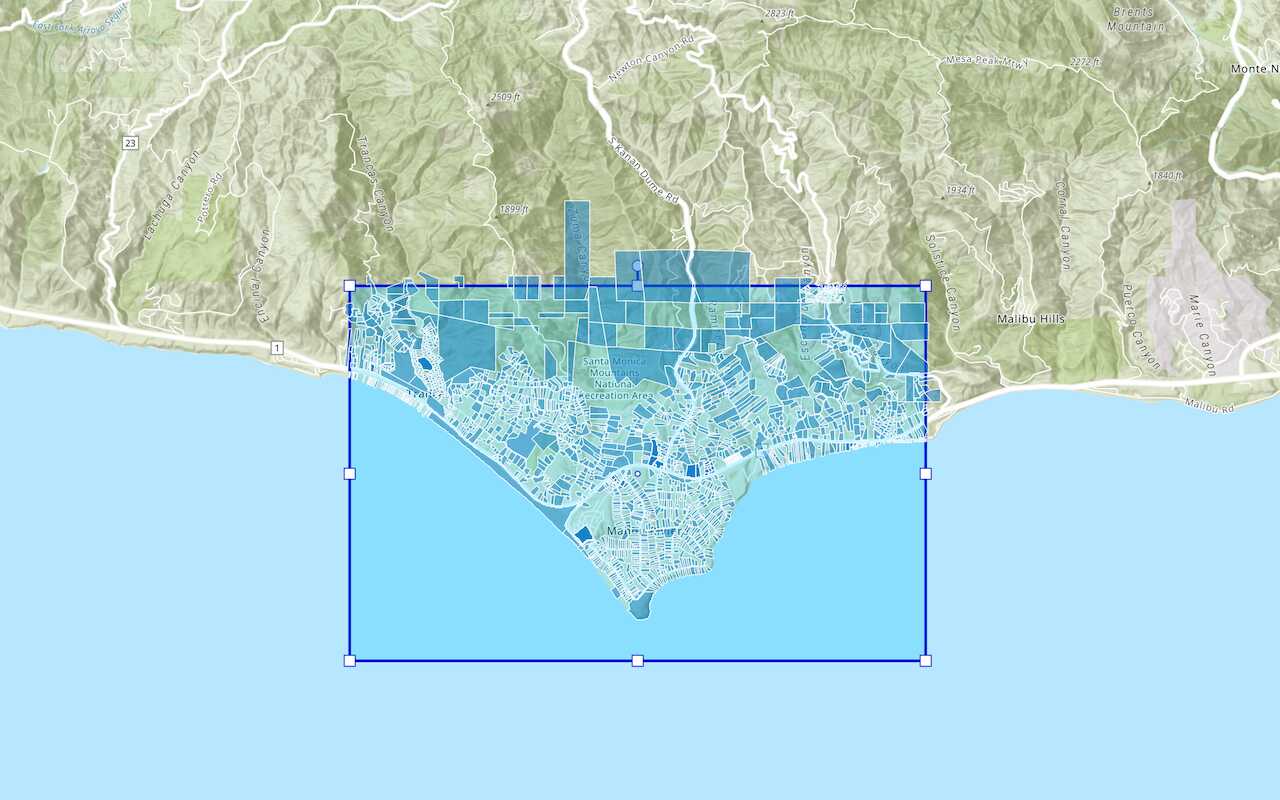
Set Extent: If you want to set a new extent for the layer.
-
Uncheck Enable Editing for your feature layer. The following will be hidden:
- The ability to add, delete, and update attributes
Attributes are fields and values for a single feature or non-spatial record. They are typically stored in a database or service such as a feature service. and geometryA geometry is a geometric shape, such as a point, polyline, or polygon, that contains one or more coordinates and a spatial reference. . - The permission to allow editors to see and edit features
A feature is a single record, also known as a row, that represents a real-world entity. It typically contains a geometry (point, multipoint, polyline, or polygon) and attributes but it can also contain just attributes. . - The permission to allow anonymous editors the same access as signed in editors.
- The ability to add, delete, and update attributes
Set service properties (Settings tab)
Use the Settings tab to set additional service properties.
Enable the following settings:
-
Optimize layer drawing
- In the item page, go to the Settings > Optimize Layer Drawing. Click Optimize layers and select the layer to optimize > Update.
-
Cache control
- In the item page, go to the Settings tab > Cache control. Set the time you want users to wait before seeing updates to the layer.
View data with a web browser
You can use a web browser to access a hosted layer
-
In the item page, click the Overview tab > Trails_0 under Layers.
-
On the right side of the page, click View to access the URL REST endpoint.
-
Note the Type and GeometryType of the Trails layer. The type of layer is a feature layer with polyline geometry.
-
Find Fields and make note of different attributes
Attributes are fields and values for a single feature or non-spatial record. They are typically stored in a database or service such as a feature service. such as:- ObjectID
- TRL_NAME
- ELEV_GAIN
-
At the bottom of the page, click Query.
-
Set the following properties:
- Where:
1=1 - OutFields:
* - Format:
HTML - Click Query(GET)
- Where:
-
Scroll down the page to view the results.
-
Change the Format value to
Geoand click Query(GET) to view the data in GeoJSON format.JSON If a hosted feature layer is public, you can access it directly with your web browser or any application with the URL. If the layer is private, you need to provide an API key
An API key is a long-lived access token created using API key credentials. They are valid for up to one year and are typically embedded directly into client applications. or token. For example:Public: https://services3.arcgis.com/GVgbJbqm8hXASVYi/arcgis/rest/services/Trailheads/FeatureServer/0
Learn more about authentication in Security and Authentication.
Access the layer with Map Viewer
To verify the settings of your feature layer, access the layer with Map Viewer
-
Click the Overview tab.
-
On the bottom right of the page, click View to view the service URL.
-
Find the Service item ID, for example:
69e12682738e467eb509d8b54dc73cbd. -
Sign out of your ArcGIS account.
-
Go to Map Viewer and enter the item ID:
maps.arcgis.com/apps/mapviewer/index.html?layers=and ensure that it prompts for credentials.<YOUR _ITEM _ID >
View data in Map Viewer
In Map Viewer, you can access and set filters to display a subset of feature data.
-
In Map Viewer, click on the trails to display pop-ups with attribute information.
-
On the left panel, locate Trails-Trails 0 under Layers.
-
Click ... > Show table to display the fields and values of the feature layer.
-
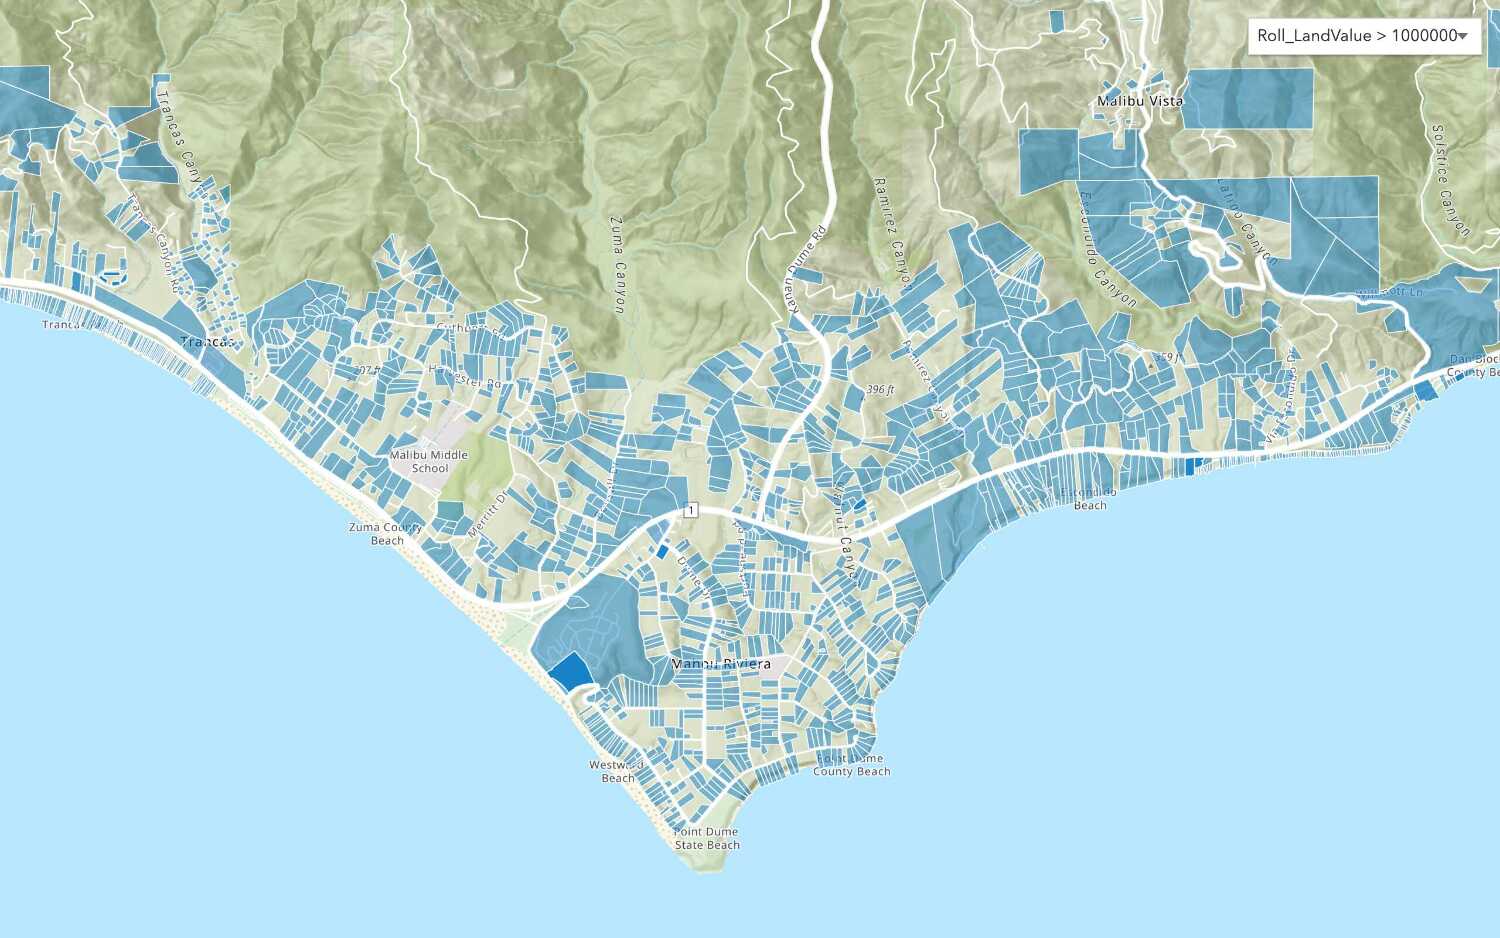
On the right panel, click Filter. Click Add expression and set:
TRL_NAME containsBackbone> Save. The features that do not match the query will be filtered out.
You are now able to manage the settings of your feature layer using the tabs in its item details page. All clients accessing the layer will access and view the data the same way.
View data in Scene Viewer
You can also view features
-
Go back to the item page for the Trails feature layer.
-
On the right side of the page, click Open in Scene Viewer. When it opens, you can pan and zoom the map.
What's next?
Learn how to use additional tools, APIs, and location services in these tutorials:

Define a new feature layer
Use data management tools to define and create a new empty feature layer in a feature service.
Import data to create a feature layer
Use data management tools to import files and create a feature layer in a feature service.

Create a vector tile service
Use data management tools to create a new vector tile service from a feature service.